How to connect to WebSocket API in Python?
How to connect to WebSocket API in Python?

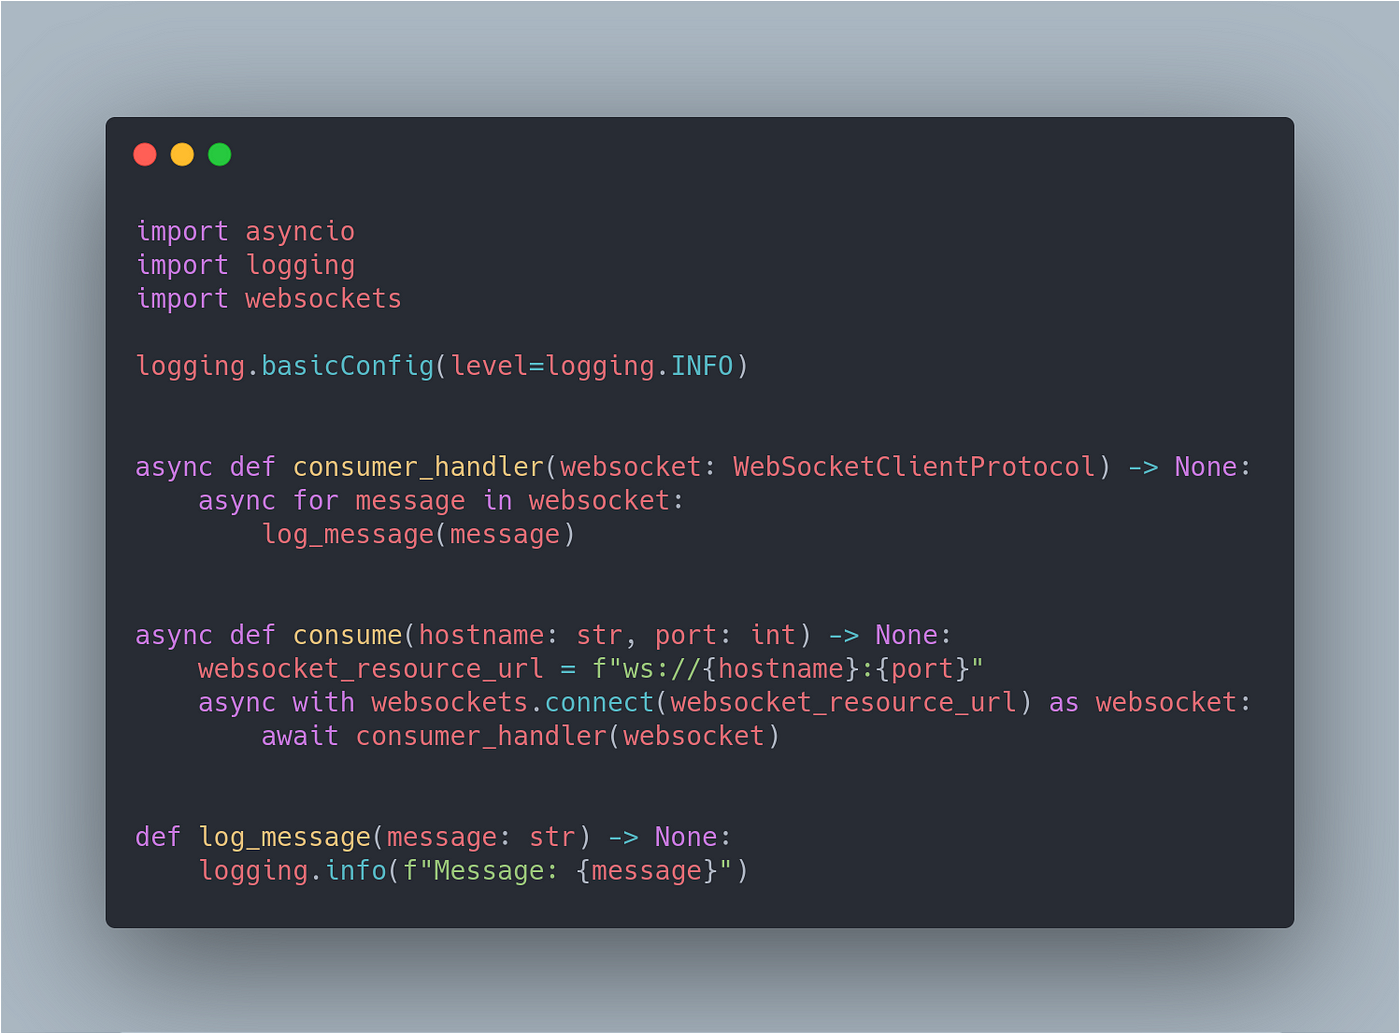
To connect to a WebSocket API in Python, you can use the websockets library, which is a popular and well-maintained package that provides an easy-to-use interface for working with WebSockets.
Here's a step-by-step guide on how to connect to a WebSocket API using Python:
Step 1: Install the websockets library
To start, you need to install the websockets library. You can do this by running the following command in your terminal:
pip install websockets
Step 2: Import the necessary modules and create a WebSocket connection
Next, you need to import the necessary modules and create a WebSocket connection. Here's an example of how you can do this:
import asyncio
import websockets
async def connect_to_socket():
async with websockets.connect("ws://example.com/api/ws") as ws:
Your code goes here
In this example, we're connecting to a WebSocket endpoint at ws://example.com/api/ws. You'll need to replace this URL with the actual URL of your WebSocket API.
Step 3: Handle incoming messages and send messages
Once you've established a connection, you can start handling incoming messages and sending messages. Here's an example of how you might do this:
async def receive_and_send_messages(ws):
while True:
try:
message = await ws.recv()
print(f"Received: {message}")
Send a response message back to the WebSocket server
await ws.send("Hello, Server!")
except websockets.ConnectionClosed:
print("Connection closed")
break
async def main():
await connect_to_socket()
asyncio.run(main())
In this example, we're using an infinite loop to receive and send messages. The recv() method is used to receive a message from the WebSocket server, and the send() method is used to send a message back. You'll need to modify this code to handle the specific messages that your WebSocket API sends and receives.
Step 4: Handle errors and disconnections
Finally, you should handle any errors or disconnections that might occur during the connection process. Here's an example of how you might do this:
async def connect_to_socket():
try:
async with websockets.connect("ws://example.com/api/ws") as ws:
Your code goes here
except (websockets.ConnectionClosedError, websockets.InvalidURI):
print("Connection failed")
In this example, we're catching any ConnectionClosedError or InvalidURI exceptions that might occur during the connection process. You can modify this code to handle other types of errors as well.
That's it! With these steps, you should be able to connect to a WebSocket API in Python and start handling messages and sending responses. Just remember to replace the example URL with the actual URL of your WebSocket API, and modify the code to handle any specific requirements or edge cases that your WebSocket API might have.
How to install WebSockets in Python?

Here's a step-by-step guide on how to install and use WebSockets in Python:

Installing the necessary libraries
To start using WebSockets in Python, you'll need to install two main libraries: websockets and flask. Here's how:
pip install websockets
This library provides a WebSocket client and server implementation in Python.
Install Flask: pip install flask
Flask is a micro web framework for Python, which will help you create the server-side functionality needed to interact with your WebSocket clients.
Creating a simple WebSocket server using Flask
Here's an example of how you can use these libraries to create a basic WebSocket server:
from flask import Flask, request
from websockets import serve_websocket
app = Flask(name)
@app.route('/ws')
async def hello_world():
await serve_websocket(request.websocket)
if name == 'main':
app.run(debug=True)
In this example:
We create a Flask application. Define an endpoint (/ws) that handles WebSocket connections. Inside the endpoint, we use serve_websocket to handle incoming WebSocket messages.
Creating a simple WebSocket client using websockets
Here's an example of how you can use these libraries to create a basic WebSocket client:
import asyncio
import websockets
async def hello_world():
async with websockets.connect('ws://localhost:5000/ws') as ws:
await ws.send('Hello, world!')
while True:
message = await ws.recv()
print(f'Received message: {message}')
asyncio.run(hello_world())
In this example:
We importwebsockets and define a function to create a WebSocket connection. Inside the function: We connect to the /ws endpoint of our local Flask server ('ws://localhost:5000/ws') using websockets.connect. Send a message using ws.send('Hello, world!'). Receive messages from the server in an infinite loop.
Putting it all together
To run this example:
Open two terminal windows. In one window, start your Flask application by running: python app.py
This will start a WebSocket server on localhost:5000.
python client.py
You should see that the client successfully connects to the server and sends a message.
Of course, this is just a very basic example of how you can use WebSockets in Python. From here, you can build on these foundations to create more complex and robust applications using these libraries!


