Python send data to ESP32
Python send data to ESP32
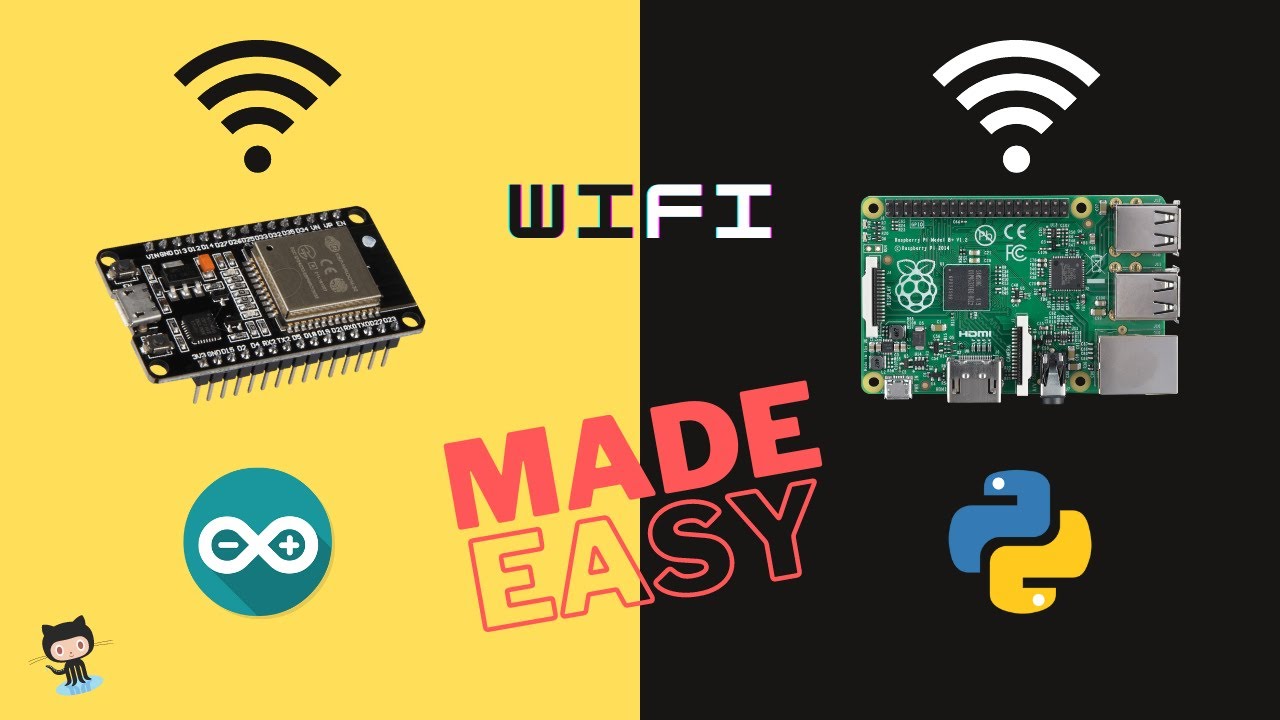
Here's a comprehensive guide on how to send data from Python to an ESP32 microcontroller.
Prerequisites
python-serial and micropython Ensure your ESP32 board is connected to your computer via USB or serial cable Make sure you have a basic understanding of Python programming
Step 1: Set up the ESP32 Board
Before we dive into the code, let's get our ESP32 board set up. You can use either an Arduino IDE or PlatformIO for this step.
Using Arduino IDE: Install the Arduino IDE if you haven't already. Go to File > Preferences and ensure that the "Verbose" option is unchecked. Connect your ESP32 board to your computer via USB or serial cable. Go to Tools > Port > [Select the COM port corresponding to your ESP32 board]. Select the ESP32 board type from the Tools > Board menu (e.g., "ESP32 Wrover"). Using PlatformIO: Install PlatformIO if you haven't already. Create a new project and select the "ESP32" board type. Connect your ESP32 board to your computer via USB or serial cable. Select the COM port corresponding to your ESP32 board from the PlatformIO settings.Step 2: Send Data from Python to ESP32
Now that our ESP32 board is set up, let's create a Python script to send data to it.
Using python-serial Library: Install thepython-serial library using pip: pip install pyserial Create a new Python file (e.g., "esp32_sender.py") and add the following code:
import serial
Set up the serial port
ser = serial.Serial('COM3', 115200, timeout=1)  # Adjust COM port and baudrate as needed
while True:
Send some data to the ESP32
ser.write(b'Hello, world!')
print("Data sent!")
Wait for a second before sending again
time.sleep(1)
Replace COM3 with the correct COM port number corresponding to your ESP32 board.
micropython library using pip: pip install micropython Create a new Python file (e.g., "esp32_sender.py") and add the following code:
import micropython
Set up the serial port
ser = micropython.Serial('COM3', 115200, timeout=1)  # Adjust COM port and baudrate as needed
while True:
Send some data to the ESP32
ser.write(b'Hello, world!')
print("Data sent!")
Wait for a second before sending again
time.sleep(1)
Replace COM3 with the correct COM port number corresponding to your ESP32 board.
Step 3: Receive Data on the ESP32
Now that we have our Python script set up, let's create an ESP32 sketch to receive the data.
Using Arduino IDE: Open the Arduino IDE and create a new sketch. Add the following code:#include
void setup() {
Serial.begin(115200);
}
void loop() {
// Read data from the serial port
if (Serial.available() > 0) {
char incomingChar = Serial.read();
while (Serial.available() > 0) {
incomingChar += Serial.read();
}
Serial.println(incomingChar); // Print the received data
}
delay(100);
}
#include
void setup() {
WiFi.begin();
while (WiFi.status() != WL_CONNECTED) {
delay(500);
}
Serial.begin(115200);
}
void loop() {
// Read data from the serial port
if (Serial.available() > 0) {
char incomingChar = Serial.read();
while (Serial.available() > 0) {
incomingChar += Serial.read();
}
Serial.println(incomingChar);  // Print the received data
}
delay(100);
}
In both examples, we set up a serial port using Serial.begin() and read data from it using Serial.read(). We then print the received data to the console.
Conclusion
That's it! You should now be able to send data from Python to your ESP32 microcontroller. Make sure to adjust the COM port number and baudrate in your Python script according to your ESP32 board settings. If you encounter any issues, feel free to ask for help in the comments below. Happy coding!
How to install MicroPython on Arduino Nano ESP32?
I'm happy to help you with that! However, I need to clarify that the Arduino Nano is not an ESP32 board. The Arduino Nano is a microcontroller based on the ATmega328P or ATmega168 chip, whereas the ESP32 is a microcontroller module specifically designed for IoT and Wi-Fi applications.
If you want to install MicroPython on an ESP32 board, I can guide you through the process!
Step 1: Install the necessary tools
To develop and deploy code for the ESP32 with MicroPython, you'll need:
ESP-IDF (Espressif's official ESP32 development framework) PySerial pip (the Python package manager)You can install these using your system's package manager. For example, on macOS or Linux:
sudo brew install espidf
Step 2: Connect the ESP32 board to your computer
Make sure your ESP32 board is connected to your computer via USB. You'll need a compatible serial console (e.g., USB-serial adapter) for uploading and debugging.
Step 3: Install the ESP-IDF's Python extension (uf2)
From the command line, navigate to the ESP-IDF directory and run:
make flash
This will create an uf2 file that you can use with the MicroPython toolchain. To install the uf2 file, run:
python -m pyserial --path=
Replace <path_to_uf2_file> with the actual path to the uf2 file.
Step 4: Flash the ESP32 board with MicroPython
Use the following command to flash your ESP32 board with MicroPython:
esptool.py --port= write_flashuf2.bin
Replace <COM_port> with the actual serial port of your ESP32 (e.g., /dev/cu.usbmodem1411 on macOS) and <address> with the address where you want to flash MicroPython. The uf2.bin file is the one created in Step 3.
Step 5: Verify MicroPython installation
Use the following command to verify that MicroPython has been successfully installed:
esptool.py --port= read_flash0x10000
If everything went smoothly, you should see the MicroPython prompt (>>>) when you connect to your ESP32 board via serial.
Additional tips:
Make sure you have the latest version of espidf and pyserial installed. You can use other Python libraries or tools to interact with your ESP32, such as PyCharm's PySerial extension or the MicroPython REPL tool. If you encounter issues during the installation process, check the ESP-IDF documentation for troubleshooting guides.Please keep in mind that this is a general guide and might require some tweaking based on your specific setup. I hope this helps you get started with using MicroPython on your ESP32 board!
