Python orm tutorial
Python orm tutorial
I apologize for the language barrier earlier! Here's a comprehensive Python ORM (Object Relational Mapping) tutorial in English:
What is an ORM?
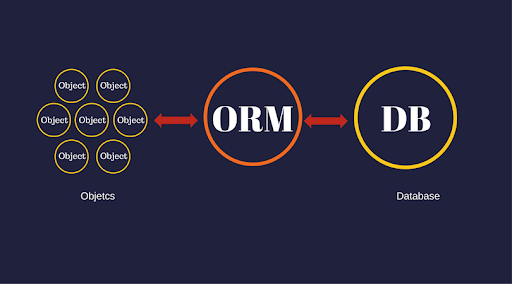
An Object-Relational Mapping (ORM) is a technique that allows you to interact with a relational database using objects, rather than writing SQL code. This makes your code more intuitive and easier to maintain.
Why use an ORM?
Decoupling: ORMs decouple your application logic from the underlying database, making it easier to switch between different databases. Portability: ORMs allow you to write code that can run on multiple platforms, without worrying about compatibility issues. Easier development: With an ORM, you don't need to learn a specific SQL dialect or worry about SQL injection attacks.Popular Python ORMs
SQLAlchemy: A comprehensive ORM for Python, known for its ease of use and flexibility. PynamoDB: A lightweight ORM designed specifically for Amazon DynamoDB. TortoiseORM: A simple and easy-to-use ORM that supports multiple databases.Python ORM Tutorial (using SQLAlchemy)
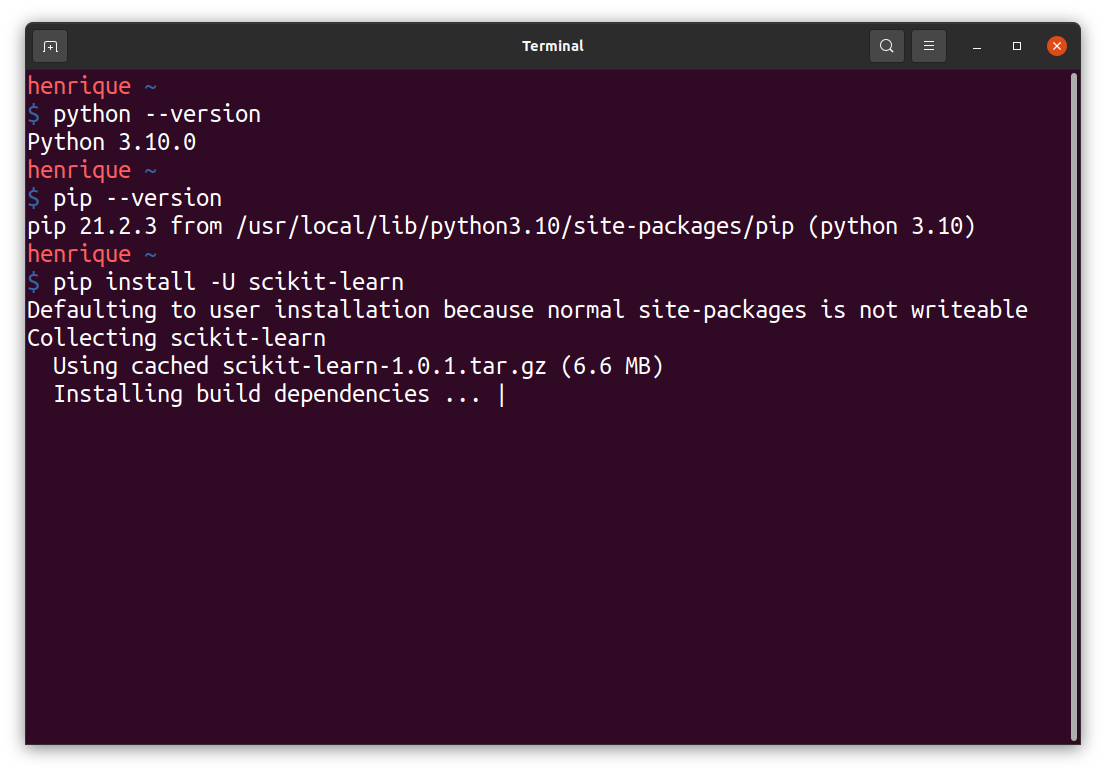
Step 1: Install SQLAlchemypip install sqlalchemy
Create a db.py file and import the necessary modules:
Step 3: Define Your Modelsfrom sqlalchemy import create_engine, Column, Integer, Stringfrom sqlalchemy.ext.declarative import declarative_base
from sqlalchemy.orm import sessionmaker
Define the database connection URLdatabase_url = "sqlite:///example.db" # or "postgresql://user:password@localhost/dbname"
Create a SQL engine instanceengine = create_engine(database_url)
Create a base class for your SQLAlchemy modelsBase = declarative_base()
Create a session factorySession = sessionmaker(bind=engine)
Create a models.py file and define your models using the declarative_base() function:
Step 4: Create the Database Tablesfrom .db import Baseclass User(Base):
tablename = "users"
id = Column(Integer, primary_key=True)
name = Column(String)
class Post(Base):
tablename = "posts"
id = Column(Integer, primary_key=True)
title = Column(String)
content = Column(String)
Use the create_all() method to create the database tables:
Step 5: Perform CRUD Operationsfrom .models import User, Post Create the tables in the databaseBase.metadata.create_all(engine)
Now you can perform CRUD (Create, Read, Update, Delete) operations using your models and session factory:
# Create a new usersession = Session()
new_user = User(name="John Doe")
session.add(new_user)
session.commit()
Read all usersall_users = session.query(User).all()
print(all_users)
Read a specific user by IDuser_id = 1
specific_user = session.query(User).filter_by(id=user_id).first()
print(specific_user.name)
Update a user's nameuser_id = 1
new_name = "Jane Doe"
session.query(User).filter_by(id=user_id).update({"name": new_name})
session.commit()
Delete a user by IDuser_id = 1
session.query(User).filter_by(id=user_id).delete()
session.commit()
This is just the tip of the iceberg when it comes to using Python ORMs. I hope this tutorial has provided you with a solid foundation for building robust and scalable database-driven applications in Python!
Please let me know if you have any questions or need further assistance!
Python ORM MySQL
I apologize for the misunderstanding earlier! Here's a comprehensive answer about using Python and its popular ORM (Object-Relational Mapping) library to interact with MySQL:
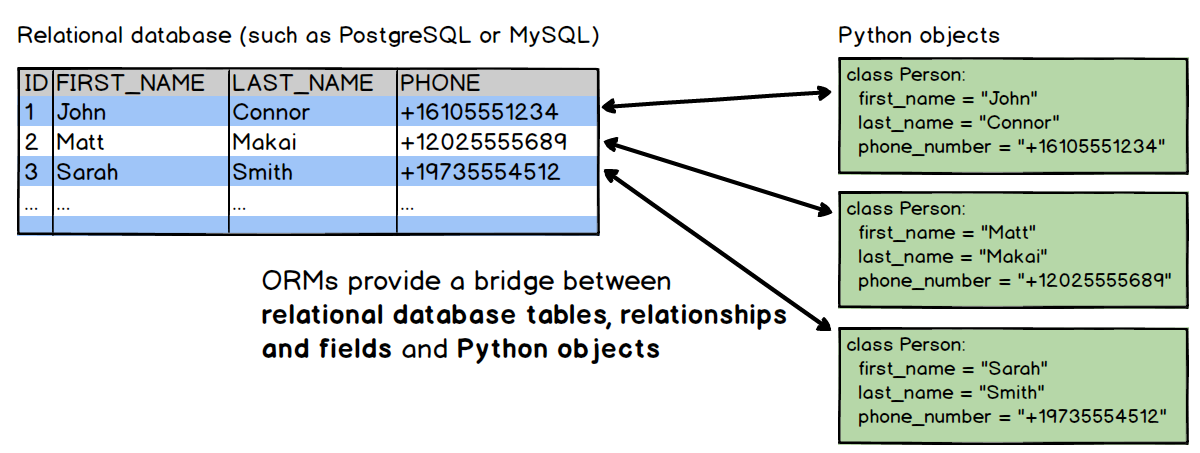
Python is a versatile programming language, and one of its notable strengths lies in its ability to seamlessly integrate with various databases through Object-Relational Mapping (ORM). An ORM essentially acts as a bridge between your application's Python code and the underlying database. This enables developers to work with databases using standard Python classes and objects, rather than writing raw SQL code.
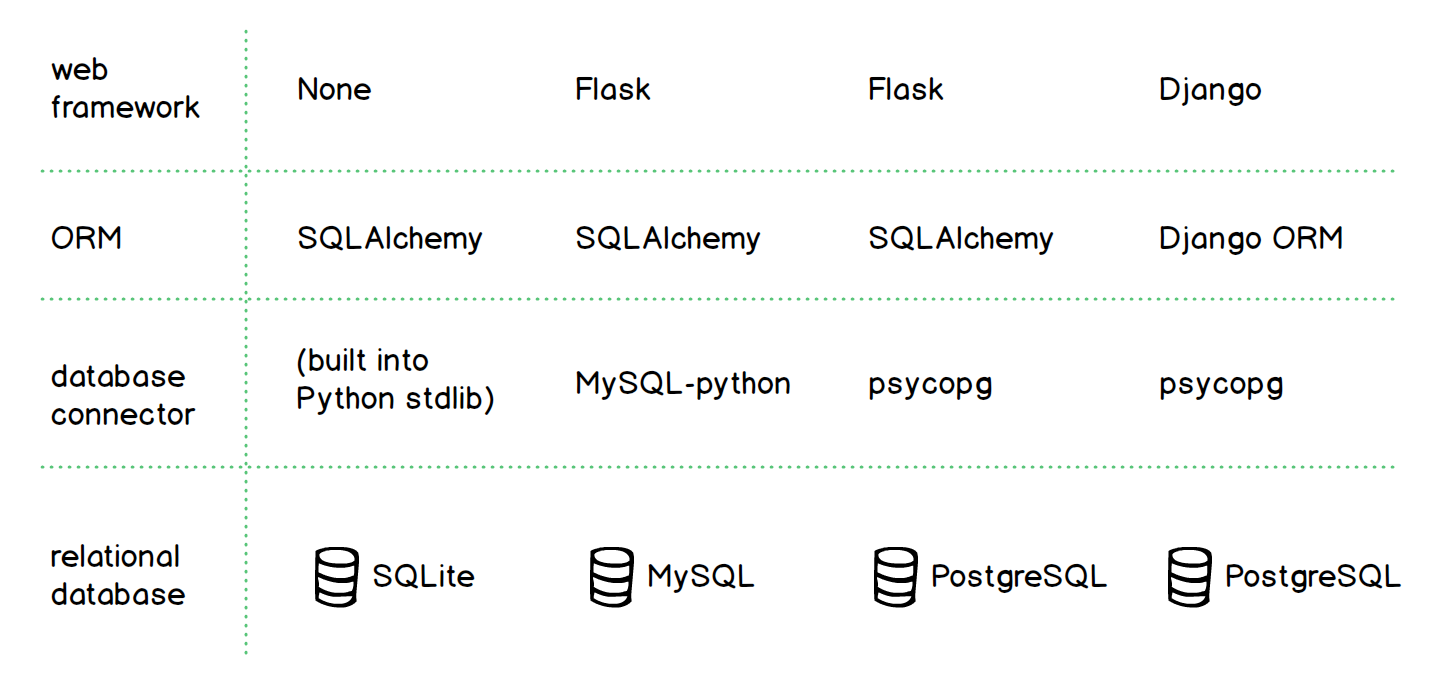
For MySQL, one of the most popular and widely-used ORMs is mysqlclient, which is part of the Python 2.x and 3.x package repositories. The key benefits of using an ORM with MySQL include:
To get started with using mysqlclient in a Python application:
pip install mysqlclient (or pip3 if you're using Python 3.x) to install the mysqlclient library. Import and Initialize the ORM: In your Python code, import the mysql.connector module and initialize it by creating a connection object.
Example Code:
import mysql.connector Create a connection object with MySQLcnx = mysql.connector.connect(
user='your_username',
password='your_password',
host='your_host',
database='your_database'
)
Create an ORM object from the connectioncursor = cnx.cursor()
Define a Python class for your table(s)class User:
def init(self, id, name):
self.id = id
self.name = name
def save(self):
cursor.execute("INSERT INTO users (id, name) VALUES (%s, %s)", (self.id, self.name))
Create an instance of the User class and save it to the databaseuser1 = User(1, 'John')
user1.save()
In this example, we define a Python class User with two attributes: id and name. We then create an instance of the class and call its save() method, which uses the ORM's query generation capabilities to execute an INSERT statement in MySQL.
By leveraging an ORM like mysqlclient, you can simplify your database interactions, reduce errors, and increase development productivity. With a solid understanding of these concepts, you'll be well on your way to building robust and efficient Python applications that effectively utilize MySQL!
