How do I start Python API?
How do I start Python API?
Starting a Python API! Exciting stuff! Let's dive into the world of APIs and explore how to get started with Python.
API stands for Application Programming Interface, which is essentially a set of defined rules that enable different applications or systems to communicate with each other. In this case, we'll focus on building a RESTful API using Python.
Why Python?
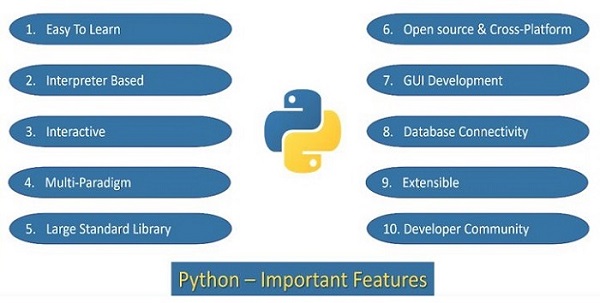
Python is an excellent choice for building APIs due to its ease of use, flexibility, and extensive libraries. With Python, you can create scalable, secure, and efficient APIs that can interact with various systems and applications.
What You'll Need:
To start building your Python API, you'll need:
Python 3.x: Make sure you have the latest version of Python installed on your system. A text editor or IDE (Integrated Development Environment): Choose a preferred code editor or IDE for writing and debugging your Python code. A programming framework: You can use a lightweight framework like Flask or Django to build your API.Step-by-Step Guide:
Here's a high-level overview of the steps involved in building a basic Python API:
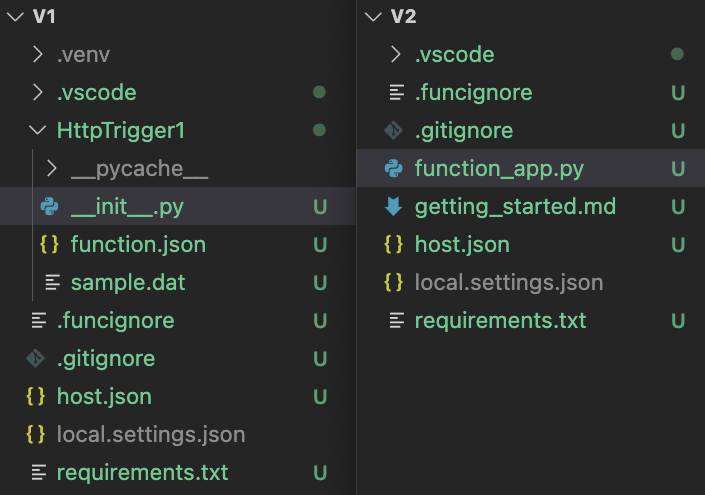
Choose a framework: Select either Flask or Django, depending on your needs and preferences. Flask is a microframework that provides a lightweight and flexible way to build APIs. Django is a more comprehensive framework that includes an ORM (Object-Relational Mapping) system, templates, and other features for building robust web applications. Install the framework: Use pip, Python's package manager, to install the chosen framework. For example:pip install flask for Flask pip install django for Django Create a new project directory: Set up a new directory for your API project and create a file structure as needed. Define routes and handlers: Define API endpoints (routes) with corresponding handler functions that process incoming requests. Handle requests and responses: Write code to handle incoming HTTP requests, such as GET, POST, PUT, and DELETE. You'll also need to define how your API responds to these requests, including returning data or error messages. Test your API: Use tools like Postman or cURL to test your API endpoints with different request types (e.g., GET, POST). Deploy your API: Once you're satisfied with the functionality of your API, deploy it to a production environment using cloud services like AWS, Google Cloud, or Heroku.
Additional Tips:
Follow best practices for writing clean and readable code. Use version control systems like Git to track changes in your project. Don't forget to handle errors and exceptions properly. Consider security measures, such as authentication and rate limiting, to protect your API from unauthorized access.That's a basic overview of how to start building a Python API! With this guide, you should have a solid foundation for creating scalable and efficient APIs using Python. Happy coding!
Can you create an API in Python?
Creating an API (Application Programming Interface) in Python is a straightforward process that involves several steps. Here's a step-by-step guide to help you get started:
Step 1: Choose a Framework
Python has several frameworks that can be used to build APIs, including Flask, Django, Pyramid, and Bottle, among others. For this example, we'll use Flask, which is a popular and easy-to-use framework.
Step 2: Set up Your Environment
To get started with Flask, you'll need to have Python installed on your system. You can install Flask using pip (Python's package manager) by running the command pip install flask in your terminal or command prompt.
Step 3: Define Your API Endpoints
An API typically has several endpoints that handle requests and send responses. In our example, we'll create two endpoints: one to return a list of books and another to retrieve a single book by its title.
Here's an example of how you might define your endpoints:
from flask import Flask, jsonify
app = Flask(name)
@app.route('/books', methods=['GET'])
def get_books():
Return a list of books
return jsonify([{'title': 'Book 1'}, {'title': 'Book 2'}, {'title': 'Book 3'}])
@app.route('/books/', methods=['GET'])</p>
</p>
def get_book(title):
Retrieve a single book by its title
for book in books:
if book['title'] == title:
return jsonify(book)
return jsonify({'error': 'Book not found'})
if name == 'main':
app.run(debug=True)
In this example, we're using Flask's @app.route() decorator to define our endpoints. The first endpoint (/books) returns a list of books when called with a GET request. The second endpoint (/books/<title>) retrieves a single book by its title.
Step 4: Handle Requests and Send Responses
When a client (such as a web browser or mobile app) sends a request to one of your API endpoints, Flask will handle the request and send a response back to the client. You can use Flask's request object to get information about the incoming request, such as the HTTP method used (GET, POST, PUT, etc.) and any query parameters or form data.
Here's an example of how you might use the request object:
from flask import request
@app.route('/books', methods=['POST'])
def create_book():
Create a new book
title = request.json['title']
author = request.json['author']
Add the book to your database or data storage
return jsonify({'message': 'Book created successfully'})
if name == 'main':
app.run(debug=True)
In this example, we're using Flask's request object to get information about the incoming request. We're then using that information to create a new book and send a response back to the client.
Step 5: Test Your API
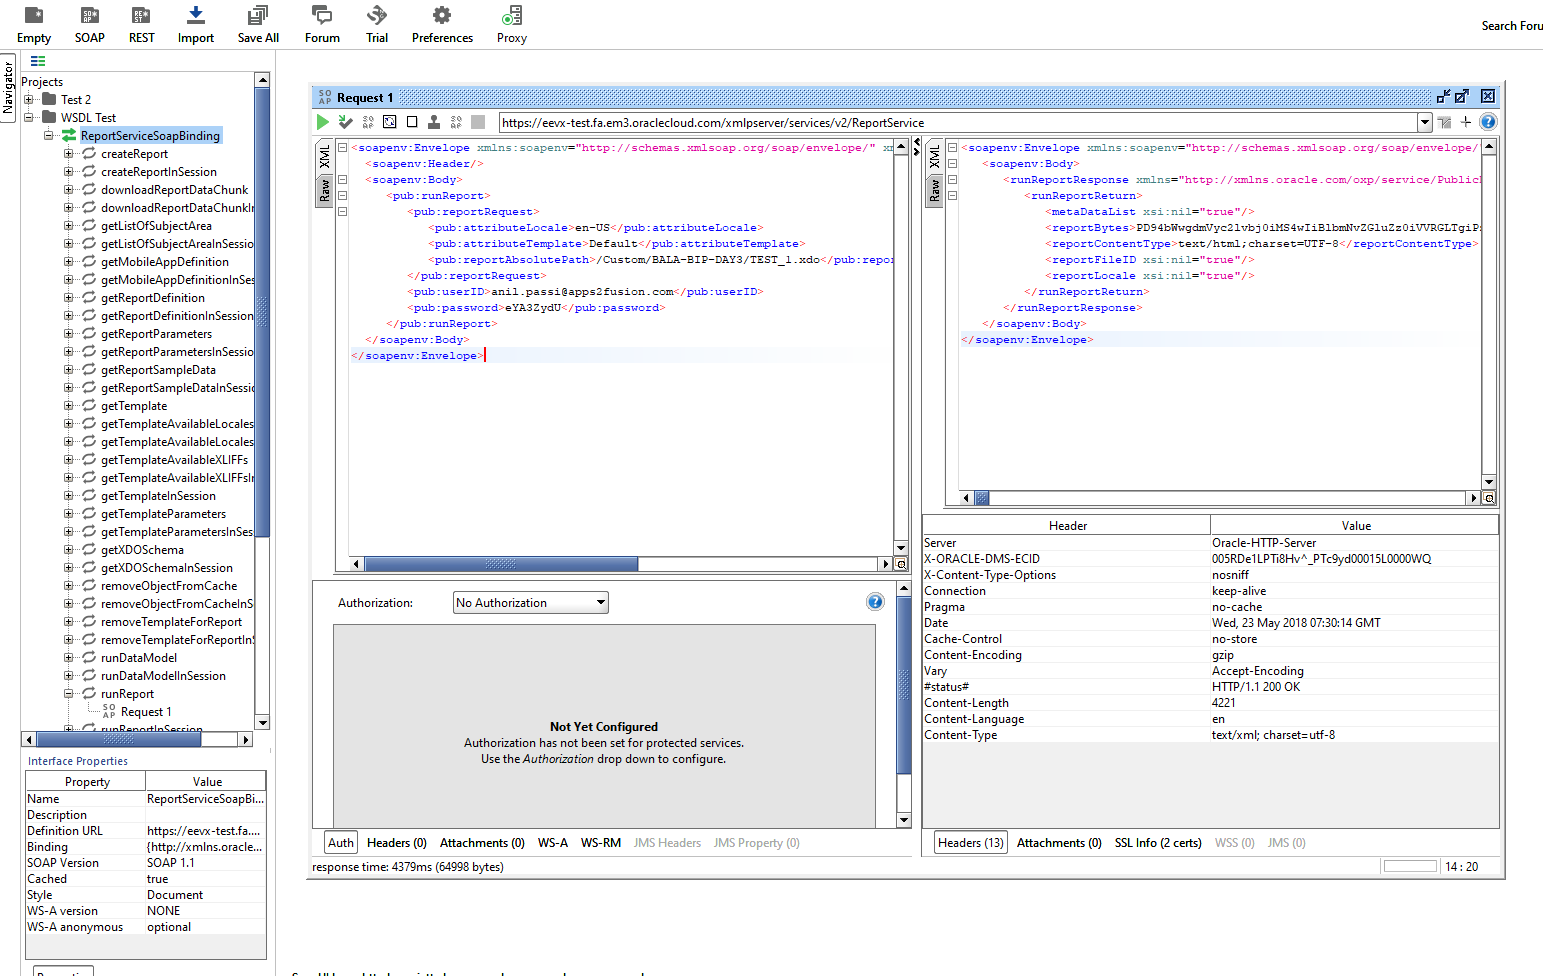
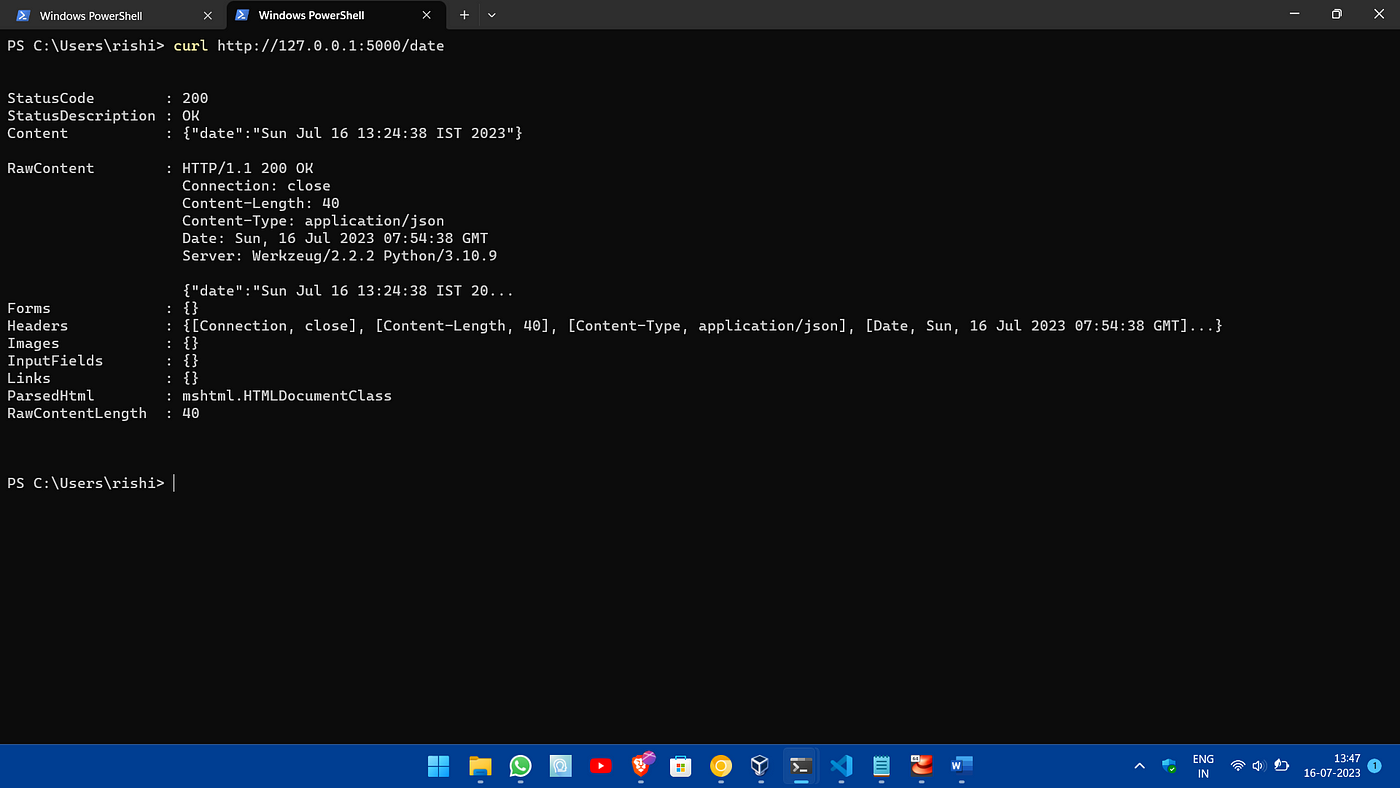
Once you've defined your API endpoints and implemented your logic, it's time to test your API. You can use tools like Postman or cURL to send requests to your API and verify that you're getting the expected responses.
Here are some examples of how you might test your API using Postman:
Send a GET request to/books to retrieve a list of books. Send a POST request to /books with form data containing the title and author of a new book. Send a GET request to /books/<title> to retrieve a single book by its title.
I hope this helps! Let me know if you have any questions or need further guidance.
