Home assistant python sensor
Home assistant python sensor
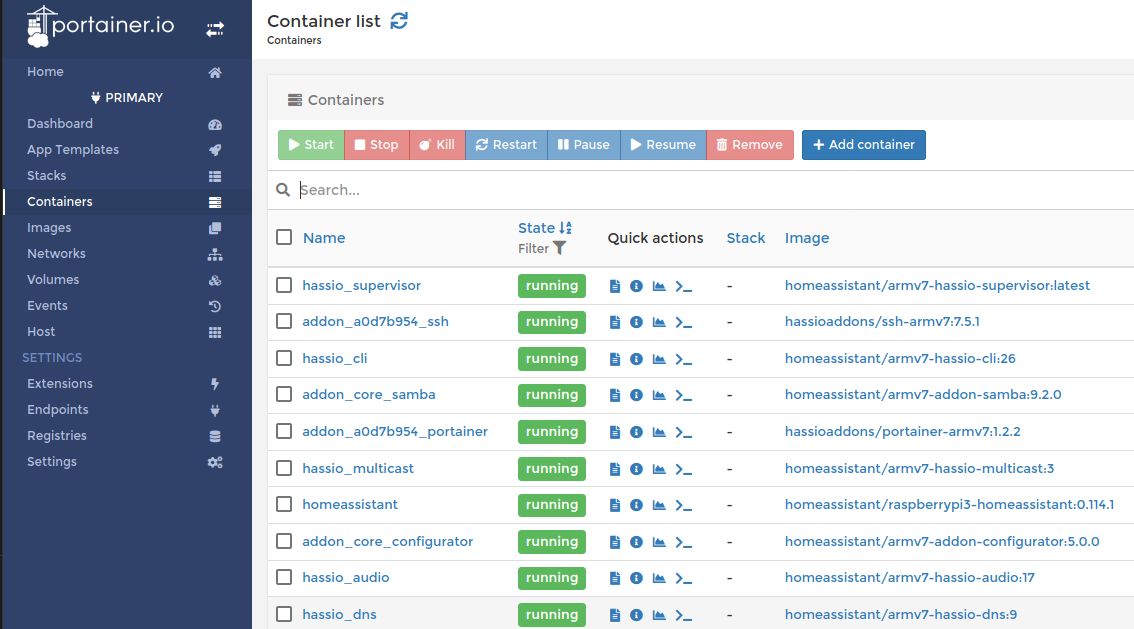
Home Assistant is a fantastic open-source home automation platform that allows users to integrate various sensors and devices to create a smart home ecosystem. Python, being a popular programming language, plays a significant role in integrating these sensors with Home Assistant.
What are Python Sensors in Home Assistant?
Python sensors in Home Assistant are custom sensors written in Python code. These sensors can be used to collect data from various sources, such as:
Hardware devices: Temperature sensors, humidity sensors, motion detectors, etc. APIs: Weather APIs, stock market APIs, social media APIs, etc. Other systems: IoT devices, smart home devices, etc.Benefits of Using Python Sensors in Home Assistant
Customization: With Python sensors, you can create custom sensors that cater to your specific needs and requirements. Flexibility: You can integrate multiple data sources and sensors into a single sensor entity. Ease of use: Writing Python code can be easier than dealing with complex hardware or software integration.How to Create a Python Sensor in Home Assistant
To create a Python sensor, you'll need:
A text editor or IDE (Integrated Development Environment) like Visual Studio Code. Thepython package installed on your system. Familiarity with the Python programming language.
Here's a basic example of how to create a simple Python sensor that retrieves the current time:
import datetimedef get_current_time():
return str(datetime.datetime.now())
class TimeSensor(sensor.Entity):
def init(self):
self._state = None
@property
def state(self):
return self._state
def update(self):
self._state = get_current_time()
This code defines a TimeSensor class that retrieves the current time using the datetime module. The update() method updates the sensor's state with the current time.
Tips and Tricks
Keep it simple: Start with small, focused sensors and gradually add complexity. Test and debug: Make sure your sensor works as expected by testing and debugging your code. Documentation matters: Document your sensor's configuration options, parameters, and functionality to make it easy for others (and yourself) to understand how to use it.In conclusion, Python sensors in Home Assistant offer a flexible and customizable way to integrate various data sources and devices into your smart home ecosystem. With the power of Python programming, you can create unique sensors that cater to your specific needs and requirements.
Python home assistant tutorial
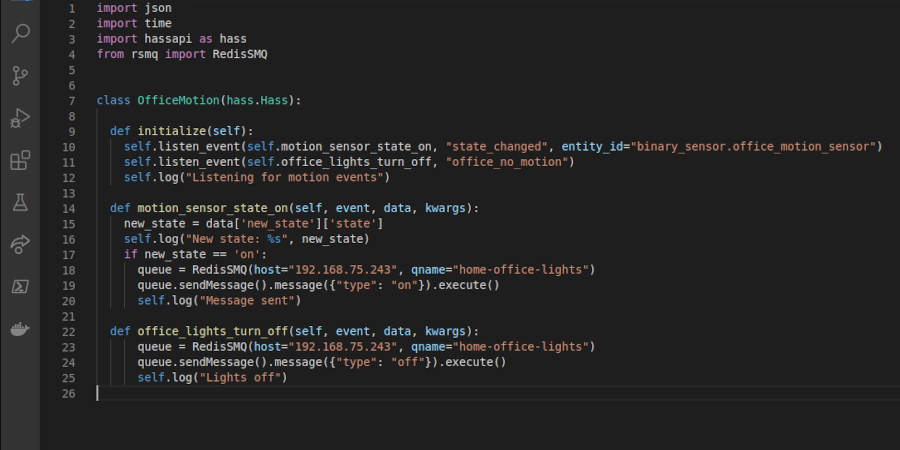
Here is a comprehensive Python Home Assistant tutorial:
Introduction
Home Assistant is an open-source home automation platform that allows you to control and automate various smart devices in your home. In this tutorial, we will learn how to create a simple Home Assistant setup using Python.
Prerequisites
You have basic knowledge of Python programming. You have installed Home Assistant on your system (follow the official installation guide if needed). You have a few smart devices that you want to control and automate (e.g., lights, thermostat, security camera).Step 1: Installing Required Libraries
In this tutorial, we will use two main libraries:
homeassistant - The official Home Assistant Python library. requests - For making HTTP requests to the Home Assistant API.Open your terminal or command prompt and run:
pip install homeassistant requests
Step 2: Setting Up the Environment
Create a new Python file (e.g., ha_tutorial.py) and add the following code at the top:
import osimport json
from homeassistant import HomeAssistant
from requests.sessions import Session
Set up your Home Assistant environment variablesHA_HOST = "localhost"
HA_PORT = 8123
HA_API_KEY = "your_api_key_here"
Create a Home Assistant objectha = HomeAssistant(HA_HOST, HA_PORT)
Set the API keyha.api_key = HA_API_KEY
Replace HA_HOST, HA_PORT, and HA_API_KEY with your actual Home Assistant settings.
Step 3: Creating a Simple Automation
Let's create a simple automation that turns on the living room lights when the sun sets. Add the following code:
import datetime Define the entity IDs for our smart devicesLIVING_ROOM_LIGHT = "light.living_room"
SUNSET_TIME = "sunset"
Get the current timenow = datetime.datetime.now()
Check if it's sunsetif now.hour >= int(os.environ.get(SUNSET_TIME, 18)):
Turn on the living room lightsha.turn_on(LIVING_ROOM_LIGHT)
This code checks if it's after sunset (assuming a sunset time of 6 PM) and turns on the living room lights if so.
Step 4: Running the Automation
Run your Python script using:
python ha_tutorial.py
This will start the automation, which will run in the background. You can stop it by pressing Ctrl+C in the terminal or command prompt.
Conclusion
In this tutorial, we have learned how to set up a simple Home Assistant environment using Python and create a basic automation script that turns on lights when the sun sets. With this foundation, you can explore more advanced automations and integrate your smart devices with Home Assistant. Happy coding!
