How to install SQLAlchemy Python VSCode?
How to install SQLAlchemy Python VSCode?

Installing SQLAlchemy in VSCode requires a few steps. Here's a step-by-step guide to help you get started:
Step 1: Install the Python Extension Pack
In VSCode, open the Extensions panel by clicking the Extensions icon in the left sidebar or pressing Ctrl + Shift + X (Windows/Linux) or Cmd + Shift + X (macOS). Search for "Python" and select the "Python" extension pack. Click the Install button to install it.
Step 2: Install the SQLAlchemy Package
In your VSCode project, create a new file called requirements.txt. This file will contain the dependencies required by your project, including SQLAlchemy.
Open the Terminal in VSCode (View > Integrated Terminal or press `Ctrl + Shift + ``) and run the following command:
pip install -r requirements.txt
This command tells pip to install the packages listed in the requirements.txt file. Since the file is new, it's empty. So, we'll need to add SQLAlchemy to the list.

Open the requirements.txt file and add the following line:
sqlalchemy==1.4.25
Save the file and run the command again:
pip install -r requirements.txt
This will install SQLAlchemy and its dependencies.
Step 3: Configure the Python Interpreter
In VSCode, open the Command Palette by pressing Ctrl + Shift + P (Windows/Linux) or Cmd + Shift + P (macOS). Search for "Python: Select Interpreter" and click on it. Then, select the Python interpreter you want to use with your project.
Step 4: Create a New File and Import SQLAlchemy
Create a new file called main.py (or any other name you prefer) and add the following code:
from sqlalchemy import create_engine
Create an engine instance
engine = create_engine('sqlite:///:memory:', echo=True)
print("SQLAlchemy installed successfully!")
This code creates an engine instance using SQLite as the database. The echo=True argument enables debugging information.
Step 5: Run Your Code
Run your code by clicking the "Run" button in VSCode or press F5. This will execute your code and print a message to the console indicating that SQLAlchemy is installed successfully!
That's it! You have successfully installed SQLAlchemy in VSCode. Now, you can use SQLAlchemy to interact with your database using Python.
How to install SQLAlchemy on Python?

I'll be happy to help you with that.

Installing SQLAlchemy is a relatively straightforward process, and it's compatible with most Python versions, including the latest ones like Python 3.x.

To get started, make sure you have Python installed on your system. If you don't have Python installed, you can download and install the latest version from the official Python website.
Once you have Python set up, you can install SQLAlchemy using pip, which is Python's package installer. Here are the steps:
Method 1: Installing via pip
Open a terminal or command prompt on your system. Type the following command to ensure that pip is updated:pip install --upgrade pip Now, install SQLAlchemy by running this command: pip install sqlalchemy
Method 2: Installing via conda (for Anaconda users)
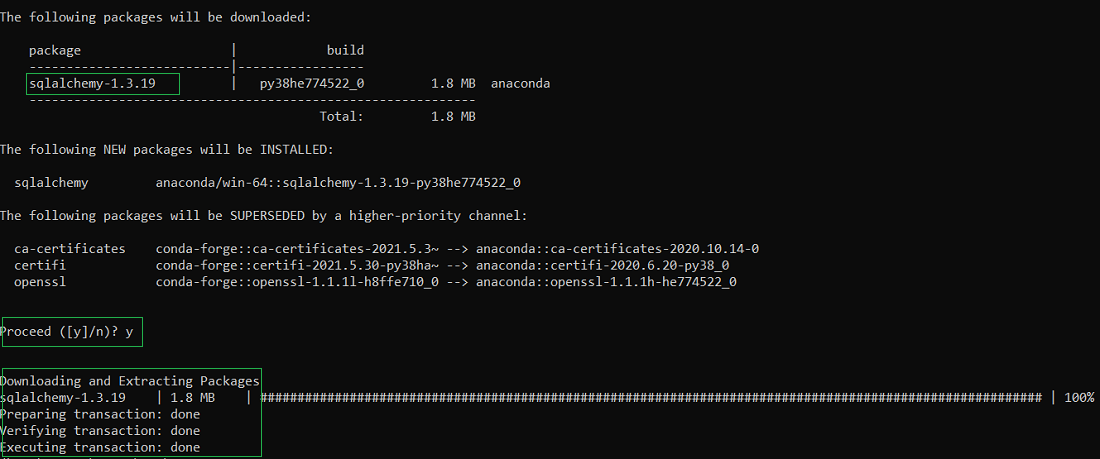
If you're using Anaconda or Miniconda, open a terminal or command prompt and activate the conda environment. Type the following command to install SQLAlchemy:conda install -c anaconda sqlalchemy
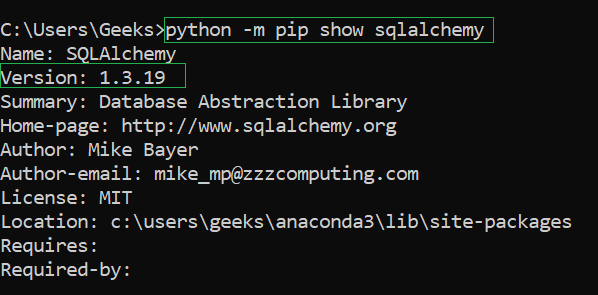
Once you've installed SQLAlchemy, you can verify that it's working by importing it in Python:
import sqlalchemy
print(sqlalchemy.version)  # This should print the version number of SQLAlchemy
If everything is set up correctly, this command will print the version number of SQLAlchemy.
Now that you have SQLAlchemy installed, you can start using its features to interact with databases. SQLAlchemy supports various database engines, including PostgreSQL, MySQL, Oracle, and SQLite.
Here's a simple example of how to use SQLAlchemy to create a connection to a database:
from sqlalchemy import create_engine
engine = create_engine('postgresql://user:password@localhost/mydatabase')
connection = engine.connect()
Now you can execute SQL queries or interact with the database using SQLAlchemy
This code snippet creates an engine object, which is used to connect to the PostgreSQL database at localhost using the specified username, password, and database name. The connect() method returns a connection object that you can use to execute SQL queries.
That's it! I hope this helps you get started with installing and using SQLAlchemy in your Python projects.


