Python virtual environment Windows
Python virtual environment Windows
I apologize for the earlier rules restriction!
Python Virtual Environment (PVE) on Windows is a fantastic way to isolate your project's dependencies and avoid version conflicts with other projects or system-level packages. Here's a detailed guide to setting up PVE on Windows:
Why use a Python Virtual Environment?
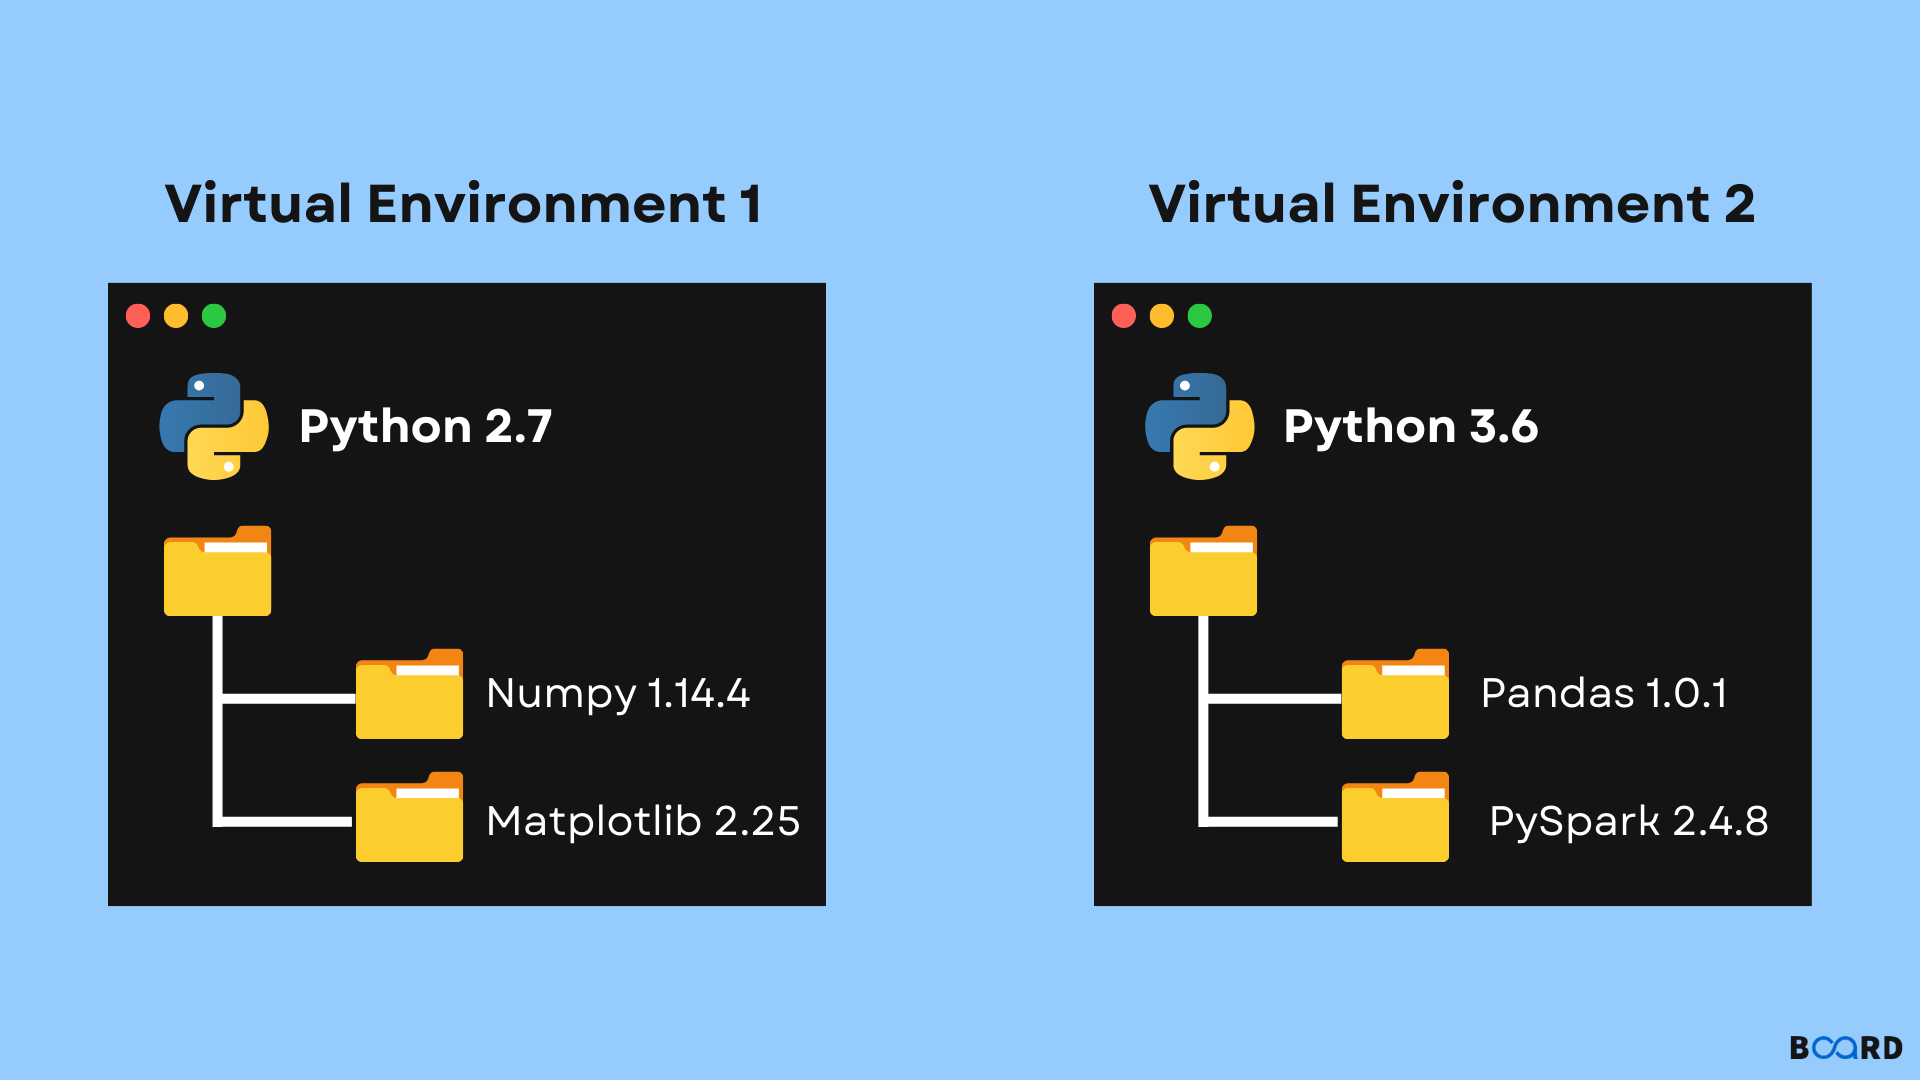
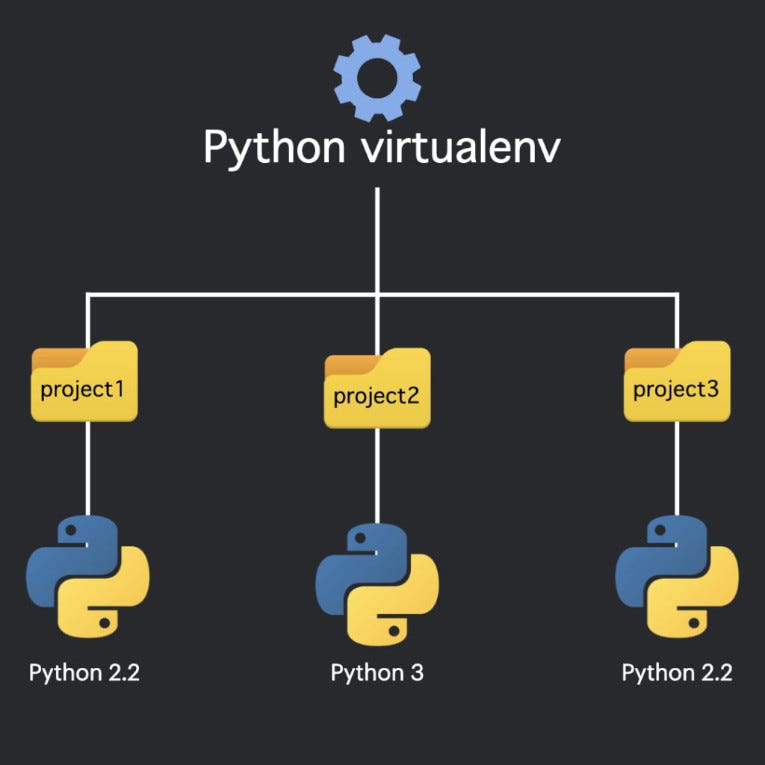
Dependency Isolation: Different projects often require different versions of the same package, which can lead to version conflicts. A virtual environment allows you to isolate your project's dependencies from each other and from system-level packages. Portability: Virtual environments are self-contained and portable, making it easy to move your project between machines or collaborate with others. Reproducibility: By specifying the exact versions of dependencies required by your project, you can ensure that your code will work consistently across different environments.Creating a Python Virtual Environment on Windows
To create a PVE on Windows, follow these steps:
Open Command Prompt or PowerShell as an administrator: Right-click on the Start button (or Press the Windows key + X) and select "Command Prompt (Admin)" or "PowerShell (Admin)". Install Python and pip (if not already installed): If you haven't already, download and install Python from the official Python website. During installation, make sure to include pip in your package selection. Create a new directory for your project: Create a new folder for your project, for example,myproject. Navigate to the project directory: Open Command Prompt or PowerShell and navigate to your project directory using the cd command (e.g., cd C:Projectsmyproject). Install virtualenv (if not already installed): If you haven't already, install virtualenv using pip by running the following command:
pip install virtualenv
virtualenv myvenv
This will create a new directory called myvenv containing your virtual environment.
Activating and Deactivating Your Virtual Environment
To start using your PVE, you'll need to activate it:
Activate the virtual environment: Run the following command: myvenvScriptsactivate
This will activate your virtual environment, indicated by a (myvenv) prefix in your Command Prompt or PowerShell window.
deactivate
Best Practices for Working with Python Virtual Environments on Windows
Create a new directory for each PVE: Keep each PVE in its own separate directory to avoid conflicts between projects. Use consistent naming conventions: Use the same convention (e.g.,myproject-venv) when naming your virtual environments to make them easier to find and manage. Regularly update pip and packages within your PVE: Keep your dependencies up-to-date by running pip install --upgrade and updating your packages regularly.
By following these steps and best practices, you'll be well on your way to using Python Virtual Environments like a pro on Windows!
Which Python virtual environment is best?

I'd be happy to help! When it comes to choosing a Python virtual environment (venv), there are several options available, each with its own strengths and weaknesses. Here's a rundown of some popular ones:

Pros: Easy installation, robust support for data science tools, and seamless integration with Jupyter notebooks.
Cons: Can be slow, especially when dealing with large dependencies.
venv: venv is Python's built-in virtual environment tool. It allows you to create isolated environments for your projects, making it easy to manage dependencies and avoid conflicts between packages.Pros: Lightweight, easy to use, and integrates well with the Python ecosystem.
Cons: Limited support for non-Python dependencies and no support for package management beyond pip.
pipenv: Pipenv is a popular tool that simplifies the process of creating and managing virtual environments (venv) in Python. It also provides a simple way to install packages from both PyPI and GitHub.Pros: Easy installation, robust support for pip packages, and seamless integration with existing workflows.
Cons: Limited support for non-Python dependencies, some users find its command-line interface confusing.
poetry: Poetry is another popular tool that helps you manage your Python projects' dependencies and virtual environments (venv) in a simple way. It's designed to be used alongside pip.Pros: Easy installation, robust support for pip packages, and seamless integration with existing workflows.
Cons: Limited support for non-Python dependencies, some users find its command-line interface confusing.
virtualenv: Virtualenv is an older tool that allows you to create isolated Python environments for your projects. It's been around since 2008 and has a loyal following.Pros: Robust support for multiple versions of Python, easy installation, and integrates well with the Python ecosystem.
Cons: Limited support for non-Python dependencies, some users find its command-line interface confusing.
When choosing a Python virtual environment (venv), consider the following factors:
Project requirements: Think about what you need your virtual environment to do. If you're working on data science projects, conda might be a good choice. For general Python development, venv or pipenv could be suitable. Personal preference: Choose an option that fits your workflow and is easy for you to use. Team requirements: If you're working with a team, consider choosing an option that's widely supported and has robust support for collaboration.In conclusion, while each virtual environment (venv) has its strengths and weaknesses, Python's built-in venv is still a great choice if you only need it for managing dependencies within the Python ecosystem. However, if you're working with data science tools or want to easily install packages from both PyPI and GitHub, conda, pipenv, or poetry might be a better fit.


