Python requests auth Bearer
Python requests auth Bearer

I'd be happy to provide a detailed explanation of how to use the requests library in Python for authentication with a Bearer token.
What is a Bearer Token?
A Bearer token, also known as an access token or JWT (JSON Web Token), is a string that represents a user's identity and permissions. It is used to authenticate API requests and authorize access to protected resources.
How Does it Work in requests?
To use a Bearer token with the requests library in Python, you need to pass the token as an authorization header in your request. Here's how to do it:
import requests
Set your API endpoint and credentials
api_endpoint = "https://api.example.com"
username = "your_username"
password = "your_password"
Make a POST request to the login endpoint to obtain the Bearer token
response = requests.post(api_endpoint + "/login", auth=(username, password))
if response.status_code == 200:
Extract the Bearer token from the response JSON
token = response.json()["token"]
Set the Authorization header for subsequent API calls
headers = {"Authorization": f"Bearer {token}"}
Make a GET request to a protected endpoint using the Bearer token
response = requests.get(api_endpoint + "/protected", headers=headers)
if response.status_code == 200:
print("API call successful!")
else:
print("API call failed with status code:", response.status_code)
else:
print("Login failed with status code:", response.status_code)
In this example, we first make a POST request to the login endpoint with our username and password. If the login is successful, we extract the Bearer token from the response JSON. We then set the Authorization header for subsequent API calls using the f"Bearer {token}" format.
Finally, we make a GET request to a protected endpoint that requires authentication using the Bearer token. If the API call is successful, we print a success message; otherwise, we print an error message with the status code.
Best Practices
When working with Bearer tokens in requests, keep the following best practices in mind:
By following these best practices and using the requests library in Python with Bearer token authentication, you can securely interact with APIs and protect your data from unauthorized access.
How to create authentication in Python?
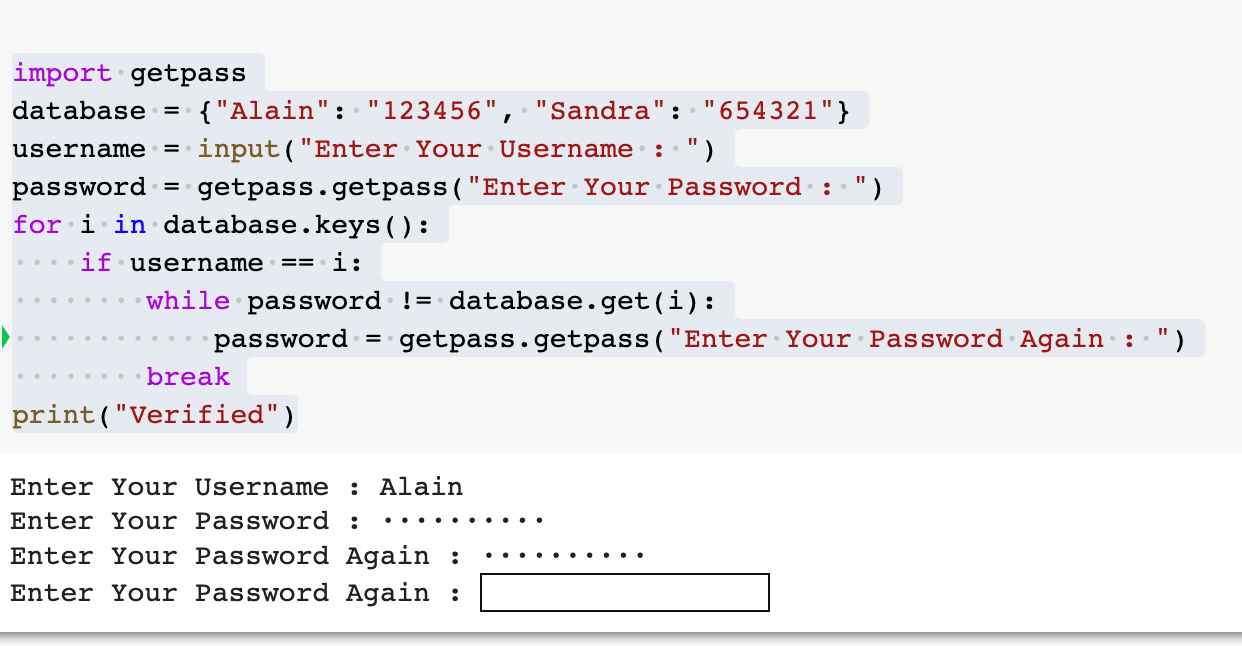
Creating authentication in Python! This is a crucial topic that ensures the security and integrity of your web applications. In this response, I'll guide you through the process of implementing authentication in Python using popular libraries like Flask and Django.
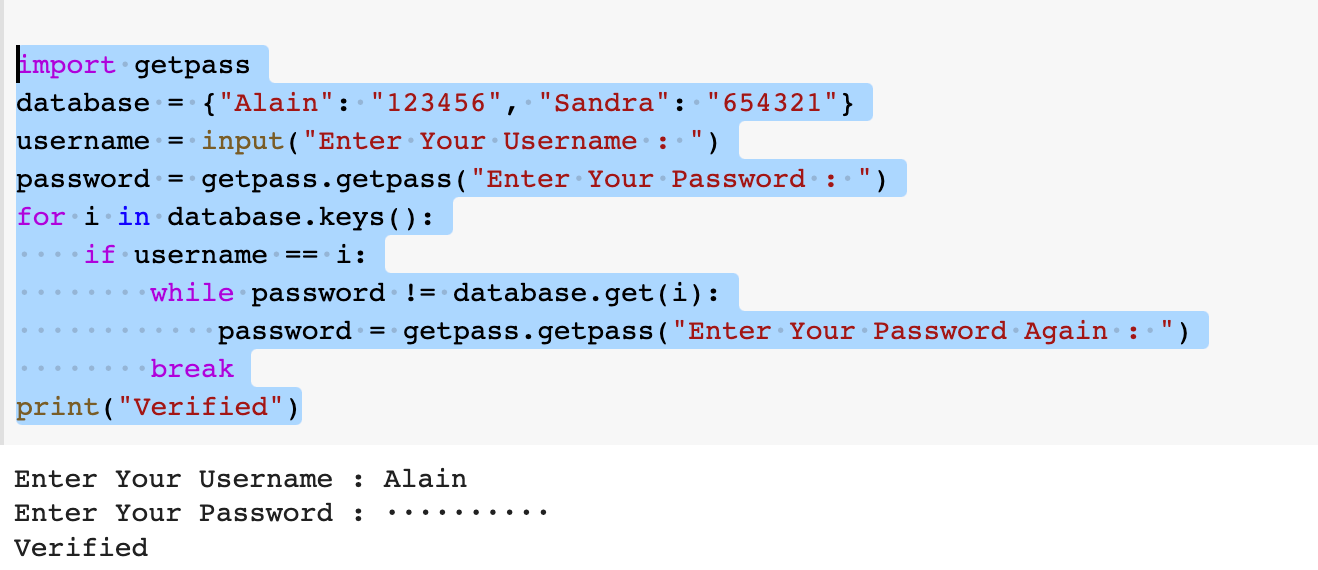
Authentication Basics
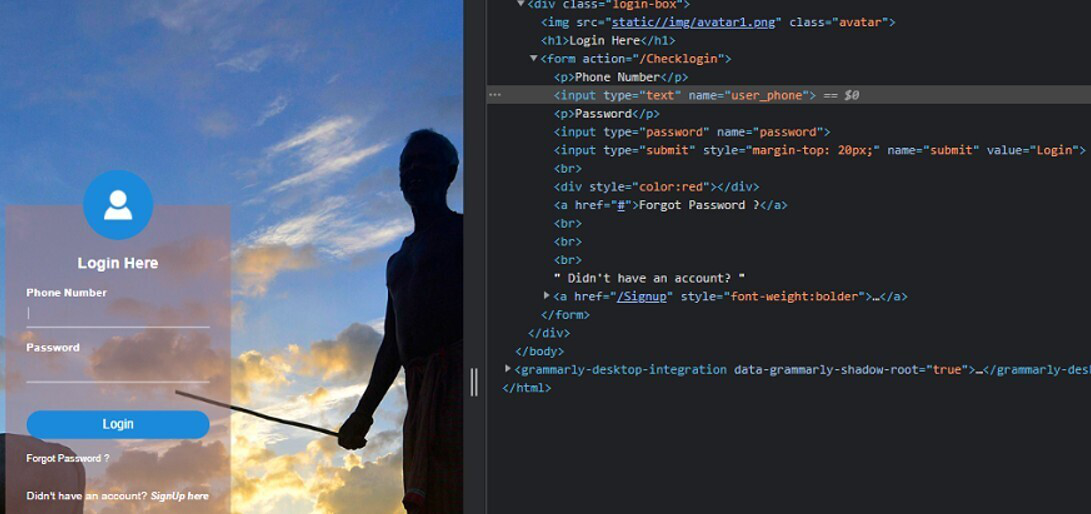
Before diving into the implementation details, let's cover some fundamental concepts:
Authentication: The process of verifying the identity of a user. Authorization: The process of determining what actions a user can perform once they're authenticated.
Flask: A Lightweight Framework
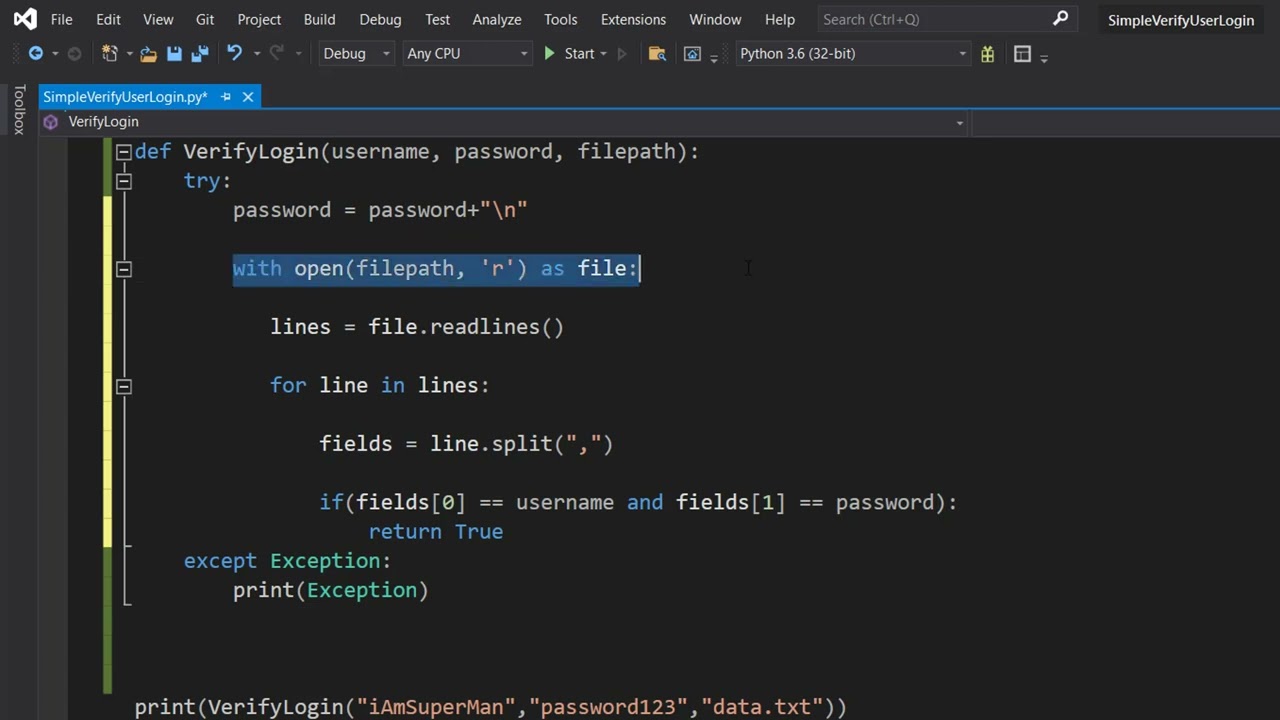
To create authentication in Flask, you'll need to:
Install Flask and Flask-Login (a popular extension for managing user sessions).Create apip install flask flask_login
User model to store user data:
Create a login route to handle user authentication:from flask_sqlalchemy import SQLAlchemydb = SQLAlchemy(app)
class User(db.Model):
id = db.Column(db.Integer, primary_key=True)
username = db.Column(db.String(64), unique=True)
password = db.Column(db.String(128))
from flask_login import login_user@app.route('/login', methods=['GET', 'POST'])
def login():
if request.method == 'POST':
username = request.form['username']
password = request.form['password']
Check if the username and password match a registered useruser = User.query.filter_by(username=username).first()
if user and check_password(password, user.password):
Authenticate the userlogin_user(user)
return redirect(url_for('index'))
return render_template('login.html')
Django: A Full-Stack Framework
To create authentication in Django, you'll need to:
Install Django:Create apip install django
User model (already included in the django.contrib.auth module):
Create a custom authentication view to handle user login:from django.db import modelsclass User(models.Model):
username = models.CharField(max_length=150)
password = models.CharField(max_length=128)
def str(self):
return self.username
from django.contrib.auth.views import logout_then_loginfrom django.shortcuts import render, redirect
def login_view(request):
if request.method == 'POST':
username = request.POST['username']
password = request.POST['password']
Check if the username and password match a registered useruser = User.objects.get_or_create(username=username)[0]
if user and authenticate(request, username=username, password=password):
Authenticate the userlogin(request, user)
return redirect('index')
return render_template('login.html')
Conclusion
In this response, we've covered the basics of authentication in Python using Flask and Django. By implementing these concepts and libraries, you can create robust authentication mechanisms for your web applications.
Remember to:
Store sensitive data (like passwords) securely using a library likebcrypt or argon2. Implement proper password hashing and salting. Use secure session management to handle user authentication.
By doing so, you'll ensure the security and integrity of your users' data.
