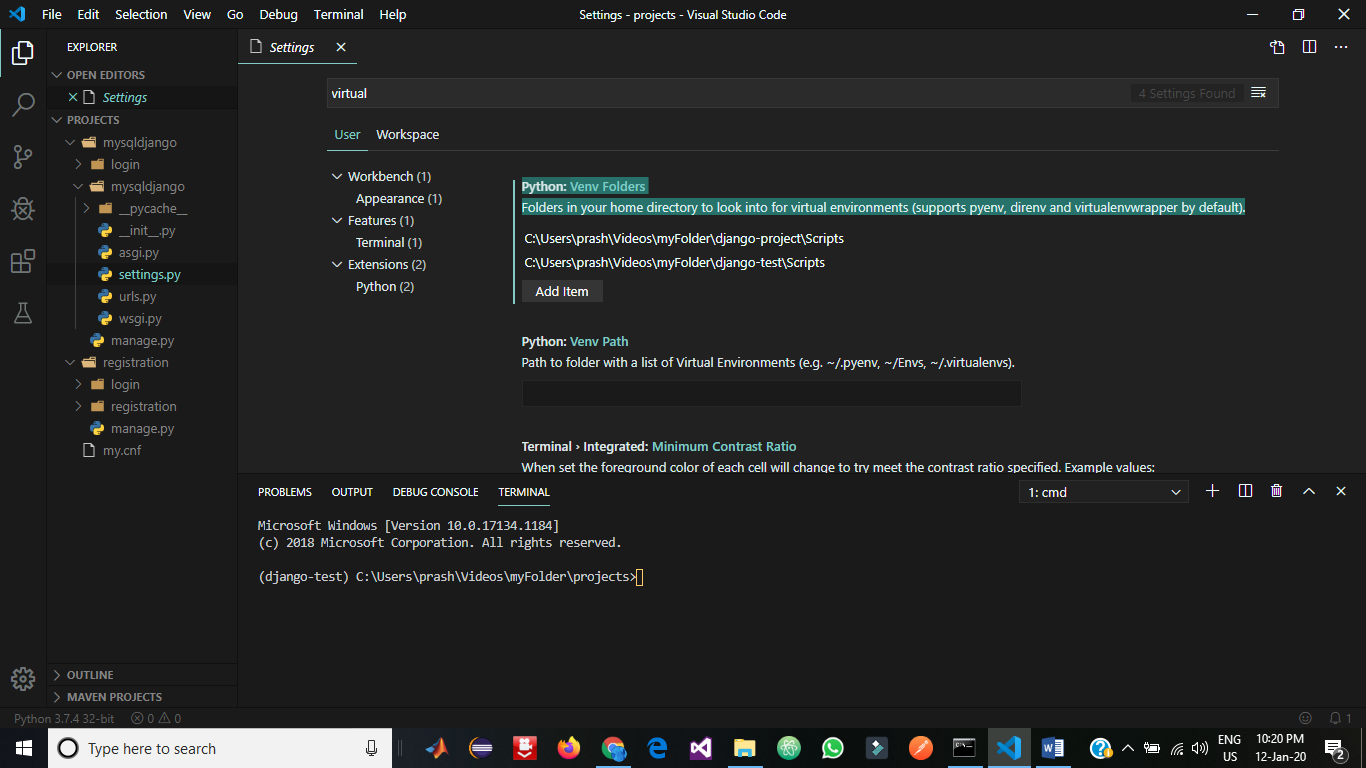
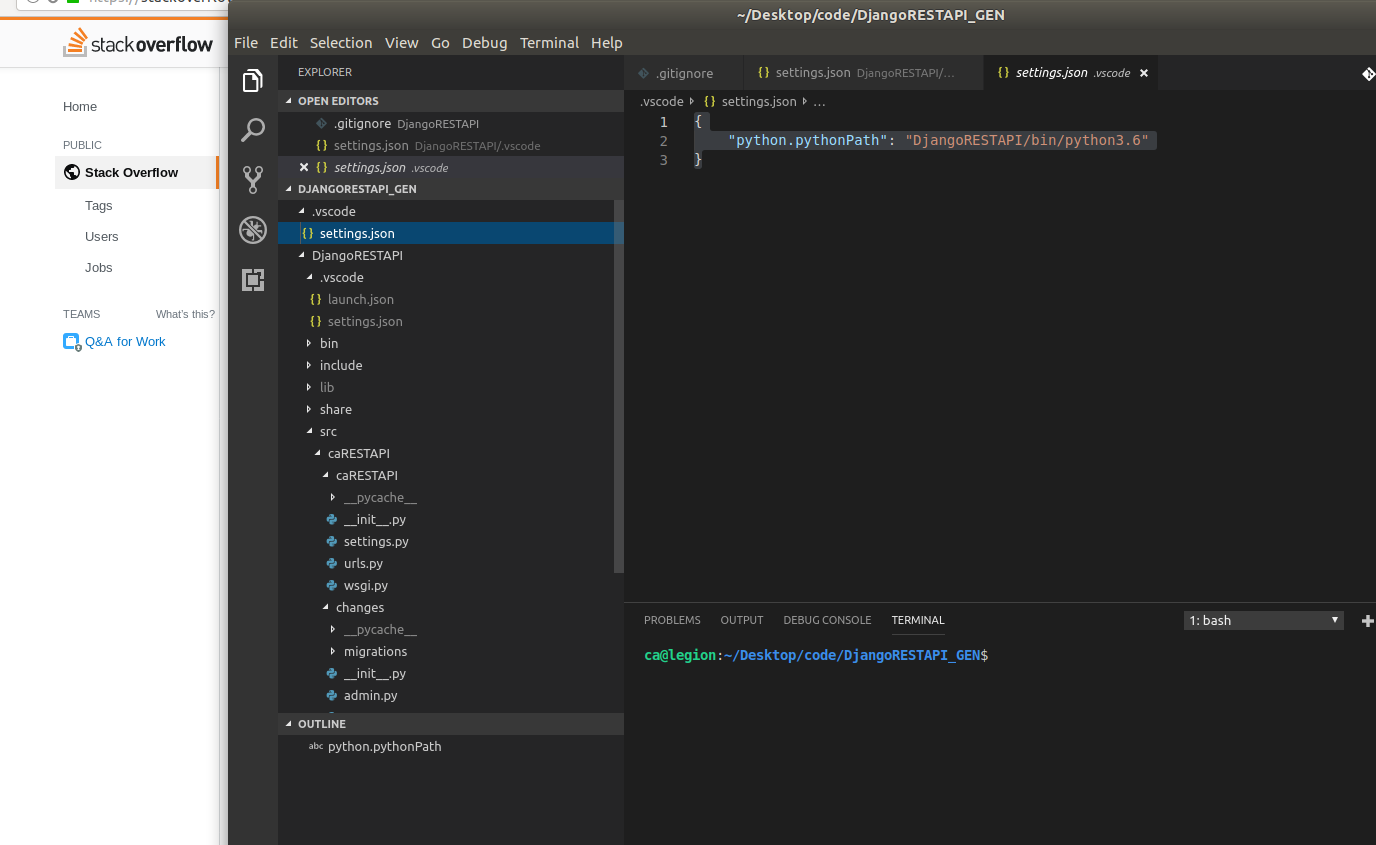
create virtual environment python #vscode
create virtual environment python #vscode

Creating a virtual environment for Python using Visual Studio Code (VSCode) is a straightforward process. A virtual environment, also known as a "venv" in Python terminology, allows you to isolate your project's dependencies from the global Python environment. This ensures that any packages installed during development do not conflict with other projects or affect the system Python environment.
Step 1: Open VSCode
Open Visual Studio Code on your computer. If you don't have VSCode installed, you can download it from the official website.
Step 2: Create a New Folder for Your Project
Create a new folder for your project by going to File > New Folder (or press Ctrl + K and then Ctrl + N) in VSCode. Name this folder something like "MyPythonProject" or any other name that suits your needs.
Step 3: Open the Terminal
Open the terminal in VSCode by going to Terminal > New Terminal (or press Ctrl +) and select the new folder you just created as the working directory.
Step 4: Install pipenv (Optional but Recommended)
While not strictly necessary, installing pipenv, a Python package manager that makes managing dependencies easier, is highly recommended. Run the following command in your terminal:
pip install pipenv
Step 5: Create a Virtual Environment
Use the python -m venv command to create a new virtual environment. Replace <env_name> with the name you want for your virtual environment (e.g., "myenv"):
python -m venv
For example, if you want to call your virtual environment "myenv," use:
python -m venv myenv
This command creates a new directory with the name <env_name> and initializes it as a Python virtual environment.
Step 6: Activate Your Virtual Environment
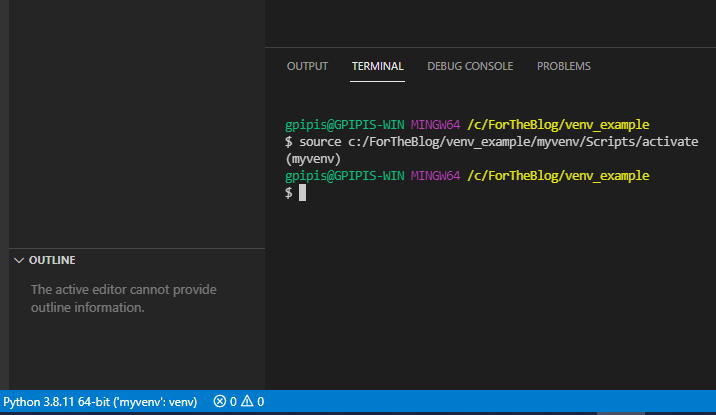
To start using your newly created virtual environment, activate it by running:
myenvScriptsactivate.bat (on Windows) or
source myenv/bin/activate (on Linux/macOS)
You will now be operating in the context of your virtual environment. The terminal prompt should reflect this.
Step 7: Verify Your Virtual Environment
To verify that you are indeed working within the virtual environment, run:
pip list
This command shows you a list of all packages installed in your virtual environment. Since it is now empty, you will see no packages listed.
Step 8: Install Packages (Optional)
If you want to install specific packages for your project, use pip or pipenv within your virtual environment:
pip install
or
pipenv install
Now you have created a Python virtual environment using VSCode and can start developing your project.
create virtual environment python mac vscode

I'd be happy to help you with creating a virtual environment for Python on your Mac using Visual Studio Code (VSCode).

Step 1: Install the Virtual Environment Package

First, let's install the virtualenv package using pip:
pip install virtualenv
This will create a new directory called virtualenv in your user directory.
Step 2: Create a New Virtual Environment
Next, we'll create a new virtual environment for our Python project. Let's name it myenv.
virtualenv myenv
This will create a new directory called myenv with its own Python interpreter and package dependencies isolated from the system Python.
Step 3: Activate the Virtual Environment
To start using the virtual environment, we need to activate it. Let's use the following command:
source myenv/bin/activate
On Mac OS X, you can use the following command instead:
. myenv/bin/activate
Once activated, your terminal prompt will change to indicate that you are now working within the virtual environment.
Step 4: Install Python Packages
Now we can install any required Python packages for our project using pip:
pip install requests numpy scipy pandas matplotlib
These are just a few examples of popular Python libraries. You can install as many or as few packages as you need for your project.
Step 5: Deactivate the Virtual Environment (When Done)
When you're finished working with your virtual environment, you'll want to deactivate it:
deactivate
This will return your terminal prompt to its original state.
Step 6: Create a New File in VSCode
Now that we have our virtual environment set up, let's create a new Python file in VSCode. Open VSCode and create a new folder for your project (e.g., myproject). Inside the folder, create a new file called main.py:
touch main.py
Step 7: Write Your Code
Now we can start writing our Python code. Let's add some basic imports and print statements to get started:
import requests
from numpy import *
print("Hello, World!")
Of course, this is just a simple example. You can write as much or as little code as you need for your project.
Step 8: Run Your Code
Finally, let's run our code using the virtual environment:
python main.py
This will execute the code we wrote in Step 7.
That's it! We've created a virtual environment for Python using virtualenv and set up VSCode to work with it. You can now use your virtual environment to isolate your project dependencies and switch between different projects without affecting each other.
Happy coding!


