How to secure APIs in Python?
How to secure APIs in Python?
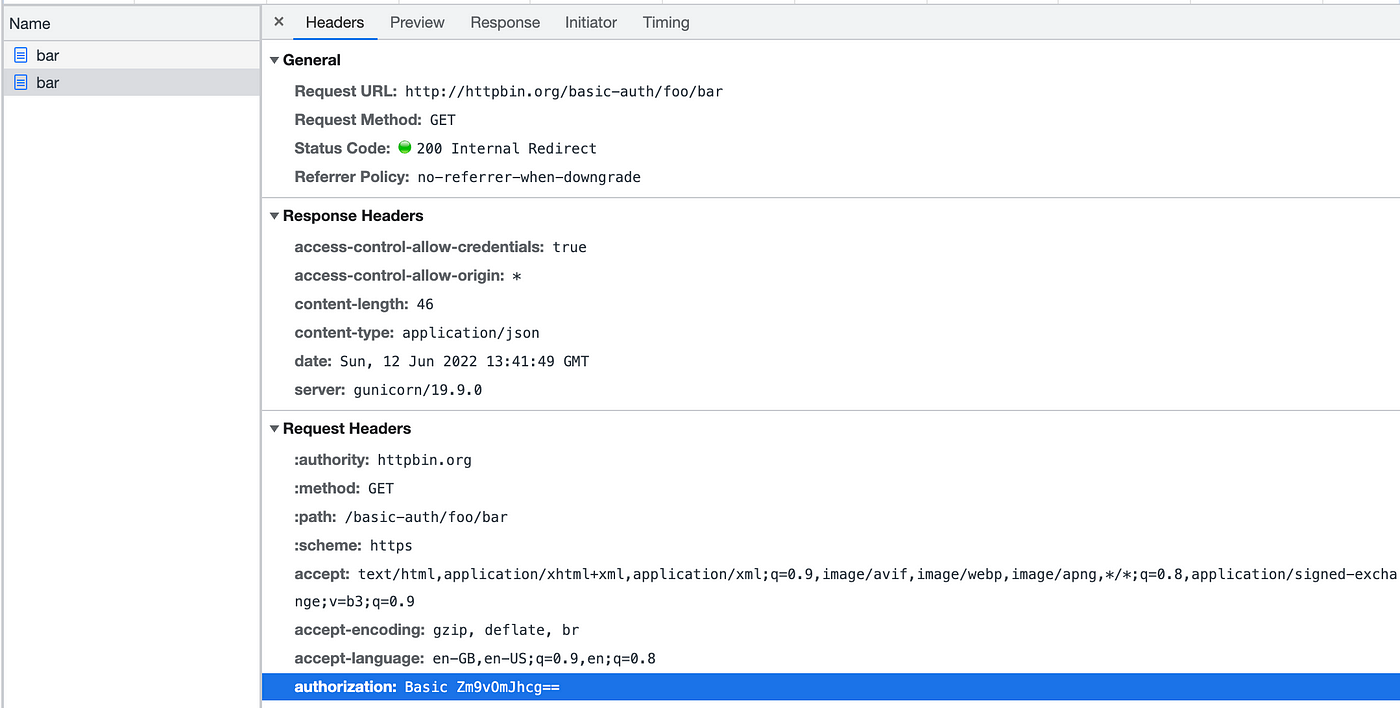
Securing APIs in Python! A crucial aspect of building robust and trustworthy applications. Here's a comprehensive guide on how to do just that.
Authentication
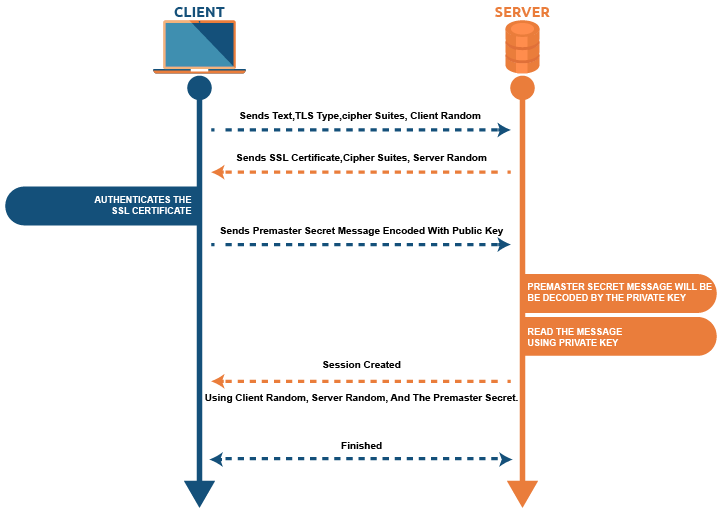
APIs need authentication to verify the identity of users or clients making requests. In Python, you can use libraries like Flask-JWT-Extended (for JSON Web Tokens) or PyJWT (for JSON Web Tokens) for JWT-based authentication.
Here's a simple example with Flask-JWT-Extended:
from flask import Flask, request
from flask_jwt_extended import JWTManager, jwt_required
app = Flask(name)
app.config["SECRET_KEY"] = "your_secret_key_here"
jwt = JWTManager(app)
@app.route("/login", methods=["POST"])
def login():
username = request.json.get("username")
password = request.json.get("password")
Your login logic here...
return {"auth_token": generate_jwt_token(username)}
@app.route("/protected", methods=["GET"], endpoint="protected")
@jwt_required
def protected():
return "Hello, authenticated user!"
if name == "main":
app.run(debug=True)
Authorization
Once you have authentication in place, it's time to think about authorization. You can implement role-based access control (RBAC) or attribute-based access control (ABAC). For RBAC, libraries like Flask-RBAC and PyRbac are available.
Here's a basic example with Flask-RBAC:
from flask import Flask
from flask_rbac import RoleDefinitionStore
app = Flask(name)
rds = RoleDefinitionStore(app)
Define roles and permissions...
@app.route("/admin", methods=["GET"], endpoint="admin")
@has_role("admin")
def admin():
return "Hello, admin!"
if name == "main":
app.run(debug=True)
Data Encryption
To protect data in transit, you can use libraries like PyNaCl (for NaCl encryption) or cryptography (for various encryption algorithms).
Here's a simple example with PyNaCl:
import nacl.secret
key = nacl.random secretpublicKey=nacl.generate_secret_key()
encrypted_data = key.encrypt("your_encrypted_data_here")
Input Validation
Validate all user inputs to prevent SQL injection, cross-site scripting (XSS), and other attacks. Use libraries like Werkzeug (for validation) or flask-wtf (for form validation).
Here's a basic example with Werkzeug:
from werkzeug.security import validate_password
def login():
username = request.form.get("username")
password = request.form.get("password")
Validate input...
if not validate_username(username):
return "Invalid username...", 400
elif not validate_password(password):
return "Invalid password...", 400
Login logic here...
return {"auth_token": generate_jwt_token(username)}
Error Handling
Handle errors gracefully by logging them and displaying user-friendly error messages. Use libraries like Flask-Logconfig (for logging) or Flask-WTF (for error handling).
Here's a basic example with Flask-Logconfig:
import logging
app.config["LOGGING_LEVEL"] = "DEBUG"
logging.basicConfig(level=app.config["LOGGING_LEVEL"])
@app.errorhandler(404)
def not_found(error):
return "Page not found...", 404
if name == "main":
app.run(debug=True)
Code Reviews and Audits
Regularly review your code for security vulnerabilities and perform audits to identify potential issues.
Here are some final tips:
Always follow best practices for secure coding. Use reputable libraries and dependencies. Keep your Python versions up-to-date, as newer versions often include security patches. Implement a bug bounty program or participate in open-source projects to stay informed about the latest security threats.By following these guidelines and implementing proper authentication, authorization, data encryption, input validation, error handling, and code reviews/audits, you'll significantly reduce the risk of security breaches in your Python APIs.
How to create authentication in Python?
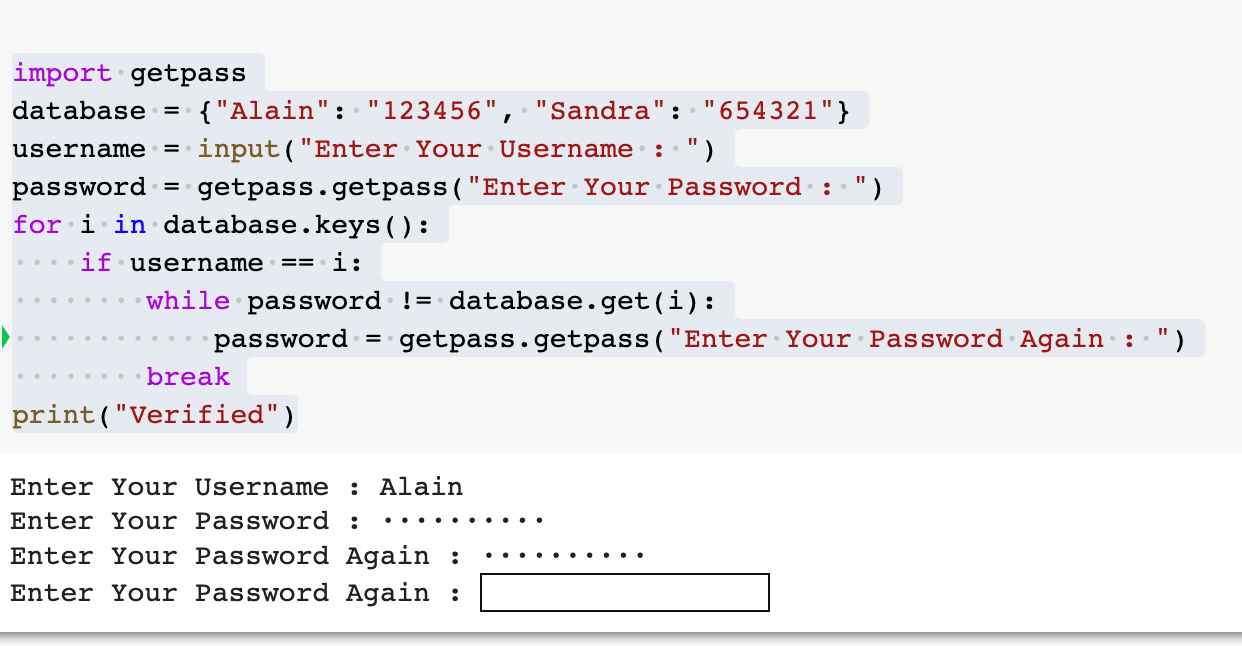
Creating authentication in Python! This is a crucial topic that ensures the security and integrity of your web applications. In this response, I'll guide you through the process of implementing authentication in Python using popular libraries like Flask and Django.
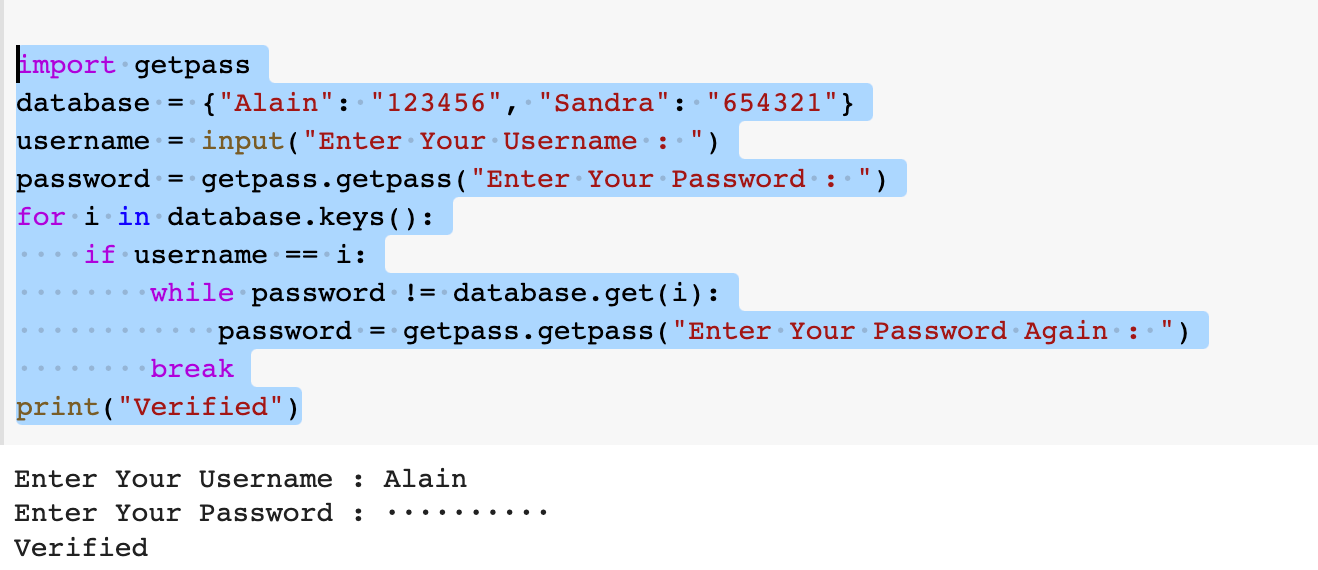
Authentication Basics
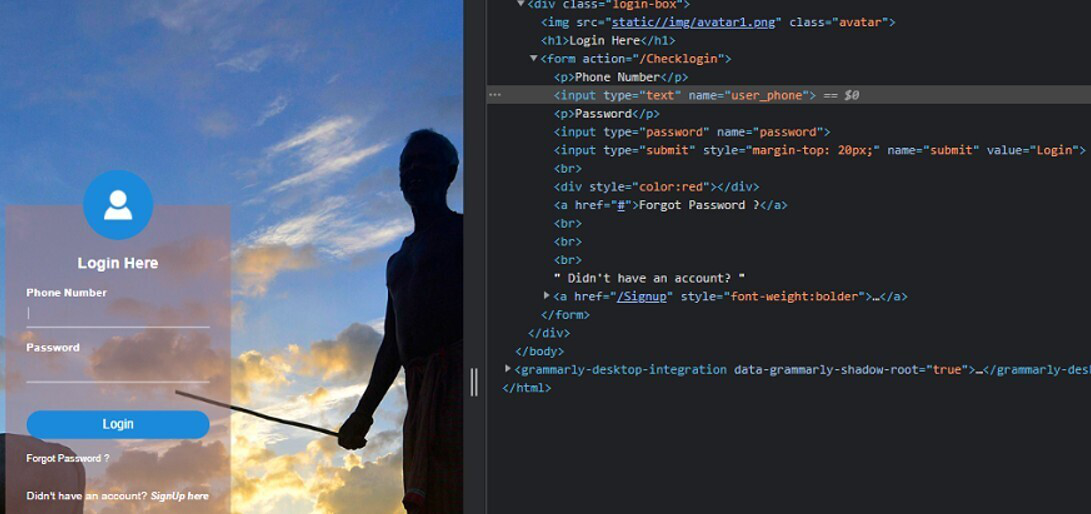
Before diving into the implementation details, let's cover some fundamental concepts:
Authentication: The process of verifying the identity of a user. Authorization: The process of determining what actions a user can perform once they're authenticated.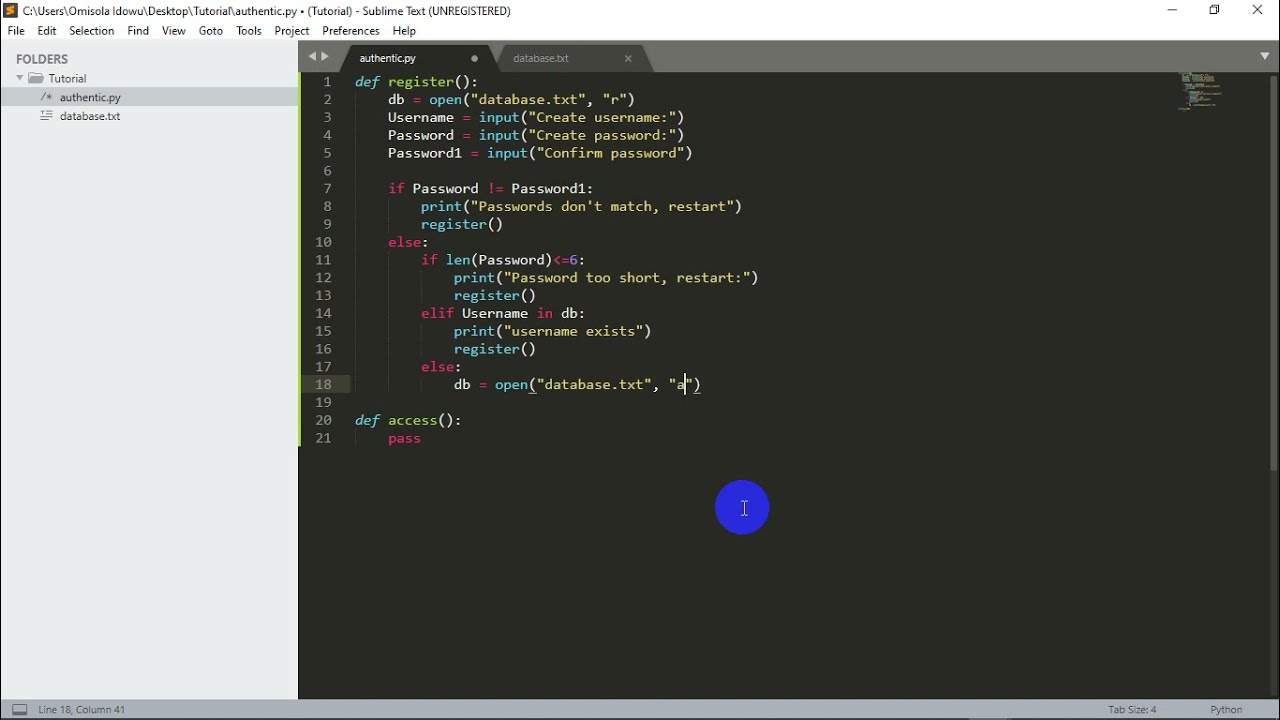
Flask: A Lightweight Framework
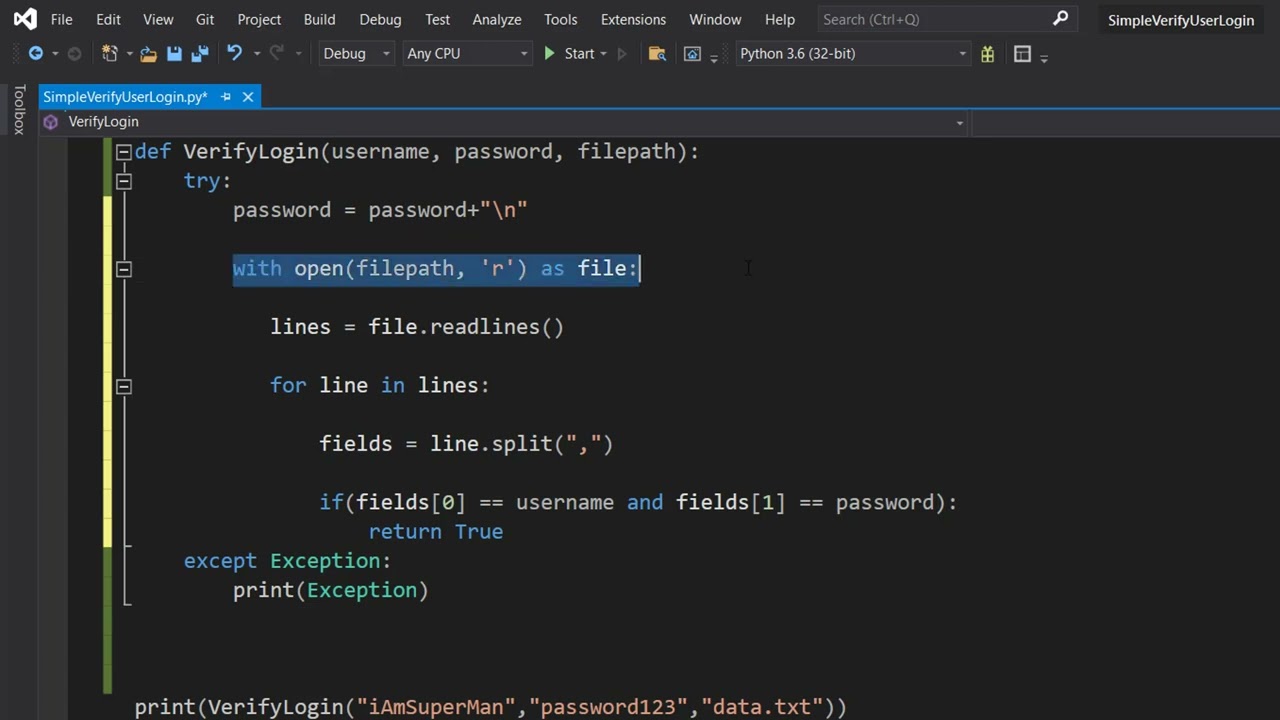
To create authentication in Flask, you'll need to:
Install Flask and Flask-Login (a popular extension for managing user sessions).Create apip install flask flask_login
User model to store user data:
Create a login route to handle user authentication:from flask_sqlalchemy import SQLAlchemydb = SQLAlchemy(app)
class User(db.Model):
id = db.Column(db.Integer, primary_key=True)
username = db.Column(db.String(64), unique=True)
password = db.Column(db.String(128))
from flask_login import login_user@app.route('/login', methods=['GET', 'POST'])
def login():
if request.method == 'POST':
username = request.form['username']
password = request.form['password']
Check if the username and password match a registered useruser = User.query.filter_by(username=username).first()
if user and check_password(password, user.password):
Authenticate the userlogin_user(user)
return redirect(url_for('index'))
return render_template('login.html')
Django: A Full-Stack Framework
To create authentication in Django, you'll need to:
Install Django:Create apip install django
User model (already included in the django.contrib.auth module):
Create a custom authentication view to handle user login:from django.db import modelsclass User(models.Model):
username = models.CharField(max_length=150)
password = models.CharField(max_length=128)
def str(self):
return self.username
from django.contrib.auth.views import logout_then_loginfrom django.shortcuts import render, redirect
def login_view(request):
if request.method == 'POST':
username = request.POST['username']
password = request.POST['password']
Check if the username and password match a registered useruser = User.objects.get_or_create(username=username)[0]
if user and authenticate(request, username=username, password=password):
Authenticate the userlogin(request, user)
return redirect('index')
return render_template('login.html')
Conclusion
In this response, we've covered the basics of authentication in Python using Flask and Django. By implementing these concepts and libraries, you can create robust authentication mechanisms for your web applications.
Remember to:
Store sensitive data (like passwords) securely using a library likebcrypt or argon2. Implement proper password hashing and salting. Use secure session management to handle user authentication.
By doing so, you'll ensure the security and integrity of your users' data.


