How do I activate an existing virtual environment in Python?
How do I activate an existing virtual environment in Python?
Activating an existing virtual environment in Python is a straightforward process that can save you time and hassle when working with multiple projects or dependencies. Here's a step-by-step guide on how to do it:
Before You Begin
Make sure you have installed thevirtualenv package (or its variant, venv) for Python using pip: pip install virtualenv (on Windows) or pip3 install virtualenv (on macOS/Linux). Locate the directory where your existing virtual environment is stored. Typically, this would be in a venv folder within your project's root directory.
Activating an Existing Virtual Environment
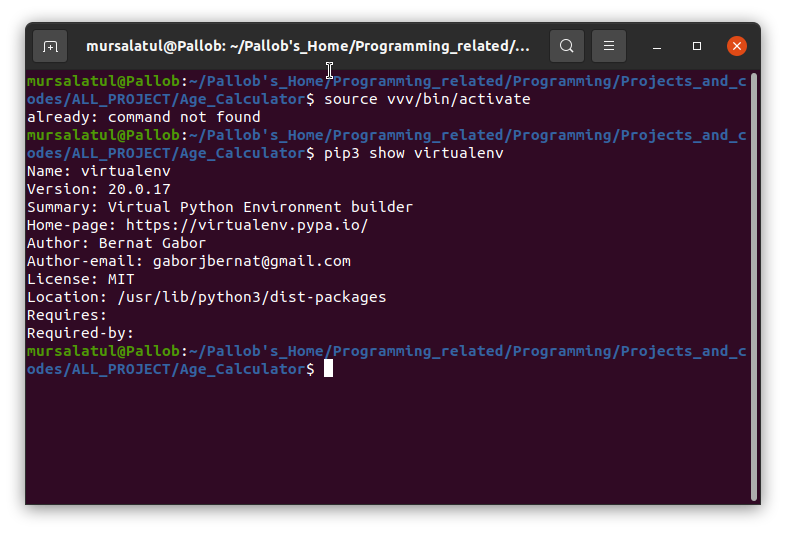
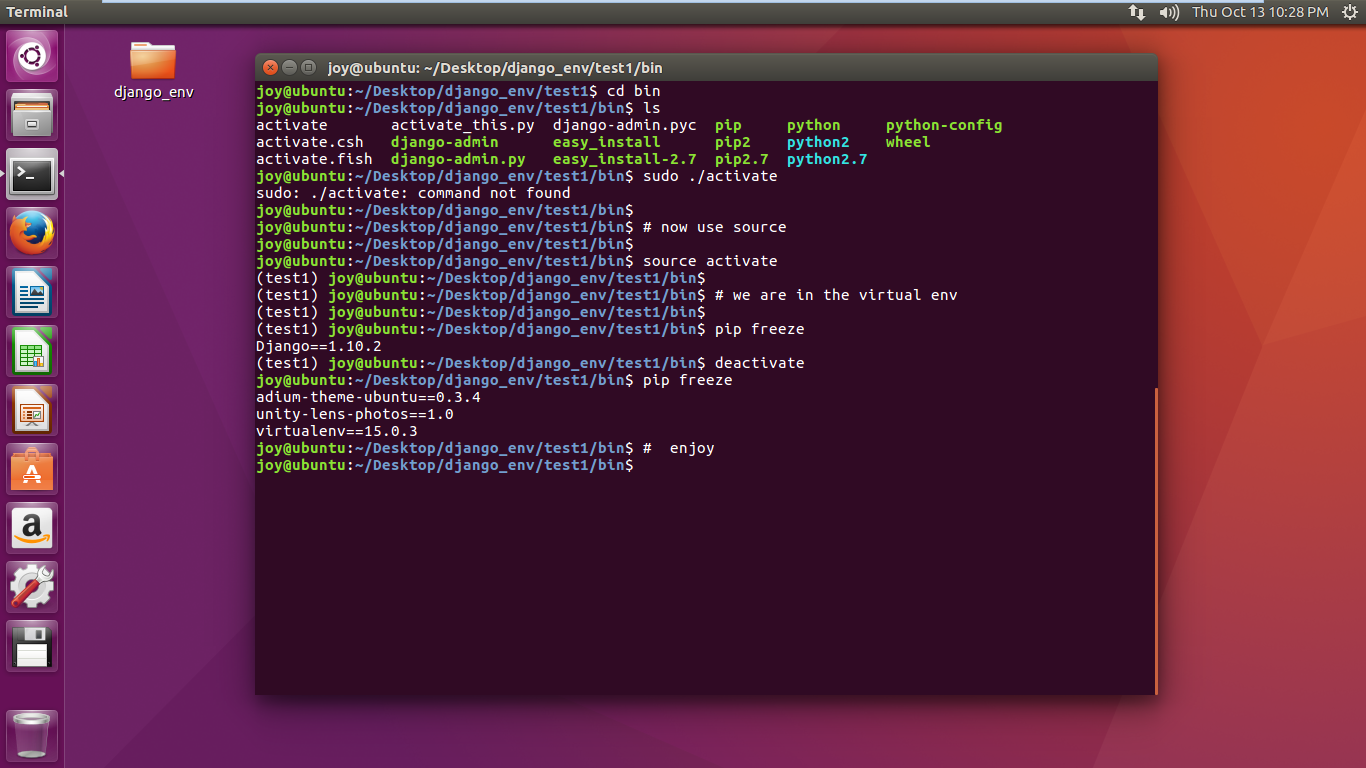
virtualenv: Open a command-line interface (CLI) or terminal window. Change to the directory that contains your existing virtual environment, for example:
cd myproject/venv/
source bin/activate
On Windows, use:
Scriptsactivate.bat
Notes
Theactivate script is used to set up the necessary environment variables for your virtual environment. When you see a (myvenv) prompt in your terminal window, you know that the virtual environment is now active. Using conda (for Anaconda/Conda users): If you're using Anaconda or Conda, activating an existing virtual environment works slightly differently. Open a terminal or command-line interface. Change to the directory containing your virtual environment:
cd myproject/envs/
source activate
Deactivating the Virtual Environment
When you're finished working with your virtual environment, you can deactivate it by typingdeactivate (on Linux/macOS) or exit (on Windows).
Tips and Variations
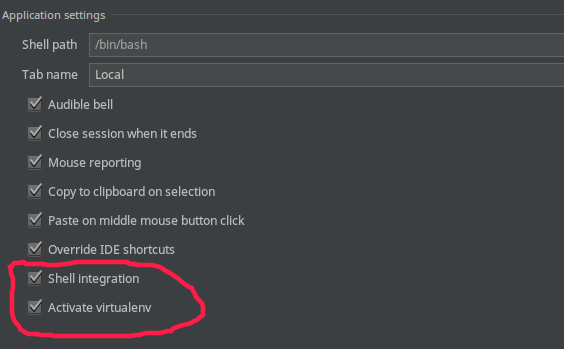
You can create a shortcut or alias to simplify the activation process. For example, if you have a lot of virtual environments, creating a shortcut likealias myenv="source myvenv/bin/activate" makes it easier to switch between them. If you're using an IDE (Integrated Development Environment) like PyCharm, you might need to configure your project settings to use the activated virtual environment. Check your IDE's documentation for specific instructions.
Conclusion
Activating an existing virtual environment in Python is a straightforward process that can save you time and hassle when working with multiple projects or dependencies. By following these steps, you should be able to activate your virtual environment and start working on your project without any issues. Happy coding!
How to start a virtual environment in Python Linux?
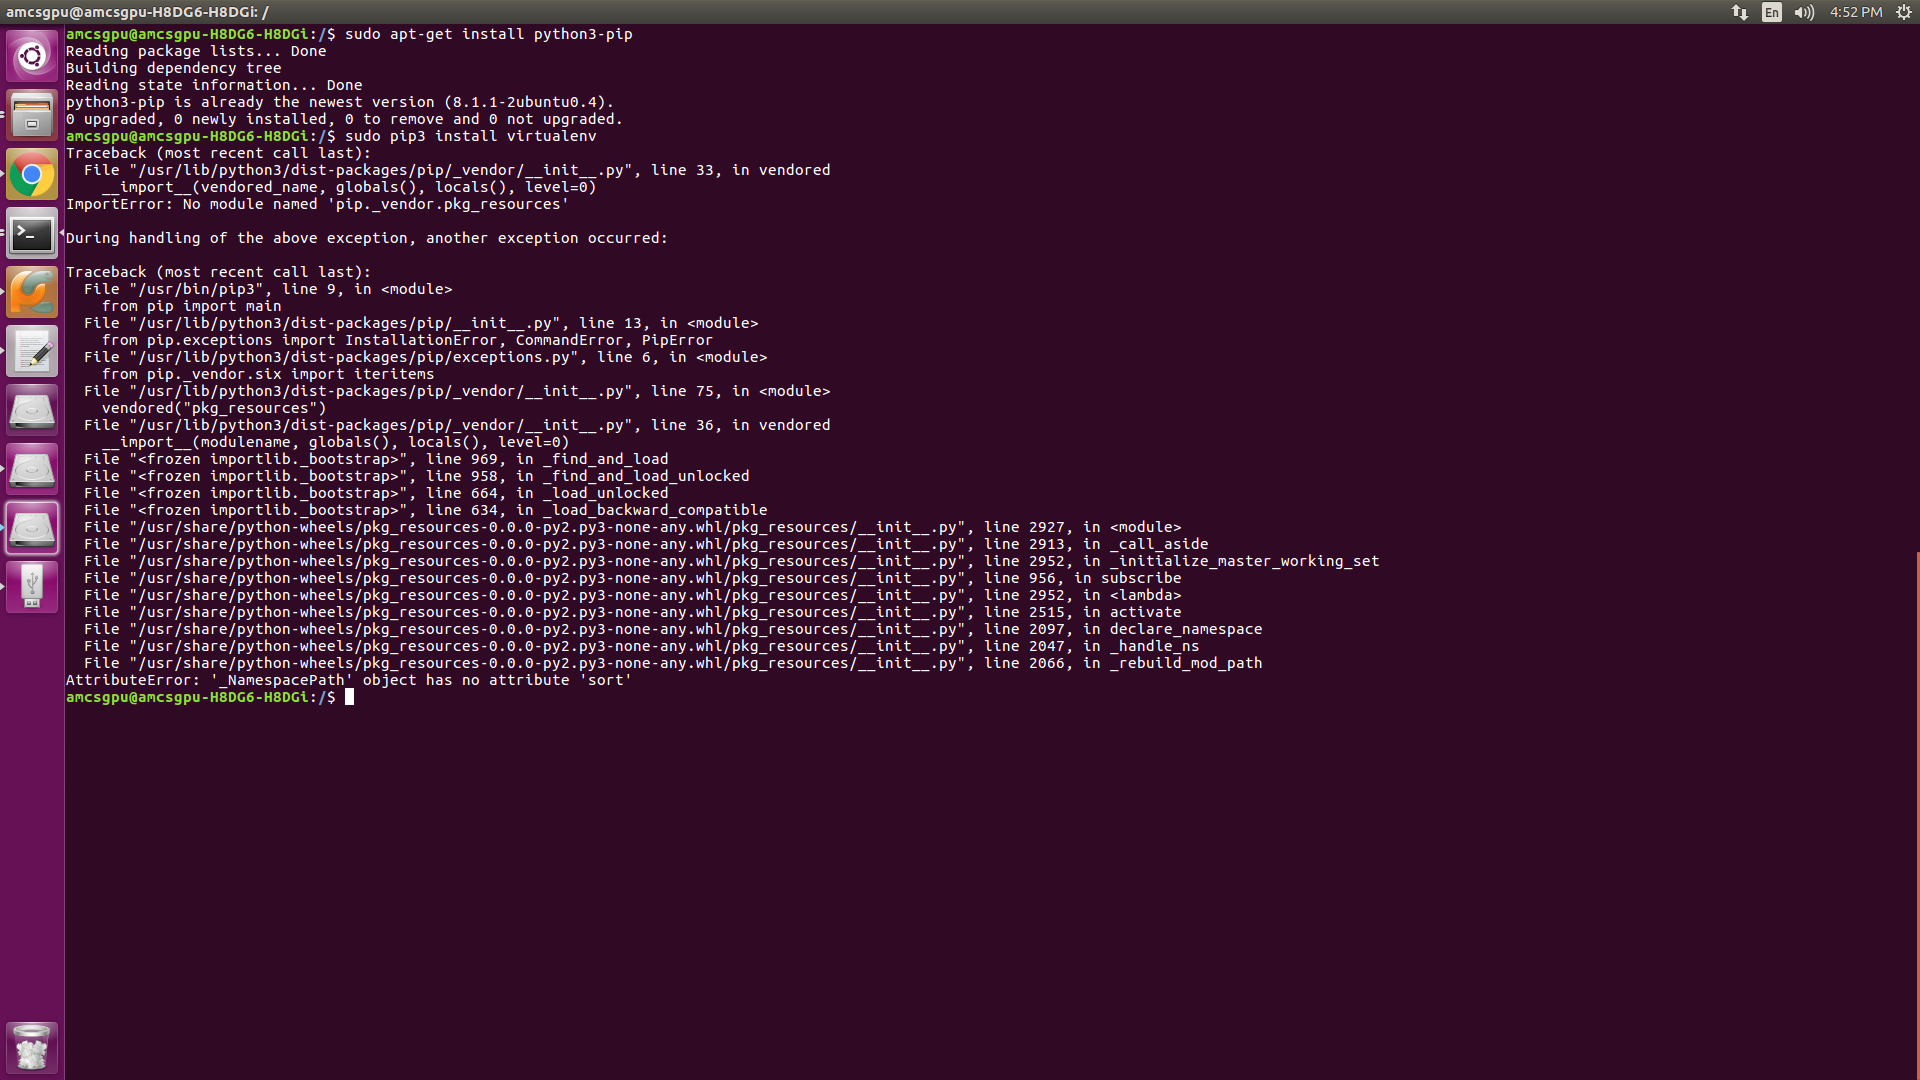
Starting a virtual environment (venv) in Python on Linux is a great way to isolate your project's dependencies and ensure that you're not affecting the global Python environment. Here's how to do it:
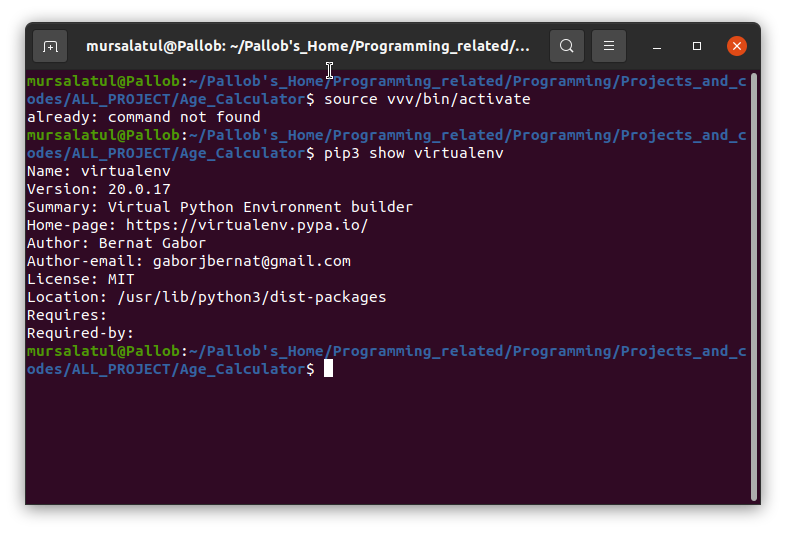
Step 1: Install the venv module
You can install the venv module using pip, the package installer for Python:
pip install virtualenv
If you have multiple versions of Python installed on your system (which is likely), make sure you're installing venv for the correct version. For example, if you have Python 3.8 installed and want to use it with venv, run:
python3.8 -m pip install virtualenv
Step 2: Create a new virtual environment
Create a new directory for your project (e.g., myproject) and navigate into it:
mkdir myproject
cd myproject
Now, create a new virtual environment using the venv module:
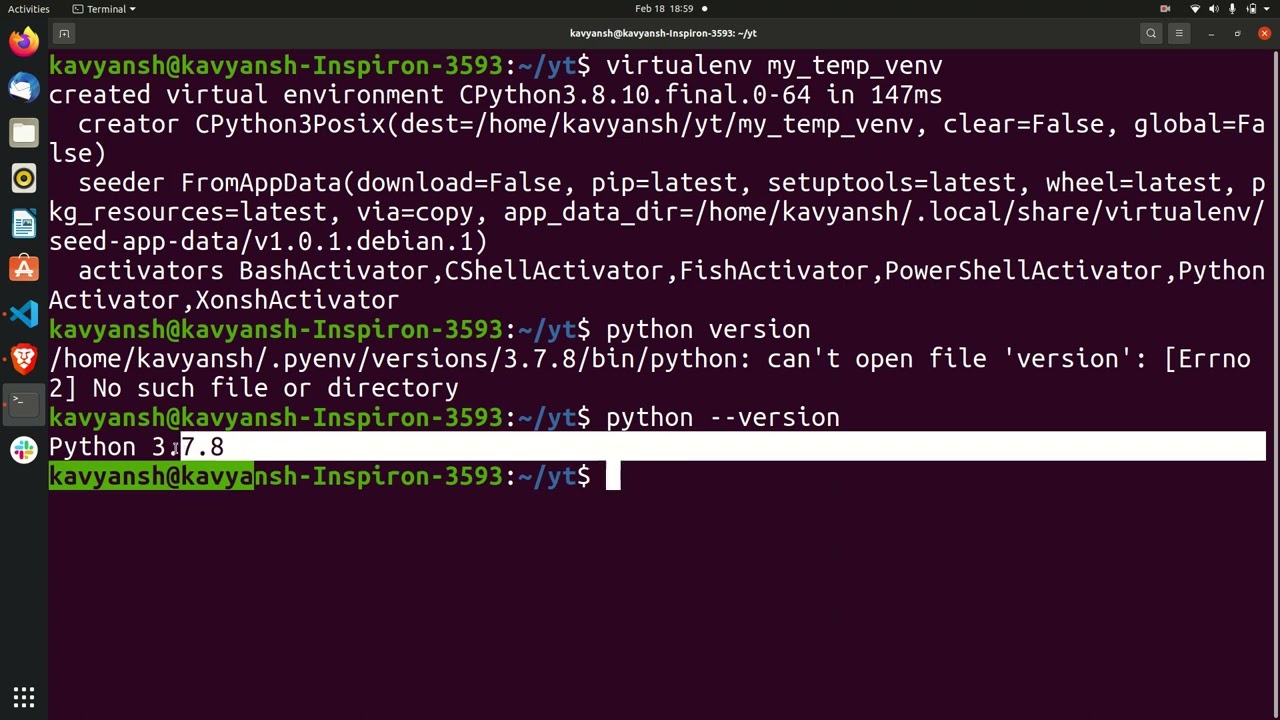
python -m venv env
This will create a new directory called env containing the isolated Python environment. The name of the directory doesn't matter; you can rename it later if you prefer.
Step 3: Activate the virtual environment
To activate the virtual environment, run:
source env/bin/activate
On Windows, use:
envScriptsactivate
You should now see the name of your virtual environment printed in your terminal prompt. For example:
(myproject-env)
Step 4: Install dependencies
Now that you're inside the virtual environment, you can install packages using pip without affecting your global Python installation.
pip install requests
This will install the requests library and its dependencies within the virtual environment.
Step 5: Deactivate the virtual environment
When you're finished with your project, you can deactivate the virtual environment by running:
deactivate
Your prompt should return to its original state. To activate the virtual environment again, simply run source env/bin/activate (on Linux) or envScriptsactivate (on Windows).
Tips and Variations
You can create multiple virtual environments for different projects. You can install a specific Python version using venv by specifying the--python option. For example: python3.8 -m venv env To create a virtual environment with a specific package manager (e.g., conda), use the --system-site-packages option. For example: conda create --name myenv --sys-pkg-dir /path/to/env You can also use the venv command instead of python -m venv. It's located in the same directory as pip, so you might need to use the full path if it's not in your PATH.
By following these steps, you've successfully created and activated a virtual environment in Python on Linux! This is a great way to keep your projects organized and isolated from one another.


