How to install Python in terminal Ubuntu
How to install Python in terminal Ubuntu
To install Python on an Ubuntu terminal, you can follow these steps:
Step 1: Open the Terminal
First, open a terminal window on your Ubuntu system. You can do this by searching for "Terminal" in the Unity Dash or by using the keyboard shortcut Ctrl+Alt+t.
Step 2: Update Your Package Index
Before installing Python, make sure your package index is up to date. Run the following command:
sudo apt update
This command will check for any updates to the package list and ensure that you have the latest information about available packages.
Step 3: Install Python
Once your package index is updated, you can install Python using the following command:
sudo apt install python3
This command will download and install Python version 3 (the default version of Python in Ubuntu). If you want to install a specific version of Python, such as Python 2, you can use the following command instead:
sudo apt install python2.7
Step 4: Verify Your Installation
To verify that Python has been installed correctly, open a new terminal window and type:
python3 --version
This command will print out the version of Python that you just installed.
Step 5: Test Your Installation (Optional)
If you want to test your installation, you can run the following code:
print("Hello, world!")
This code should output "Hello, world!" to the terminal. If it doesn't, there might be an issue with your installation.
Additional Tips
You can also use pip, the package installer for Python, to install additional packages and modules. Make sure you're using the correct version of Python (e.g.,python3 vs. python2) when running commands. If you encounter any issues during installation, feel free to ask for help or try searching online for solutions.
That's it! With these steps, you should be able to successfully install Python on your Ubuntu terminal.
Install Python in terminal Linux
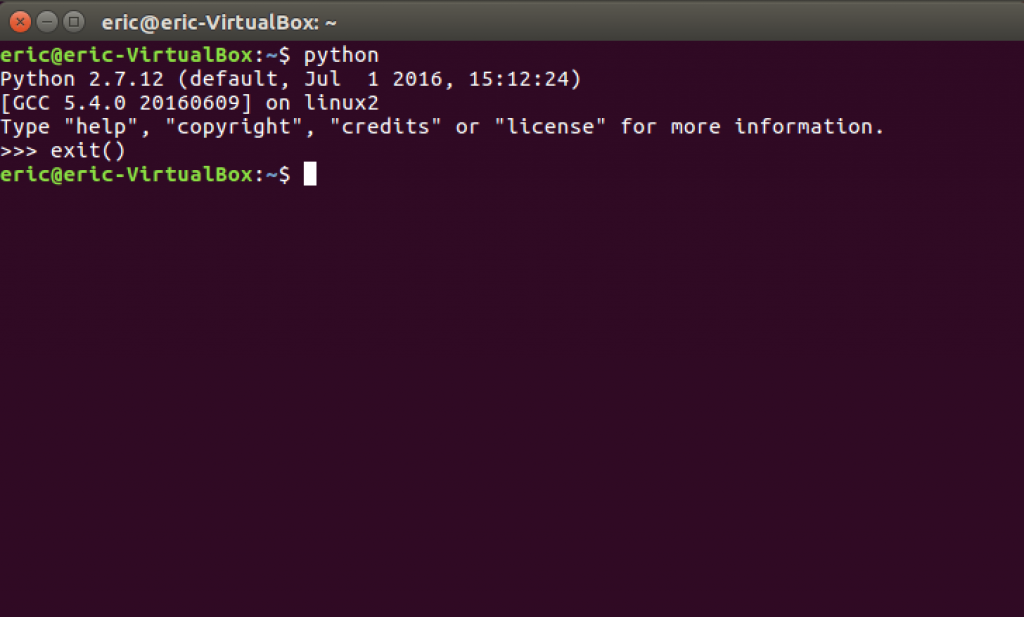
I'll respond in English this time!
Installing Python on a Linux system is a relatively straightforward process. Here are the steps:
Step 1: Update Package Index
Before installing any package, make sure your package index is up-to-date:
sudo apt update
Step 2: Install Python
For most Linux distributions (e.g., Ubuntu, Debian), you can install Python using the apt package manager:
sudo apt install python3
This will install the latest version of Python 3. If you want to install a specific version of Python (e.g., Python 2.7 or Python 3.8), you can specify that during installation:
sudo apt install python3.x
Replace x with the desired version number.
Alternative Method: Install using pip
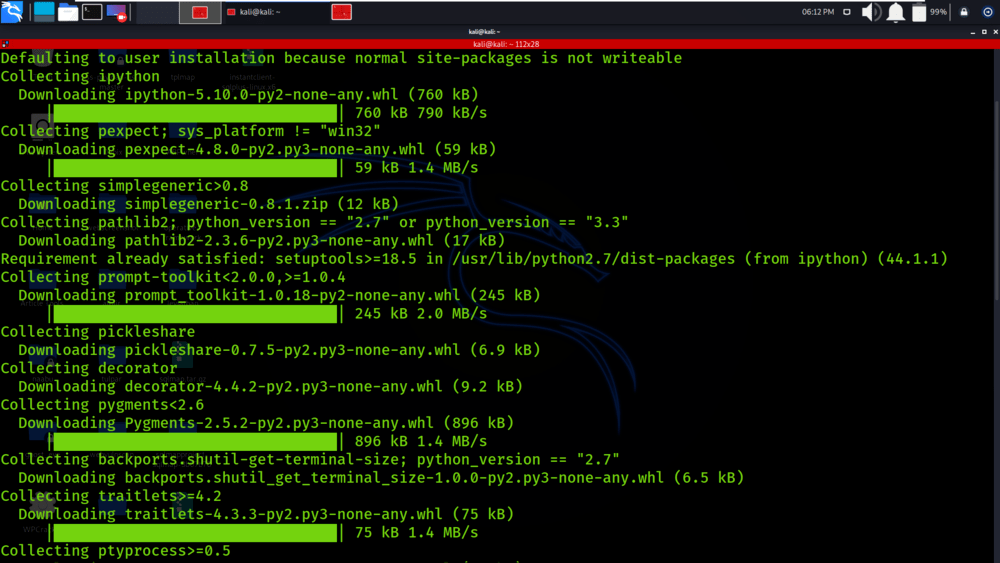
Alternatively, you can use pip, the Python package installer, to install Python on Linux systems:
sudo pip3 install --user python
This method is less common and not recommended for most users. However, if you're installing Python in a virtual environment or want to maintain control over the installation process, this option might be suitable.
Step 3: Verify Installation
To verify that Python has been successfully installed:
python3 --version
This should output the version number of Python installed on your system.
Additional Tips and Variations
If you're using a Linux distribution like Arch Linux or Fedora, you might usepacman or dnf package managers instead of apt. The installation process would be similar. To install other dependencies required for certain Python projects (e.g., NumPy, pandas), you can run:
sudo apt install libgfortran3
Keep in mind that the specific commands and package managers might vary depending on your Linux distribution.
In summary, installing Python on a Linux system involves updating your package index, installing Python using apt or an alternative method like pip, and verifying the installation.
