create virtual environment python #vscode
create virtual environment python #vscode
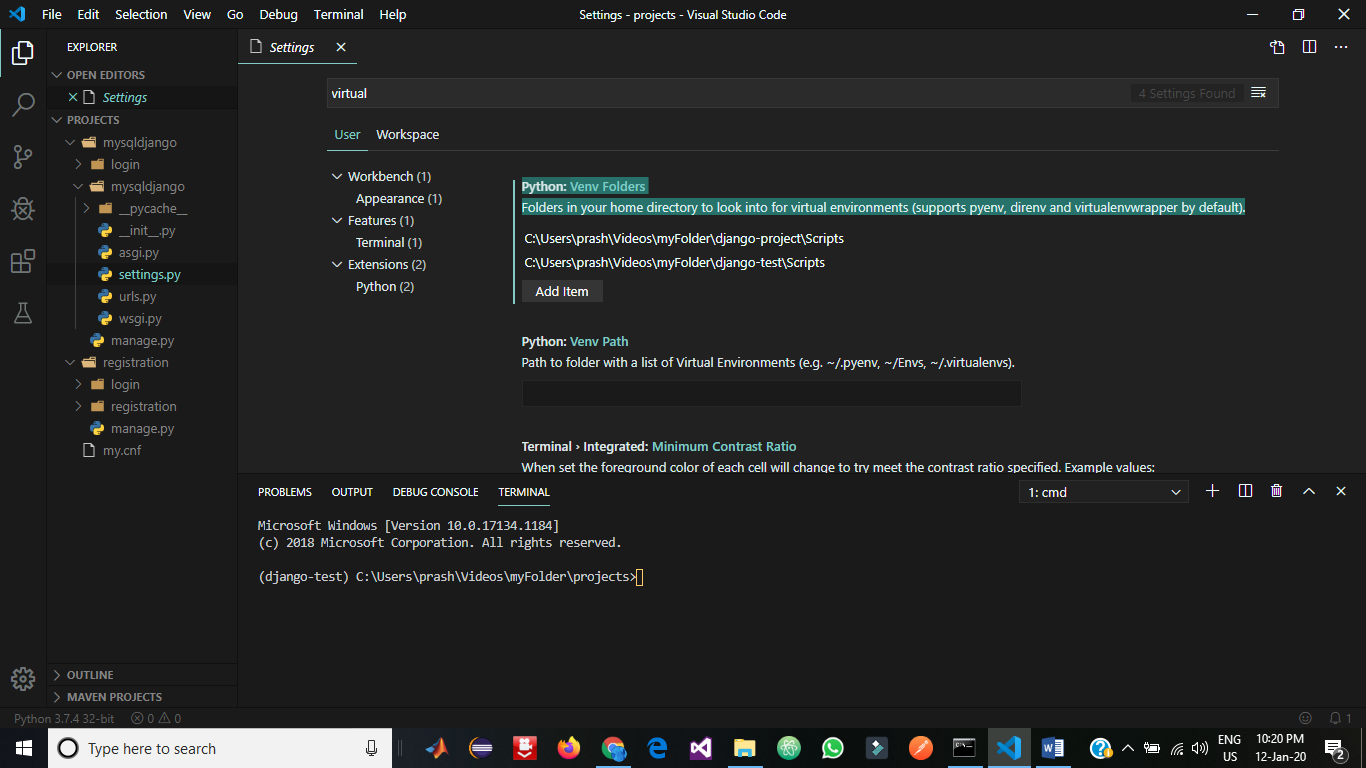
Creating a virtual environment for Python using Visual Studio Code (VSCode) is a straightforward process. A virtual environment, also known as a "venv" in Python terminology, allows you to isolate your project's dependencies from the global Python environment. This ensures that any packages installed during development do not conflict with other projects or affect the system Python environment.
Step 1: Open VSCode
Open Visual Studio Code on your computer. If you don't have VSCode installed, you can download it from the official website.
Step 2: Create a New Folder for Your Project
Create a new folder for your project by going to File > New Folder (or press Ctrl + K and then Ctrl + N) in VSCode. Name this folder something like "MyPythonProject" or any other name that suits your needs.
Step 3: Open the Terminal
Open the terminal in VSCode by going to Terminal > New Terminal (or press Ctrl +) and select the new folder you just created as the working directory.
Step 4: Install pipenv (Optional but Recommended)
While not strictly necessary, installing pipenv, a Python package manager that makes managing dependencies easier, is highly recommended. Run the following command in your terminal:
pip install pipenv
Step 5: Create a Virtual Environment
Use the python -m venv command to create a new virtual environment. Replace <env_name> with the name you want for your virtual environment (e.g., "myenv"):
python -m venv
For example, if you want to call your virtual environment "myenv," use:
python -m venv myenv
This command creates a new directory with the name <env_name> and initializes it as a Python virtual environment.
Step 6: Activate Your Virtual Environment
To start using your newly created virtual environment, activate it by running:
myenvScriptsactivate.bat (on Windows) or
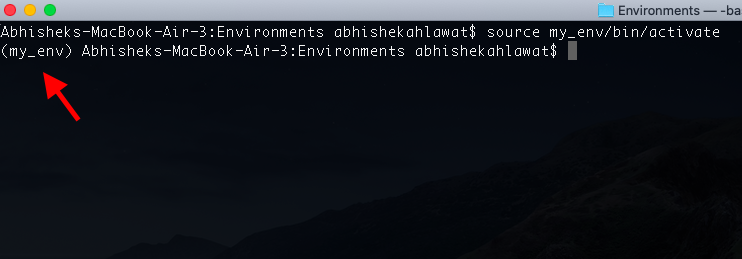
source myenv/bin/activate (on Linux/macOS)
You will now be operating in the context of your virtual environment. The terminal prompt should reflect this.
Step 7: Verify Your Virtual Environment
To verify that you are indeed working within the virtual environment, run:
pip list
This command shows you a list of all packages installed in your virtual environment. Since it is now empty, you will see no packages listed.
Step 8: Install Packages (Optional)
If you want to install specific packages for your project, use pip or pipenv within your virtual environment:
pip install
or
pipenv install
Now you have created a Python virtual environment using VSCode and can start developing your project.
How to create a virtual environment in Python in Mac?
Creating a virtual environment (also known as a virtualenv) in Python is an excellent practice for isolating your project's dependencies and keeping them separate from the system-wide Python installation on your Mac. Here's a step-by-step guide to help you get started:
Prerequisites:
Python: Make sure you have Python installed on your Mac. You can check by runningpython --version in your terminal.
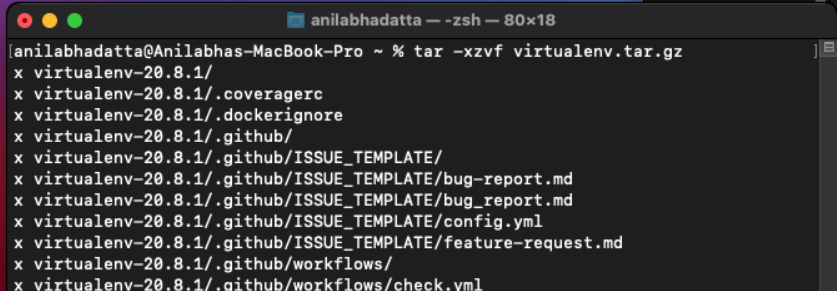
pip --version to confirm.
Creating a Virtual Environment:
To create a virtual environment using virtualenv, follow these steps:
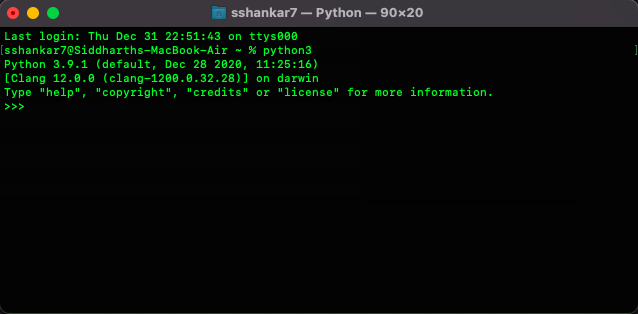
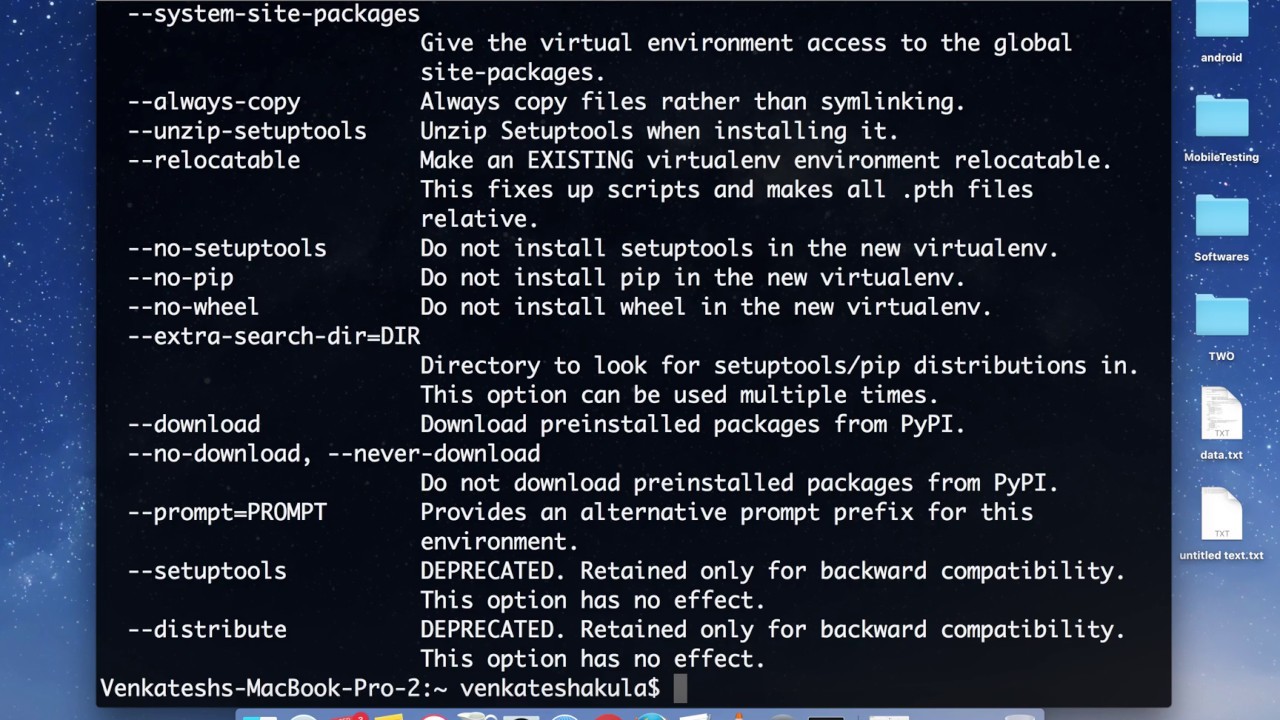
virtualenv using pip: Run the following command: pip install virtualenv Create a new directory for your project and navigate into it: mkdir my_project && cd my_project Use virtualenv to create a new virtual environment: virtualenv venv (name your virtual environment, e.g., "venv") Activate the virtual environment using one of the following methods: For Bash shell: source venv/bin/activate For Zsh shell: source venv/bin/activate.csh
Now you're working within your new virtual environment! You can verify this by checking the command prompt or running which python (it should point to your virtual environment's Python executable).
Using Your Virtual Environment:
To install packages and dependencies specific to your project, you'll need to use pip inside the virtual environment:
Install required packages: For example,pip install Flask Create and manage your project files within this isolated environment. To deactivate and return to your system Python installation, simply type: deactivate
Best Practices:
Use a consistent naming convention: Name your virtual environments consistently (e.g., "venv", "my_env", etc.) for easier management. Create separate directories: Keep each project's virtual environment and files in a distinct directory to maintain organization. Regularly update pip andvirtualenv: Ensure you're running the latest versions of these tools by using pip install --upgrade virtualenv.
By following this guide, you've successfully created a virtual environment for your Python projects on Mac. This isolated space allows you to manage dependencies, isolate project-specific changes, and keep your system-wide Python installation clean. Happy coding!


