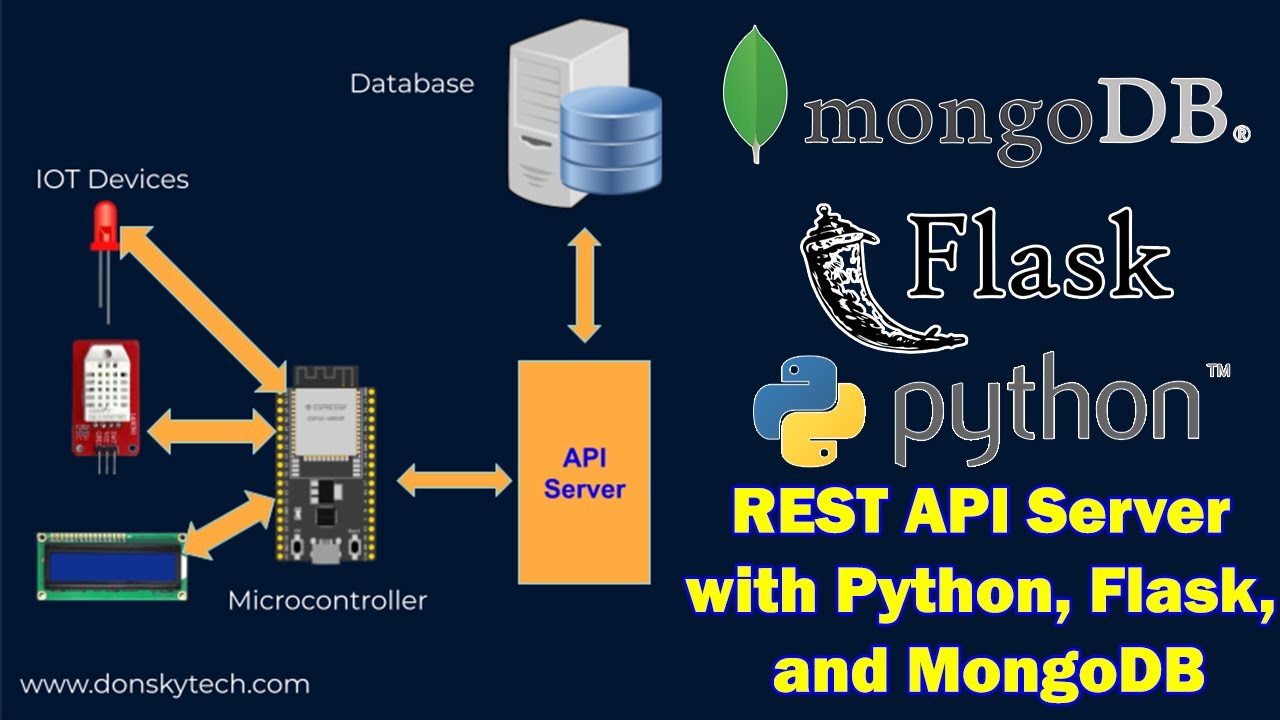
How to create a rest API server in Python?
How to create a rest API server in Python?

To create a REST API server in Python, you can use the Flask or Django frameworks, which are popular choices for building web applications. Here's a step-by-step guide on how to build a simple REST API using Flask:
Step 1: Install Flask
You'll need to install Flask first. You can do this by running the following command:
pip install flask

Step 2: Create a new project folder and virtual environment
Create a new project folder, e.g., myapi, and create a virtual environment using virtualenv or conda. This will help you isolate your dependencies and not pollute the global Python environment.

mkdir myapi
cd myapi
python -m venv env
Step 3: Create a new Flask project
Inside the myapi folder, create a new file called app.py, which will be the entry point for your application:
from flask import Flask
app = Flask(name)
@app.route('/hello', methods=['GET'])
def hello_world():
return {'message': 'Hello, World!'}
if name == 'main':
app.run(debug=True)
This code creates a new Flask app with one route, /hello, that returns a JSON response when you make a GET request.
Step 4: Run the application
Run the application by executing the following command:
python app.py
Flask will start listening on port 5000 (you can customize this using the port argument). You can test your API by making a GET request to http://localhost:5000/hello.
Step 5: Create database integration (optional)
If you want to store data in a database, you'll need to install a library like sqlite3 or a full-fledged relational database management system like PostgreSQL. Then, you can create tables and insert, update, or query data as needed.
For example, with SQLite:
import sqlite3
conn = sqlite3.connect('mydatabase.db')
cursor = conn.cursor()
@app.route('/users', methods=['GET'])
def get_users():
cursor.execute('SELECT * FROM users')
rows = cursor.fetchall()
return {'data': [dict(row) for row in rows]}
Step 6: Add authentication and authorization (optional)
If you want to secure your API, you'll need to implement authentication and authorization mechanisms. This can include username/password pairs, JSON Web Tokens (JWT), or OAuth.
For example, with JWT:
from flask_jwt import JWT
app = Flask(name)
jwt = JWT(app, {'username': 'password'}, ['username'])
@app.route('/protected', methods=['GET'])
@jwt.requires_jwt()
def get_protected():
return {'message': 'Hello, authenticated user!'}
Step 7: Deploy your API
Once you have a working REST API, you can deploy it to a production environment using a cloud platform like AWS or Google Cloud. You'll also need to configure load balancing, caching, and logging as needed.
This is just a brief overview of how to create a REST API server in Python using Flask. Depending on your requirements, you may need to add more features, error handling, and testing. Happy coding!
Python rest api server example

Here is an example of a simple REST API server using the Flask framework in Python:
What you need:
Python (3.x or higher) Flask library (install withpip install flask)
The Code:
from flask import Flask, jsonify, request
app = Flask(name)
Sample data storage
data = [
{"id": 1, "name": "John", "age": 30},
{"id": 2, "name": "Jane", "age": 25},
{"id": 3, "name": "Bob", "age": 40}
]
Route for GET requests to retrieve data
@app.route('/data', methods=['GET'])
def get_data():
return jsonify({"data": data})
Route for POST requests to add new data
@app.route('/data', methods=['POST'])
def create_data():
new_data = request.get_json()
data.append(new_data)
return jsonify({"message": "Data created successfully"})
Route for GET requests to retrieve specific data by ID
@app.route('/data/int:id', methods=['GET'])
def get_data_by_id(id):
for item in data:
if item["id"] == id:
return jsonify({"data": item})
return jsonify({"message": "Data not found"})
Route for PUT requests to update existing data
@app.route('/data/int:id', methods=['PUT'])
def update_data_by_id(id):
new_data = request.get_json()
for item in data:
if item["id"] == id:
item.update(new_data)
return jsonify({"message": "Data updated successfully"})
return jsonify({"message": "Data not found"})
Route for DELETE requests to remove existing data
@app.route('/data/int:id', methods=['DELETE'])
def delete_data_by_id(id):
for item in data:
if item["id"] == id:
data.remove(item)
return jsonify({"message": "Data deleted successfully"})
return jsonify({"message": "Data not found"})
if name == 'main':
app.run(debug=True)
This is a basic example of a REST API server that allows you to:
Get all data: Send a GET request to/data to retrieve the entire dataset. Create new data: Send a POST request to /data with the new data in JSON format to create a new entry. Get specific data by ID: Send a GET request to /data/<id> to retrieve a specific entry by its ID. Update existing data: Send a PUT request to /data/<id> with the updated data in JSON format to update an existing entry. Delete existing data: Send a DELETE request to /data/<id> to remove an existing entry.
The server runs on port 5000 by default (you can change this with the port parameter when running the script). You can test it using tools like Postman or cURL.
Note: This is just a simple example, and you should consider security, authentication, and error handling in a real-world application.


