What is Python JupyterLab?
What is Python JupyterLab?

I'm glad you're interested in learning more about a powerful tool! Here's what I've got for you:

What is JupyterLab?
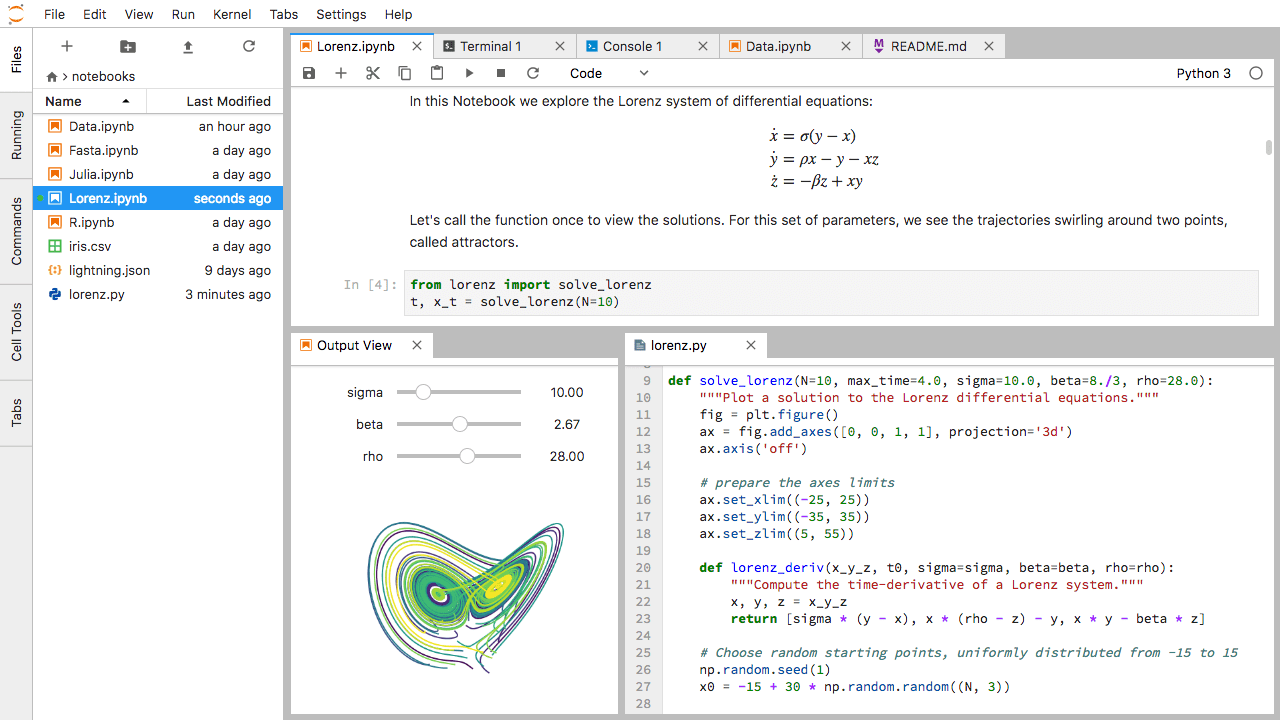
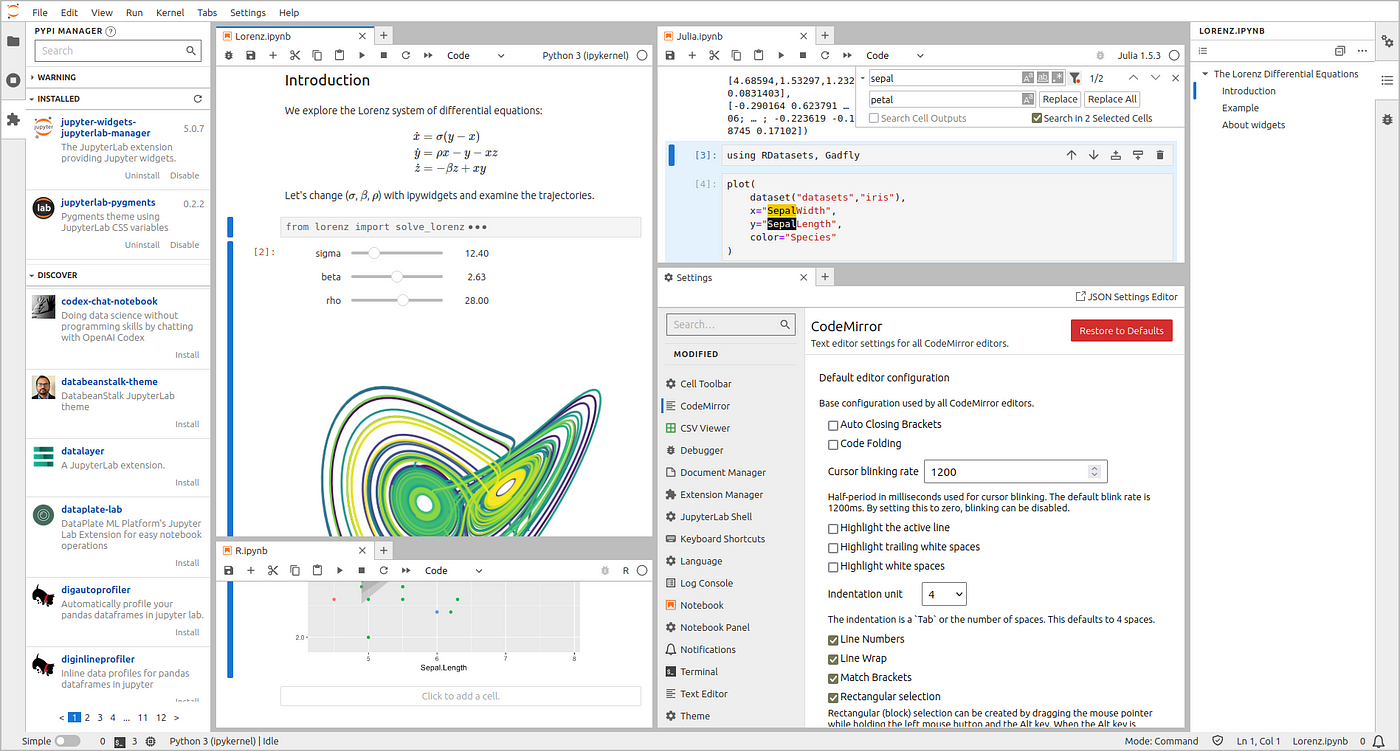
JupyterLab is an open-source web-based interactive computing environment that allows you to create and share documents that contain live code, equations, visualizations, and narrative text. It was created by the Jupyter project, which is a popular platform for data science and scientific computing. In simple terms, JupyterLab is like a digital notebook that lets you work with Python (or other programming languages) in an interactive way.
Key Features
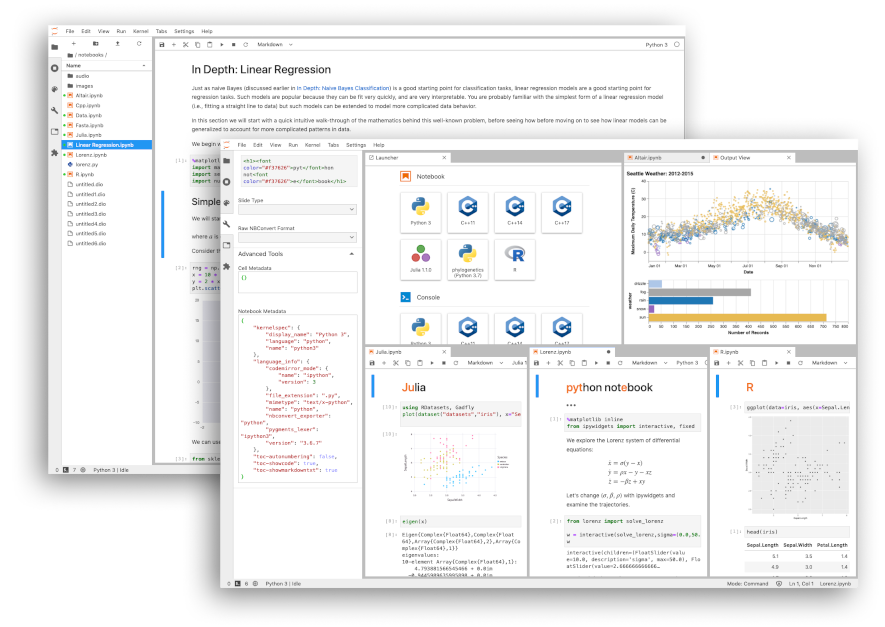
Interactive Shell: JupyterLab has a built-in shell where you can write and execute Python code directly. This means you can try out new ideas, test your code, and get instant feedback. Notebooks: You can create documents (called notebooks) that contain a mix of text, equations, visualizations, and executable code cells. Each cell is executed separately, allowing you to work through problems step-by-step. HTML Rendering: JupyterLab's rendering engine translates Markdown, LaTeX, and HTML into a beautiful, readable format. This means you can add headings, bold text, images, videos, and more to your notebooks. Visualization Support: JupyterLab has built-in support for popular visualization libraries like Matplotlib, Seaborn, and Plotly. You can create stunning visualizations and dashboards with just a few lines of code. Collaboration: JupyterLab is designed for collaboration. You can share notebooks with others, allowing them to view or edit your work in real-time.
How does it compare to other tools?

JupyterLab is similar to other interactive computing environments like:
Jupyter Notebook: The classic Jupyter Notebook format is still available, but JupyterLab offers a more modern and extensible architecture. Microsoft Visual Studio Code (VSCode): While VSCode has some similar features, it's primarily an Integrated Development Environment (IDE) for coding, whereas JupyterLab is specifically designed for data science, scientific computing, and education. Google Colab: Google Colab offers a web-based interface for working with Python and other languages, but it's limited to machine learning and deep learning tasks.Getting started with JupyterLab
If you're interested in trying out JupyterLab, you can:
Visit the official website (jupyterlab.readthedocs.io) and download the installation package. Follow online tutorials or take a course to get familiar with Python and JupyterLab. Join online communities (like Reddit's r/learnpython or r/JupyterLab) to learn from others and share your own experiences.In conclusion, JupyterLab is an incredibly powerful tool for anyone interested in data science, scientific computing, or education. Its interactive shell, notebooks, HTML rendering, visualization support, and collaboration features make it an ideal platform for exploring complex ideas and sharing knowledge with others.
How to install Python in JupyterLab?
I'll respond in English for this question.
Installing Python in JupyterLab involves a few steps, and I'm happy to guide you through it. Here's how you can do it:
Step 1: Install JupyterLab
Before we dive into installing Python, let's make sure you have JupyterLab installed on your machine. If you don't have it yet, follow these steps:
Go to the official JupyterLab installation page (https://jupyterlab.readthedocs.io/en/latest/installation.html). Follow the instructions for your operating system (Windows, macOS, or Linux). This will install JupyterLab and its dependencies. Once installed, open a terminal or command prompt and typejupyter lab to start JupyterLab. You should see the JupyterLab interface in your default web browser.
Step 2: Install Python
Now that you have JupyterLab running, it's time to install Python:
In the JupyterLab notebook, create a new cell by clicking the+ button or pressing Ctrl + Enter (Windows/Linux) or Cmd + Enter (macOS). Type !pip install python (note the exclamation mark at the beginning of the command). This will install Python using pip (the package installer for Python). Wait for the installation process to complete. You might see some output indicating that Python is being installed.
Step 3: Verify Python Installation
To verify that Python has been successfully installed, create a new cell in JupyterLab and type import python. If you don't receive any error messages, it means Python is now available for use in your JupyterLab environment.
Step 4: Update the PATH Environment Variable (Optional)
If you want to be able to run Python from outside of JupyterLab (e.g., from a terminal or command prompt), you'll need to update the PATH environment variable on your system. This will allow you to use the python command from anywhere.
For Windows:
Right-click on Computer/This PC and select Properties. Click on Advanced system settings. Under Startup, click on Environment Variables. Under System variables, find the PATH variable and click Edit. Add a new path at the end of the existing one (separated by semicolons) that points to your Python installation directory. For example:C:Python39Scripts;. Click OK to save changes.
For macOS/Linux:
Open the Terminal app. Run the commandexport PATH=$PATH:/usr/local/bin/python (replace /usr/local/bin/python with the actual path where you installed Python).
That's It!
You should now have Python installed and available for use in your JupyterLab environment. You can run Python scripts, import libraries, or even start a new Python project from within JupyterLab.
Remember that this installation process is specific to JupyterLab, so if you want to install Python separately (e.g., on your system's default Python environment), follow the official Python installation guide instead: https://docs.python.org/3/installing/index.html.


