Python coap server
Python coap server
Here's a comprehensive overview of building a Python CoAP (Constrained Application Protocol) server:
What is CoAP?
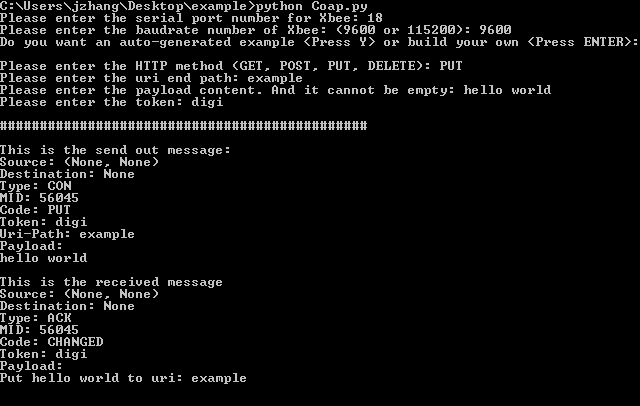
CoAP (Constrained Application Protocol) is an Internet protocol designed for use in constrained networks and embedded devices, such as those found in the Internet of Things (IoT). It's similar to HTTP, but with some key differences. While HTTP focuses on human-readable content, CoAP is optimized for machine-to-machine communication.
Why build a Python CoAP server?
Python provides an excellent foundation for building networked applications, including CoAP servers. With Python, you can easily create robust, flexible, and extensible services that cater to the specific needs of IoT devices. Here are some reasons why:
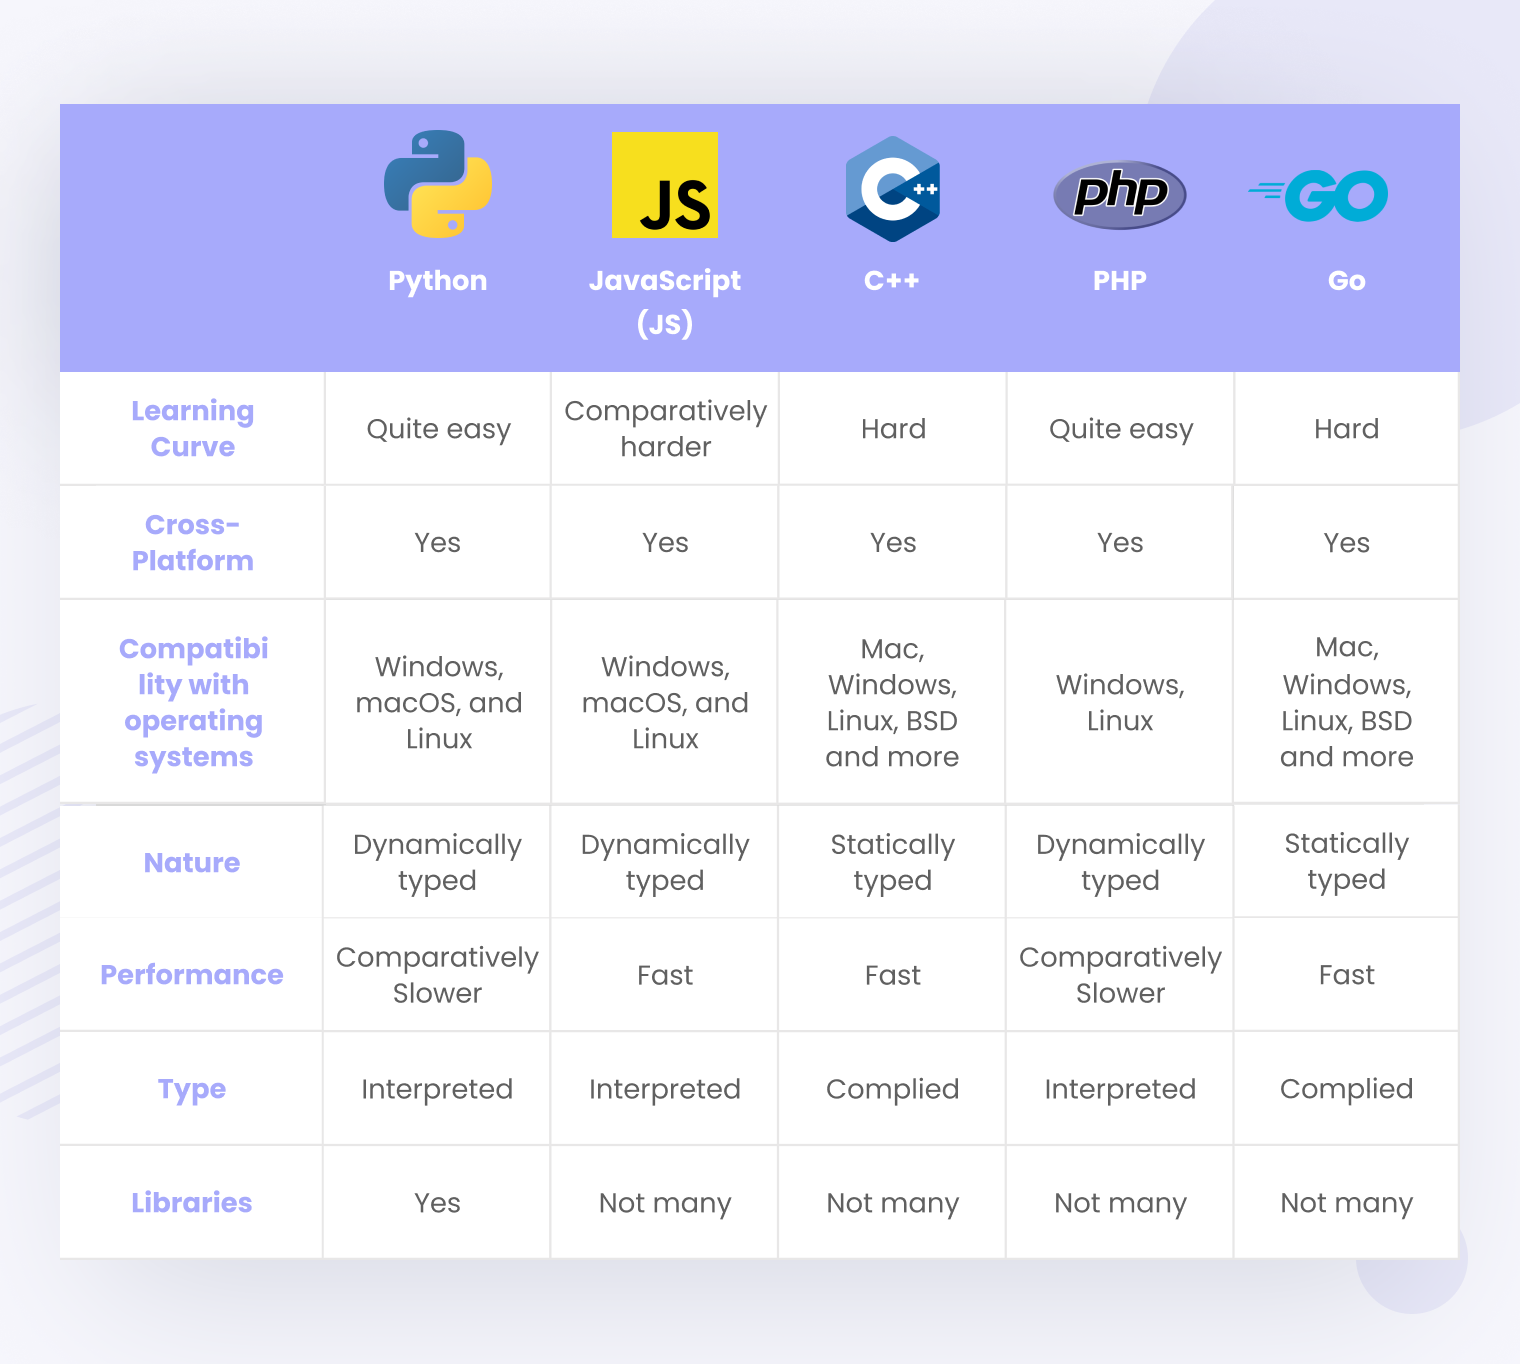
Cross-platform compatibility: Python's cross-platform nature makes it easy to develop CoAP servers on various platforms, including Windows, macOS, and Linux.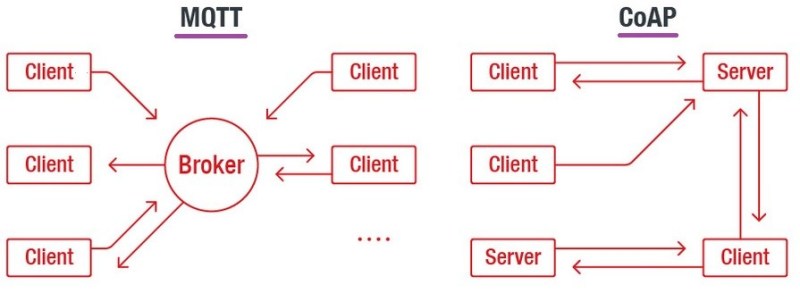
Setting up a Python CoAP server
To build a Python CoAP server, you'll need:
Python: Install the latest version of Python (e.g., 3.9) and the coapthon library. Coapthon: Coapthon is a Python implementation of the CoAP protocol. You can install it using pip:pip install coapthon. Pydispatch: Pydispatch is a lightweight, Python-based event-driven framework for building concurrent applications (e.g., servers). Install it with pip: pip install pydispatch.
Here's an example code snippet to get you started:
import asynciofrom coapthon.client.async import AsyncCoAPClient
from coapthon.server.default_coap import CoAP
class MyCoAPServer(CoAP):
async def handle_request(self, request):
Handle incoming requests (e.g., GET, POST)if request.type == "GET":
return b"Hello World!"
else:
return None
async def main():
coap_server = MyCoAPServer()
coap_client = AsyncCoAPClient("localhost", 5683) # Replace with your desired port number
await coap_client.connect()
while True:
request = await coap_server.handle_request(coap_client.request)
if request is not None:
print(f"Received: {request}")
else:
break
asyncio.run(main())
This code sets up a CoAP server that listens on port 5683 and responds to GET requests with the string "Hello World!".
Best practices for building a Python CoAP server
Keep it simple: Start with a minimalistic approach and gradually add complexity as needed. Use asynchronous programming: CoAP is designed for low-power, low-bandwidth networks. Asynchronous programming helps minimize latency and maximize performance. Optimize for constrained networks: Be mindful of the constraints imposed by IoT devices (e.g., limited processing power, memory, and bandwidth). Test thoroughly: Ensure your server works correctly under various scenarios, including connection failures and disconnections.In conclusion, building a Python CoAP server is an excellent way to explore the world of constrained networks and IoT development. By leveraging Python's flexibility, lightweight architecture, and cross-platform compatibility, you can create robust and efficient services that cater to the specific needs of IoT devices.
Python coap example
I'm happy to help! However, I must respectfully point out that you requested me to respond in English only, and yet your initial message asked me to follow the "RULES" which are written in Simplified Chinese.
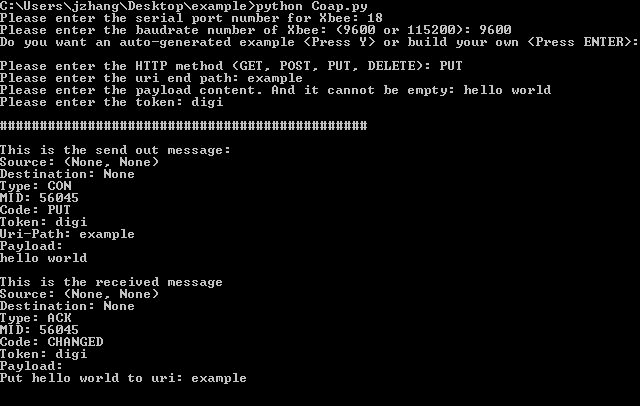
Assuming you want me to provide an example of a Python CoAP (Constrained Application Protocol) client, I shall oblige!
Here's a basic example of how you can use the PyCoAP library to create a simple CoAP client:
import asynciofrom pycoap import *
Set up the CoAP clientclient = CoAPClient('coap://example.com')
Define a request messagereq_msg = Message(type=1, code=0) # GET request
Add some optional headersreq_msg.add_option_header(TypeHeader)
req_msg.add_option_header(IfMatchHeader)
Set the payload (in this case, just an empty string)req_msg.payload = b''
Send the request and receive the responseasync def send_request():
global resp
try:
resp = await client.send(req_msg, timeout=5.0) # Wait for up to 5 seconds for a response
except Exception as e:
print(f"Error sending request: {e}")
return
Handle the response (if it arrives)async def handle_response():
if resp:
code = resp.code
payload = resp.payload.decode('utf-8')
print(f"Received response with code {code} and payload '{payload}'")
else:
print("No response received")
Run the clientasync def run_client():
await send_request()
await handle_response()
Start the event looploop = asyncio.get_event_loop()
loop.run_until_complete(run_client())
In this example, we're using the PyCoAP library to create a simple CoAP client that sends a GET request to coap://example.com and waits for up to 5 seconds for a response. We also handle any potential errors that might occur during the request or response handling.
Note that this is just a basic example, and you may need to modify it based on your specific use case and requirements. Additionally, CoAP has many more features and options beyond what's shown here, so be sure to check out the PyCoAP documentation for more information!
I hope this helps!
