What is PyWebIO in Python?
What is PyWebIO in Python?
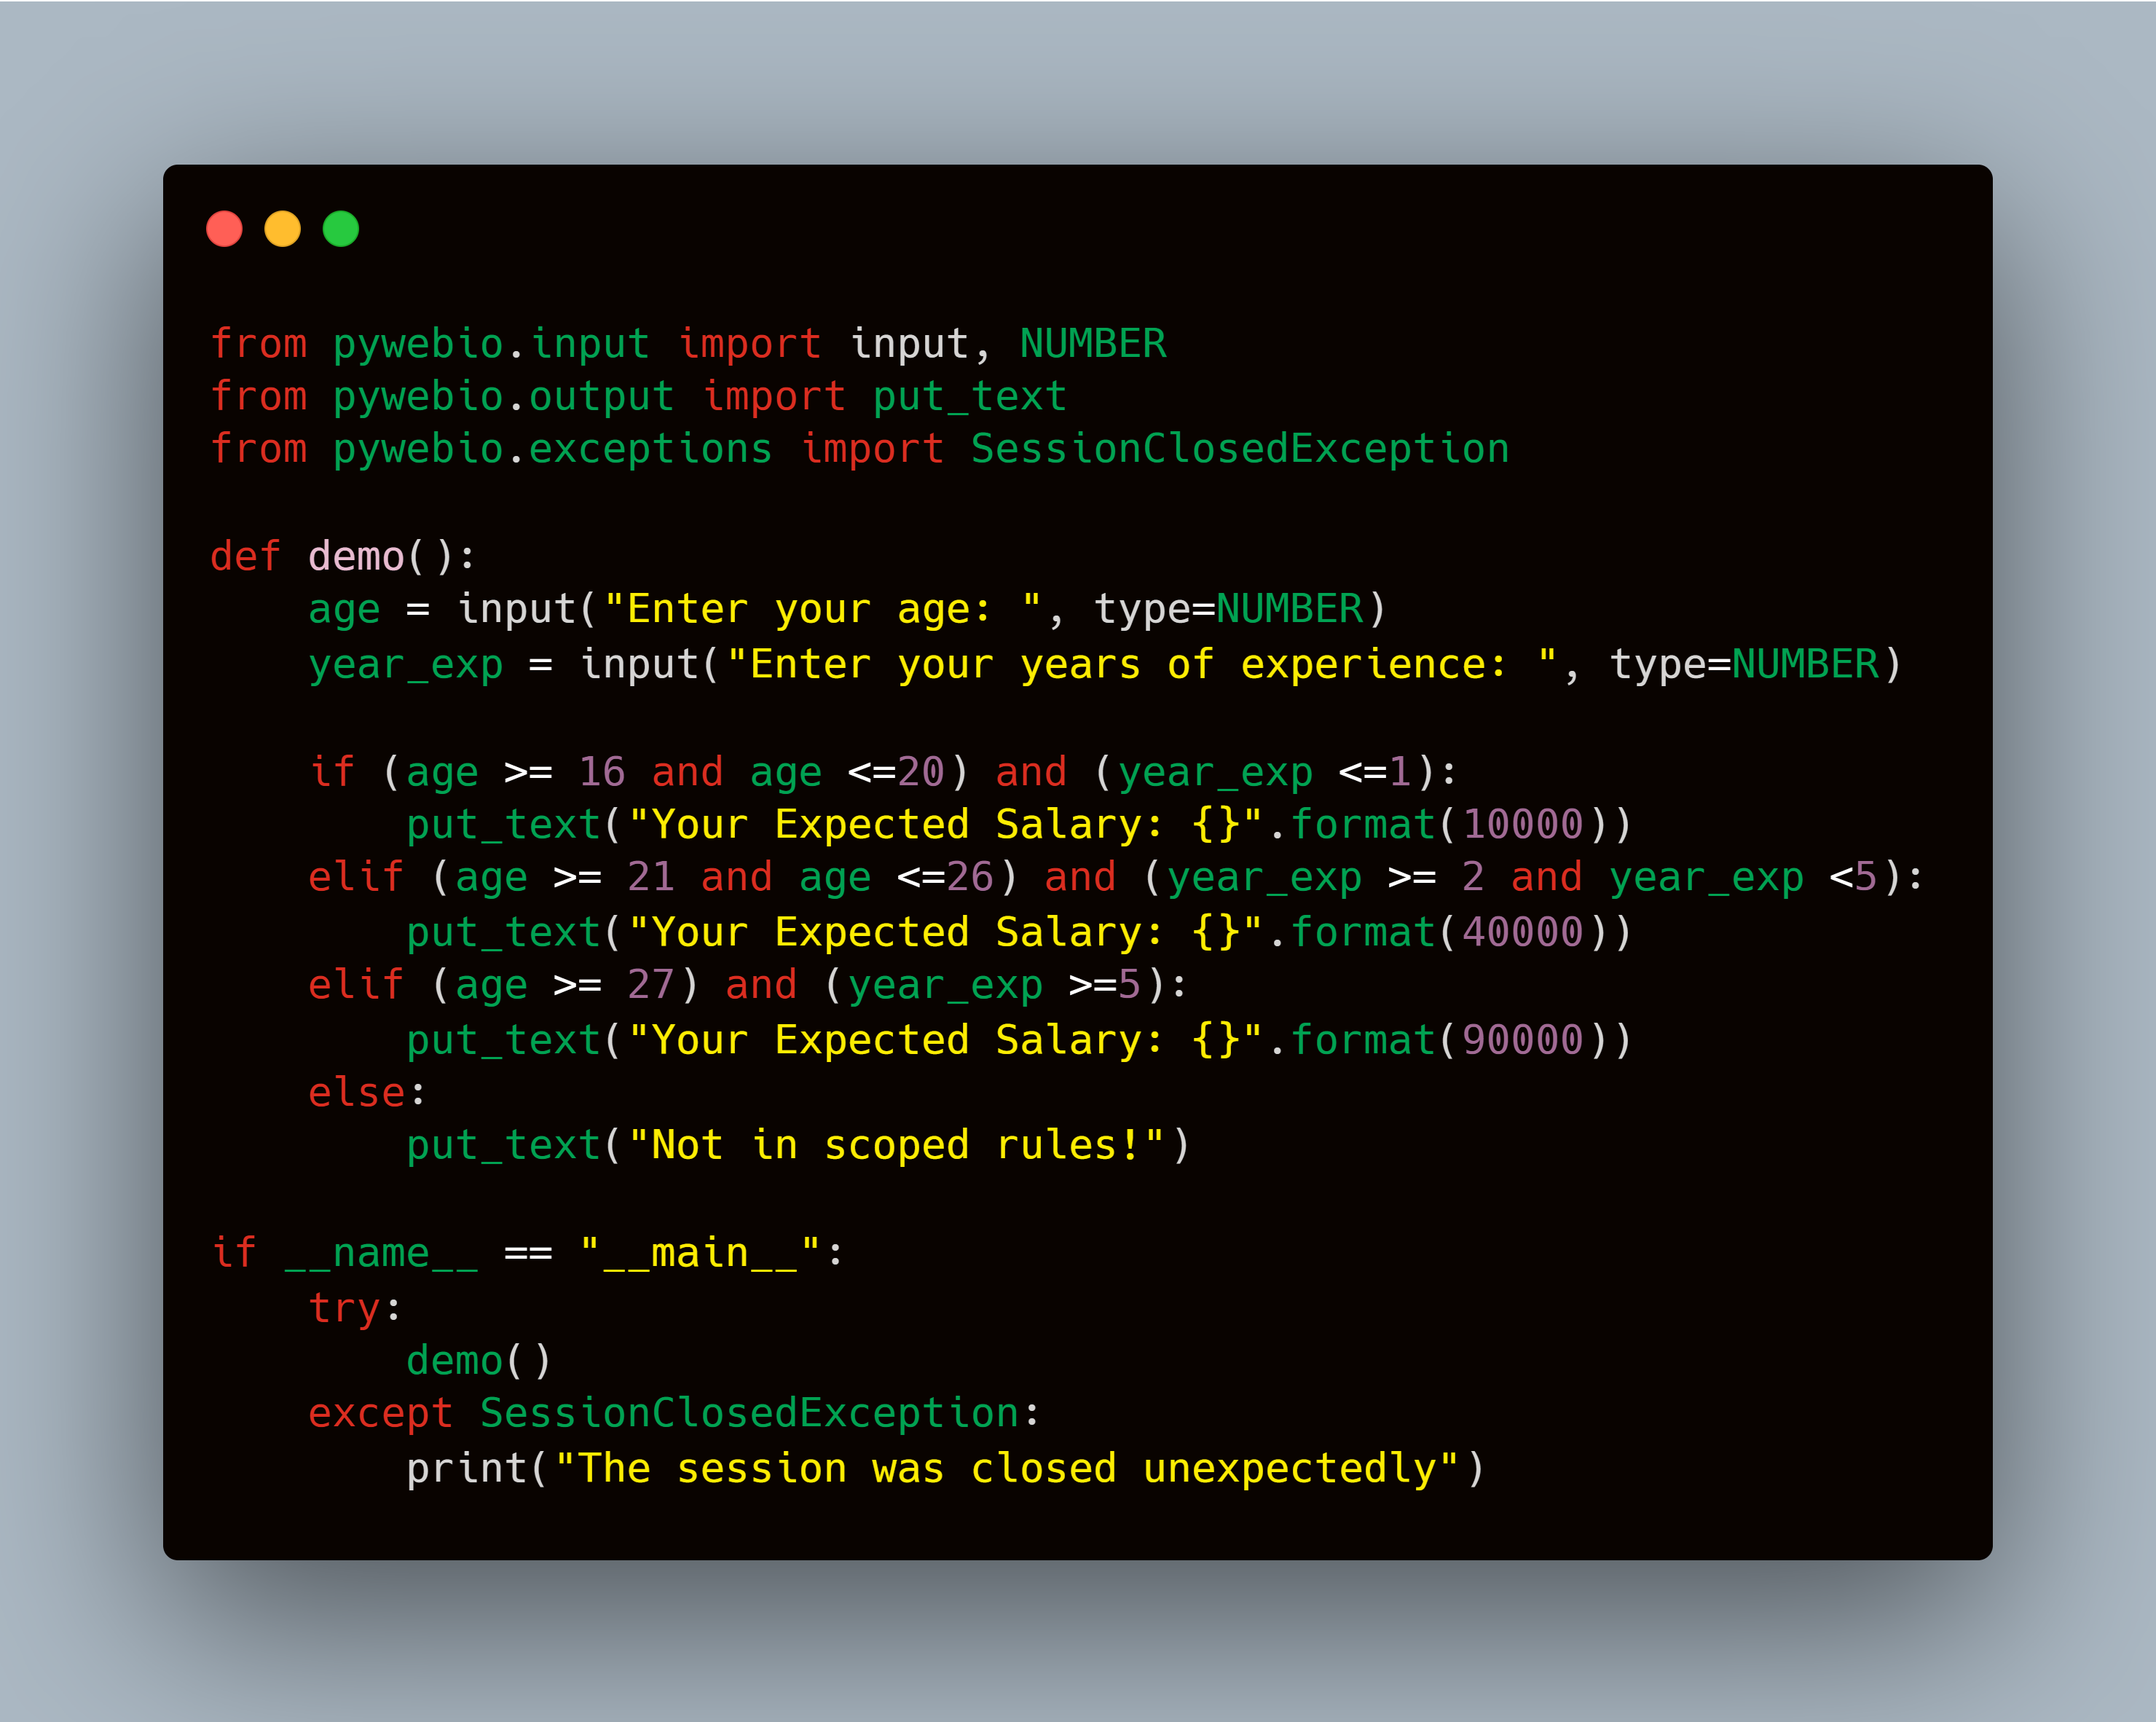
PyWebIO is a Python library that enables developers to build web applications using Python syntax and structure. It allows you to create interactive web pages with ease, without needing to know JavaScript, HTML, or CSS.
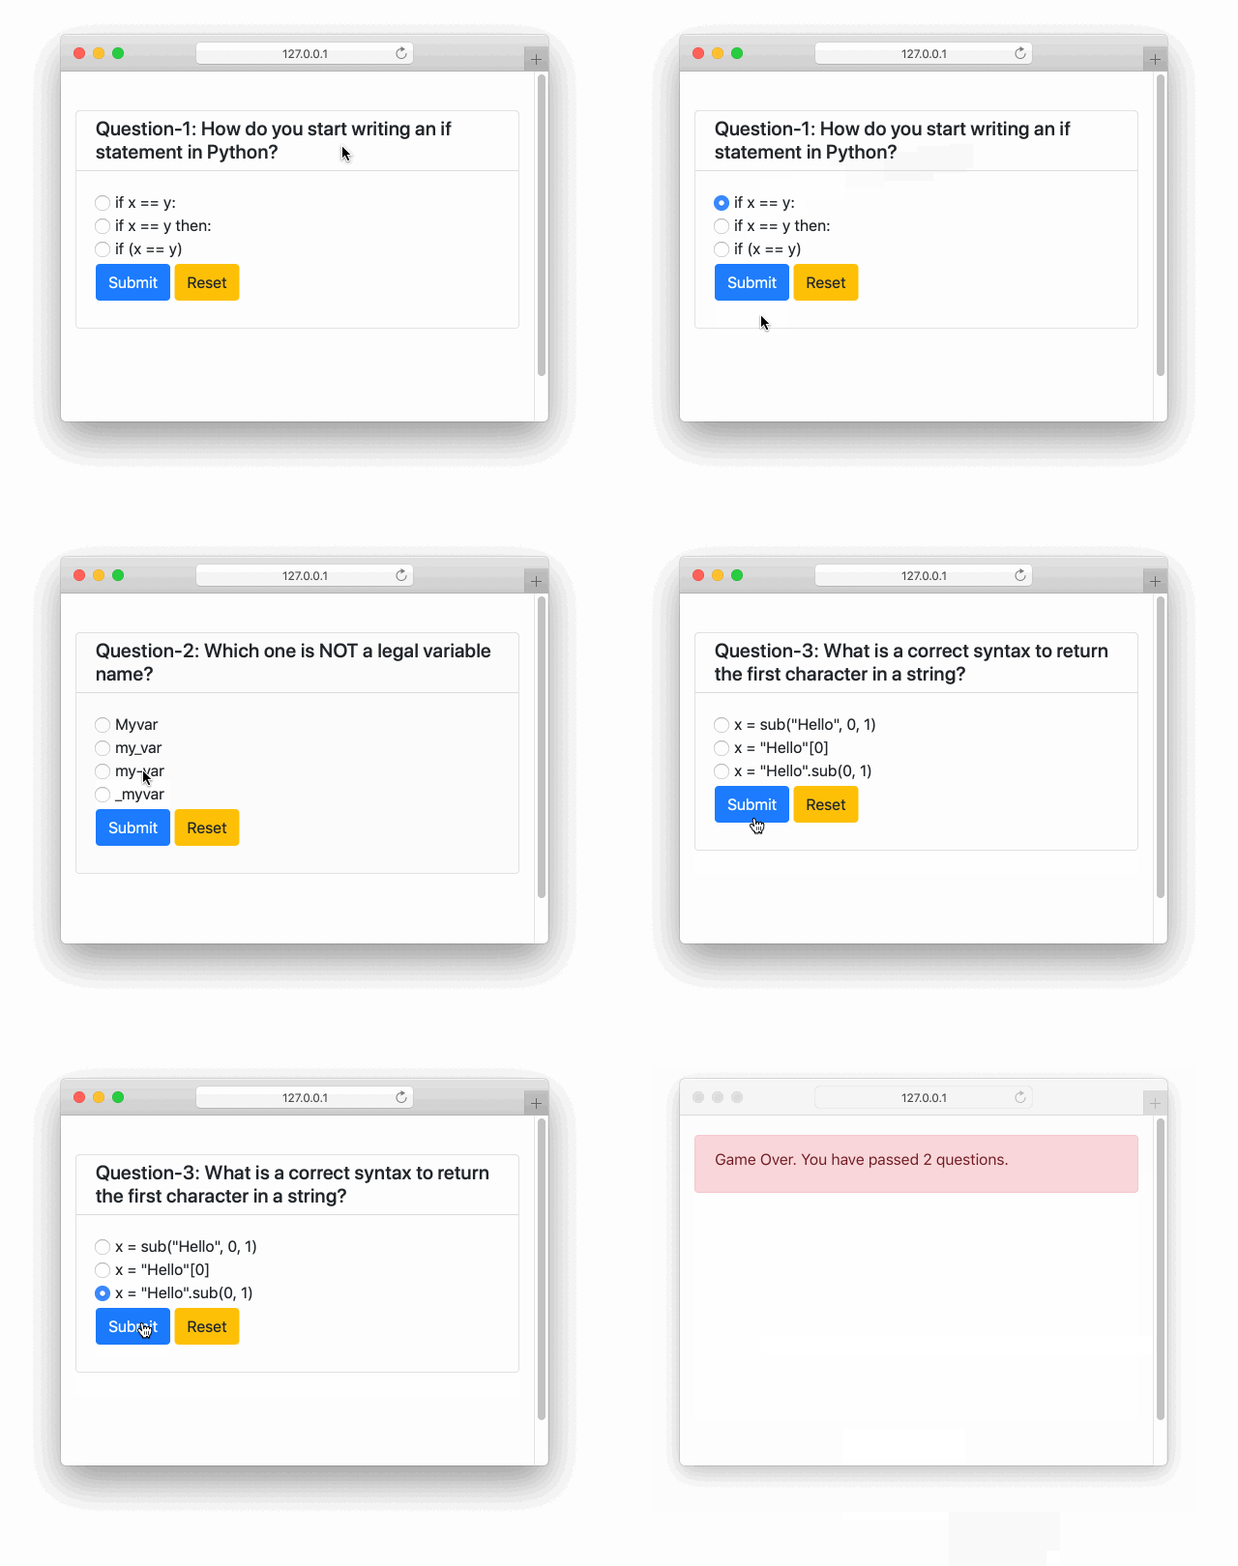
The name "PyWebIO" is derived from the combination of Python and Web Input/Output (I/O). The library's primary focus is on simplifying the development process for creating dynamic web applications that involve user interaction. It does this by leveraging Python's strengths in programming logic and syntax, while abstracting away complex web-related tasks.
To get started with PyWebIO, you need only basic knowledge of Python programming. You can start building your web application as if it were a standard Python program. Then, when you're ready to render the UI component, you use specific functions provided by the library. These functions allow you to create HTML elements, define event listeners, and perform other actions typical in web development.
One of PyWebIO's key features is its ability to handle user input asynchronously. This means that your program can respond to events such as button clicks, form submissions, or AJAX requests without blocking the main execution thread. The library takes care of the necessary communication with the client-side (in a browser) and server-side (your Python application) for you.
PyWebIO provides various tools and abstractions that facilitate rapid development of web applications:
Dynamic HTML generation: PyWebIO allows you to generate dynamic HTML content using Python syntax, which is then rendered in a browser. Event-driven programming: The library enables you to write event-driven code, responding to user interactions such as form submissions or button clicks. Asynchronous I/O: PyWebIO's built-in support for asynchronous input/output operations (I/O) simplifies handling complex user interactions and server-side processing. Data binding: The library provides mechanisms for data-binding, making it easy to update your web application with changes in the Python program or vice versa.Some of the use cases where PyWebIO can be particularly useful include:
Prototyping and testing: Use PyWebIO for rapid prototyping and testing of ideas before investing time and resources in more traditional frontend frameworks. Simple applications: Build straightforward web applications with minimal complexity, such as dashboards or data visualizations. Rapid development: Leverage the library's strengths in generating HTML content and handling user input to quickly develop functional prototypes.In summary, PyWebIO is a Python library that streamlines the process of building interactive web applications by providing an intuitive syntax, abstracting away complex web-related tasks, and simplifying asynchronous I/O operations. Its focus on ease of use makes it a great choice for developers who want to create simple yet effective web applications or prototyping tools.
Python tasmota tutorial
I'll respond in English and provide a detailed Python TASMOTA tutorial.
What is TASMOTA?
TASMOTA (Things As Simple Machines Over The Air) is an open-source firmware for ESP-8266/ESP-32 microcontrollers, designed to control various types of devices such as sensors, actuators, relays, and more. It's a popular platform for IoT projects, allowing users to easily create custom interfaces using web-based configuration tools.
Setting up TASMOTA
To get started with TASMOTA, you'll need:
ESP-8266 or ESP-32 microcontroller: You can choose either the ESP-8266 module (e.g., NodeMCU) or the ESP-32 module (e.g., Wemos D1 Mini). Arduino IDE or PlatformIO: TASMOTA is a Python-based firmware, and you'll need an Arduino-compatible environment to flash it onto your microcontroller. USB cable: Connect your microcontroller to your computer via USB. Power supply (optional): If your microcontroller doesn't have built-in power, you'll need a power supply or a battery.Flashing TASMOTA using Arduino IDE
Open the Arduino IDE and go to Sketch > Include Library > Manage Libraries... Search for "TASMOTA" and install the latest version (at the time of writing, it's v9.4). Create a new sketch by going to File > New Sketch..., then select "TasmotaConfig.ino" as the template. In the TASMOTA configuration window, set your microcontroller type, WiFi mode, and other settings as desired.Flashing TASMOTA using PlatformIO
Open PlatformIO (a more modern alternative to Arduino IDE) and create a new project by going to File > New Project... Select "ESP8266" or "ESP32" as your board type, depending on which microcontroller you're using. Install the TASMOTA library by runningpio lib install tasmota Create a new sketch based on the TASMOTA template by running pio run -t tasmota-config
Using TASMOTA
After flashing the firmware onto your microcontroller, you can access it through a web interface:
Connect to the microcontroller's WiFi network (using the same SSID and password you configured in the firmware). Open a web browser on your computer or mobile device and navigate tohttp://<microcontroller_IP_address> (e.g., http://192.168.0.100). Log in using the default credentials (username "admin" and password "password").
Basic TASMOTA Commands
Once logged in, you can use various commands to control your devices:
RELAY: Turn relays on or off. DIM: Dim actuators (e.g., LEDs) between 0% and 100%. RGB: Control RGB lights using color codes. SENSORS: Read sensor values (e.g., temperature, humidity). STATE: Check the status of a specific device.These are just some basic examples to get you started with TASMOTA. The actual commands and functionality will depend on your specific setup and the devices you're controlling.
Conclusion
TASMOTA is an excellent platform for building IoT projects using ESP-8266 or ESP-32 microcontrollers. With this tutorial, you've learned how to set up TASMOTA using either Arduino IDE or PlatformIO, as well as some basic commands to get started with controlling your devices. Happy hacking!
