Can you use Python on Raspberry Pi?
Can you use Python on Raspberry Pi?
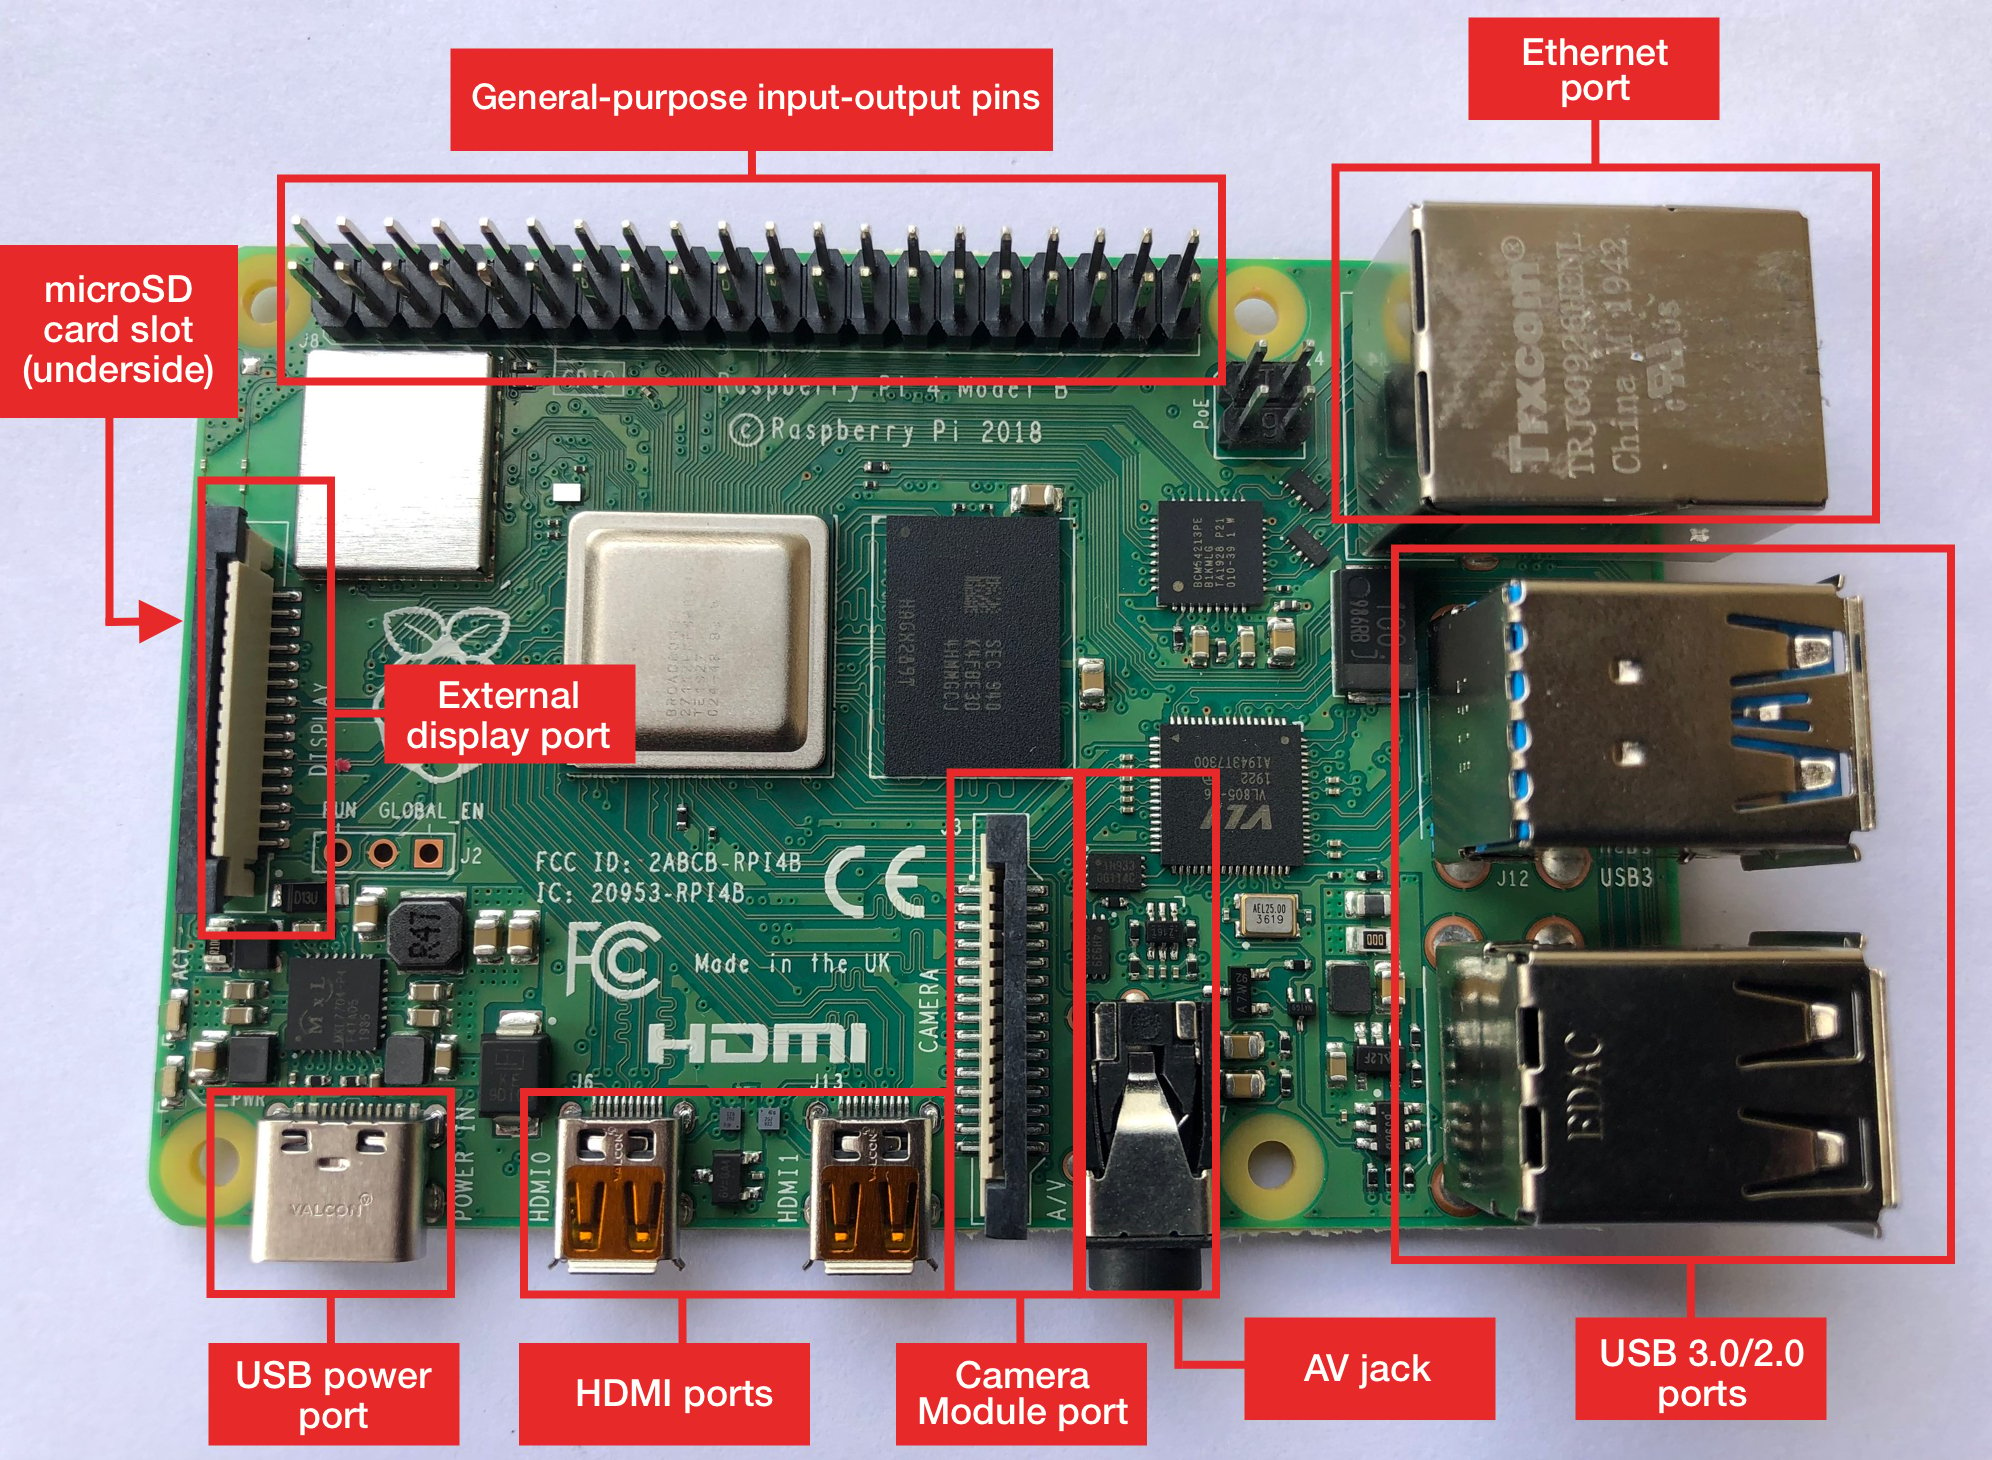
Yes, you can definitely use Python on a Raspberry Pi! In fact, the Raspberry Pi is one of the most popular platforms for running Python programs.
The Raspberry Pi is a small, low-cost, and highly capable single-board computer that was designed specifically to promote learning and experimentation in the fields of programming, electronics, and technology. It's a great way to get started with coding, especially if you're new to programming or want to explore different technologies like Linux and Python.
To use Python on a Raspberry Pi, you'll need to install an operating system (like Raspbian) and then install the Python interpreter. Here are the basic steps:
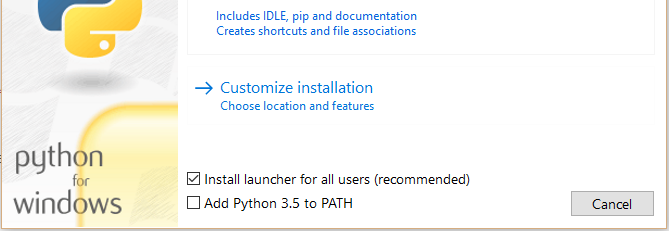
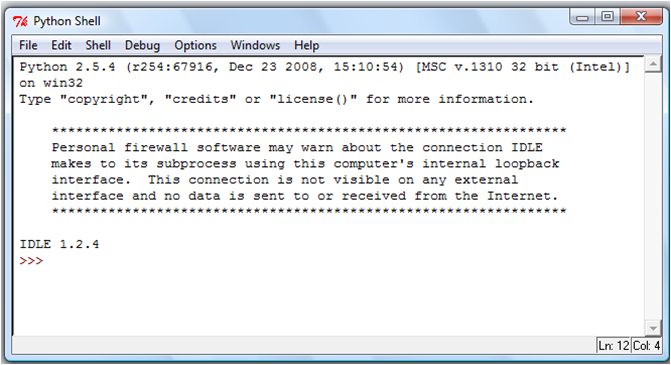
Install Raspbian OS: You can download and install Raspbian directly onto your Raspberry Pi using an SD card. Install Python: Once Raspbian is installed, you can use apt-get to install Python:sudo apt-get install python3 Test Python: After installing Python, you can test it by opening a terminal window and typing python3 followed by the name of your Python program.
Now that you have Python set up on your Raspberry Pi, what kind of projects can you do? Here are some ideas to get you started:
Automation projects: Use Python to automate tasks around your home or in your workshop. Home automation: Control devices like lights, thermostats, and security cameras using Python scripts. Robotics: Create robots that can move around and interact with their environment using Python programming. Data analysis: Collect data from sensors and analyze it using Python libraries like pandas and NumPy. Gaming: Create games for the Raspberry Pi using Python game development frameworks like Pygame or Panda3D.The possibilities are endless! With Python on your Raspberry Pi, you can create anything from simple scripts to complex programs that interact with the physical world.
Some popular Python libraries for working with hardware on a Raspberry Pi include:
RPi.GPIO: Allows you to control GPIO pins and read inputs. PySerial: Provides serial communication capabilities. pygame: For game development and graphics programming. opencv-python: For computer vision and image processing tasks.Overall, using Python on a Raspberry Pi is a great way to explore the world of coding, electronics, and technology. It's an excellent platform for learning and experimentation, and it can lead to some amazing projects and discoveries!
Python Raspberry Pi GPIO
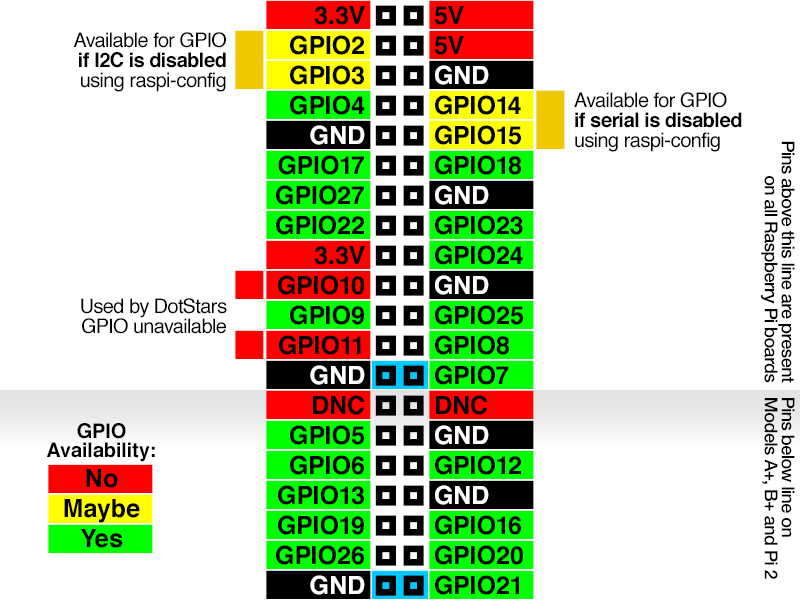
Here's a detailed explanation of using Python with the Raspberry Pi's GPIO pins:
The Raspberry Pi is a small, low-cost computer that has become incredibly popular for projects and DIY hacking. One of its most useful features is the GPIO (General Purpose Input/Output) interface, which allows you to connect sensors, motors, LEDs, and other devices to control and interact with your Pi.
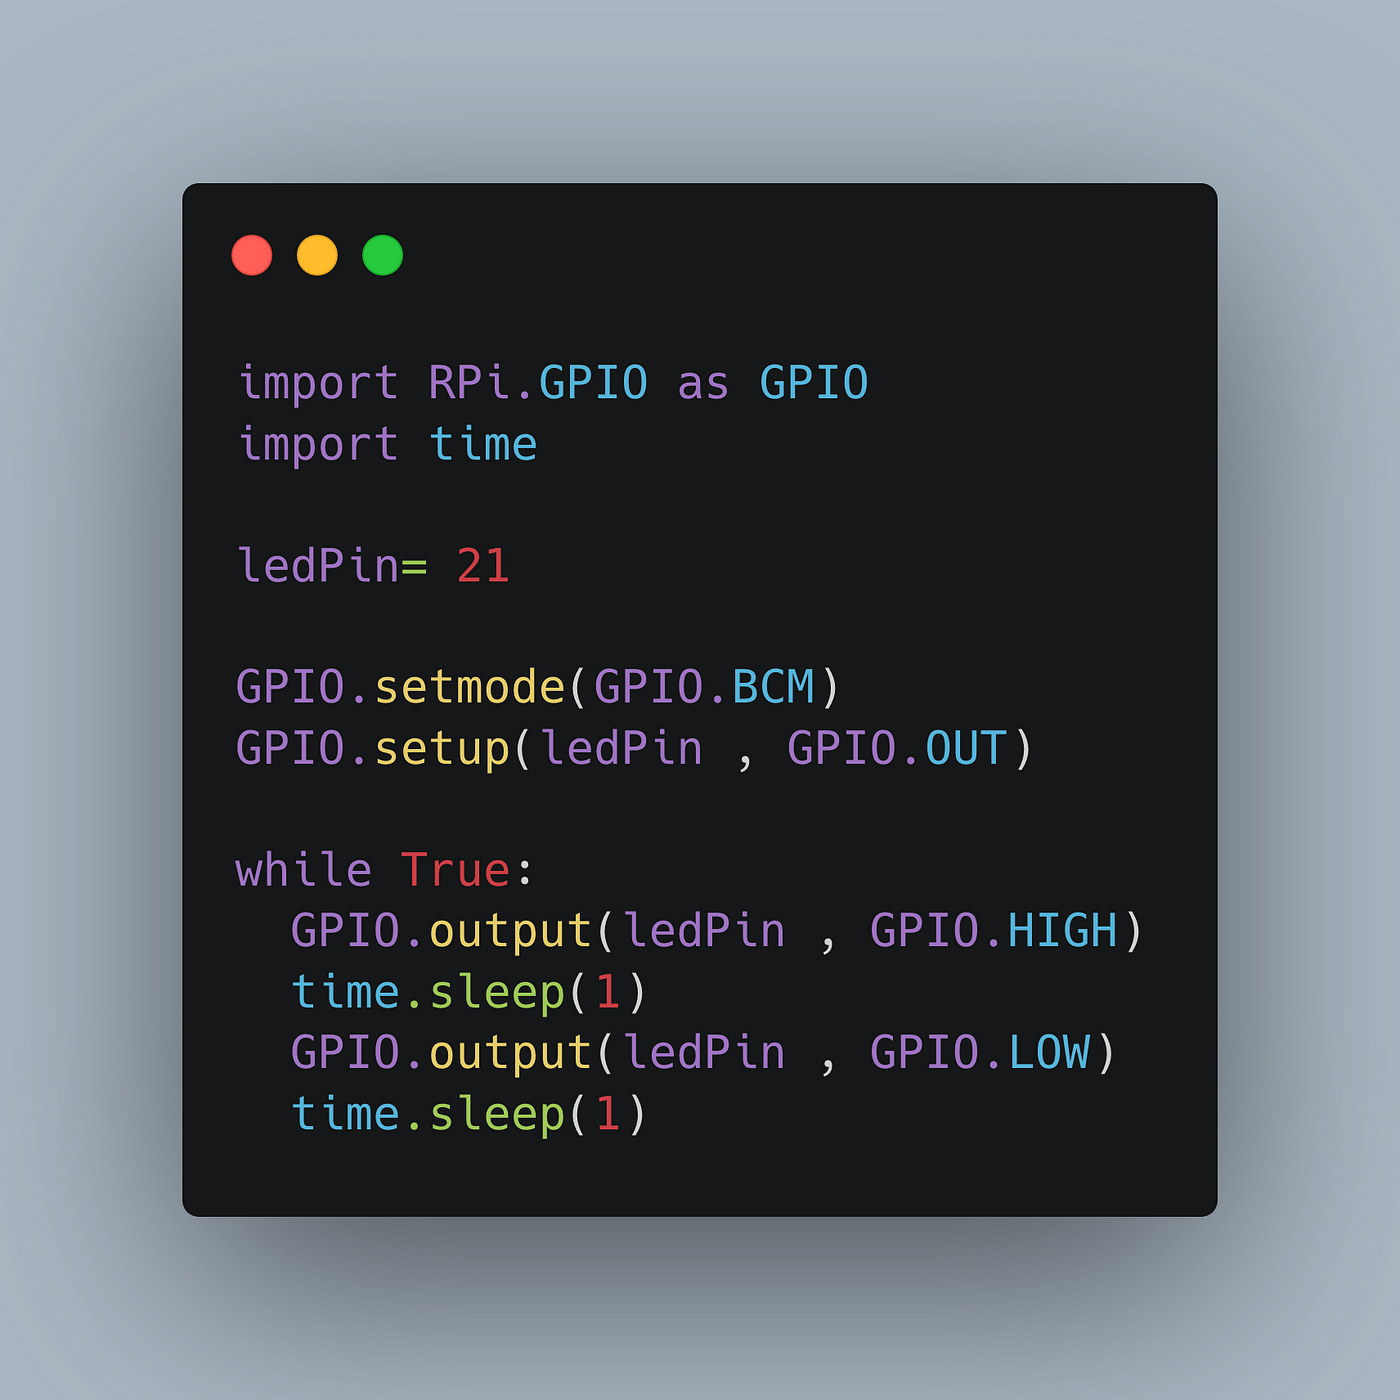
To use the GPIO pins in Python, you'll need to import the RPi library. You can do this by adding the following line at the top of your Python script:
import RPi.GPIO as GPIO
Next, you'll need to set up the GPIO pins themselves. This is done with the GPIO.setmode() function, which takes an integer argument specifying the mode (in this case, GPIO.BCM, for "Broadcom" mode):
GPIO.setmode(GPIO.BCM)
Now that the GPIO pins are set up, you can start using them! Here's a simple example: let's say you want to turn on an LED connected to pin 17:
GPIO.setup(17, GPIO.OUT) # Set pin 17 as output
GPIO.output(17, GPIO.HIGH) # Turn on the LED (HIGH = ON)
And here's how you would turn it off:
GPIO.output(17, GPIO.LOW) # Turn off the LED (LOW = OFF)
But what if you want to read from a sensor instead of controlling an output? The RPi library also lets you do that! For example, let's say you have a button connected to pin 23:
GPIO.setup(23, GPIO.IN, pull_up_down=GPIO.PUD_UP) # Set pin 23 as input with pull-up resistor
input_state = GPIO.input(23) # Read the state of the button (HIGH = pressed, LOW = not pressed)
The RPi library also includes some useful functions for working with GPIO. For example:
delay() lets you add a delay to your program setwarnings() allows you to set up warning messages if there are any GPIO-related errors
Here's how you might use these functions in your script:
import time # Add this line at the top of your script, along with RPi.GPIO as GPIO
Set up pin 17 for output and turn it on
GPIO.setup(17, GPIO.OUT)
GPIO.output(17, GPIO.HIGH)
time.sleep(2) # Wait for 2 seconds
Turn off the LED and clean up after yourself
GPIO.output(17, GPIO.LOW)
GPIO.cleanup()
This script sets up pin 17 as an output, turns it on, waits for a few seconds, then turns it off. The cleanup() function is used to release any resources that were being used by your GPIO code.
Of course, this is just the tip of the iceberg – there are many more things you can do with the Raspberry Pi and Python. For example:
Use the GPIO pins to control a motor or servo Connect a sensor to read temperature, light levels, or other environmental data Control an LED strip for color-changing effectsThe possibilities really are endless!
