How to install python in Home Assistant?
How to install python in Home Assistant?
Installing Python on Home Assistant is a straightforward process that can be completed in a few steps. Here's a step-by-step guide to help you get started:
Prerequisites:
You have Home Assistant (HASS) installed and running on your device. You are familiar with the basics of Linux shell scripting and Python programming.Step 1: Install pip (Package Installer for Python)
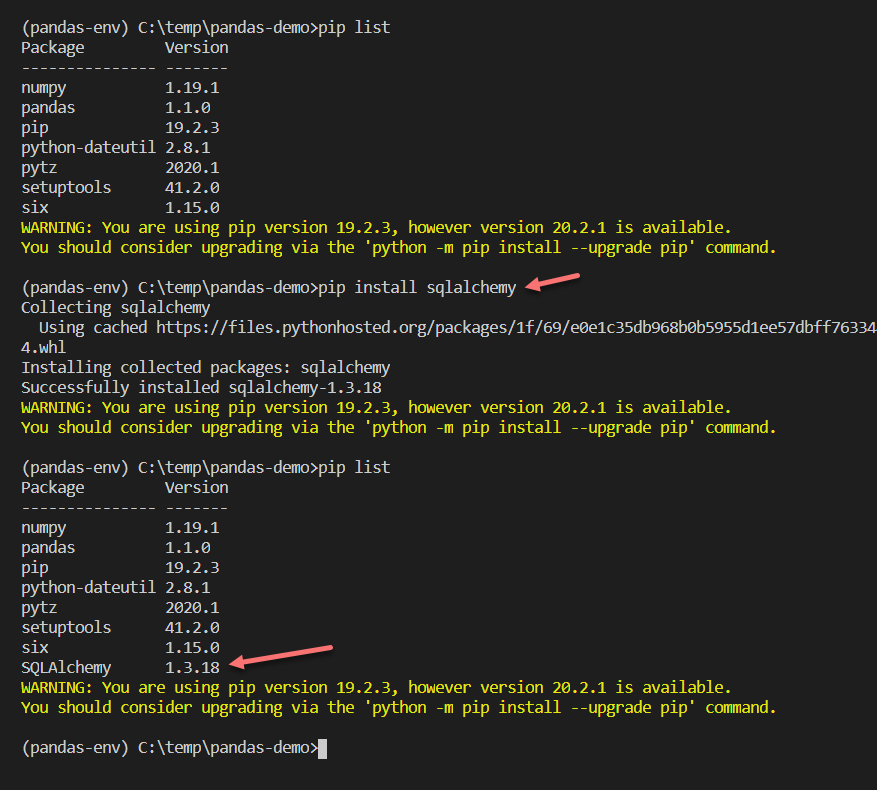
pip is the package installer for Python, which allows you to easily install and manage packages (modules) in Python. To install pip, open a terminal or command prompt on your system and type:
sudo python3 -m ensurepip
This command ensures that you have the latest version of pip installed.
Step 2: Install Python
Next, you'll need to install Python itself. If you're running Home Assistant on a Raspberry Pi or other Linux-based device, you can use the package manager (e.g., apt-get) to install Python:
sudo apt-get update
sudo apt-get install python3
For other platforms, such as Windows or macOS, you'll need to download and install Python from the official Python website.
Step 3: Verify Python Installation
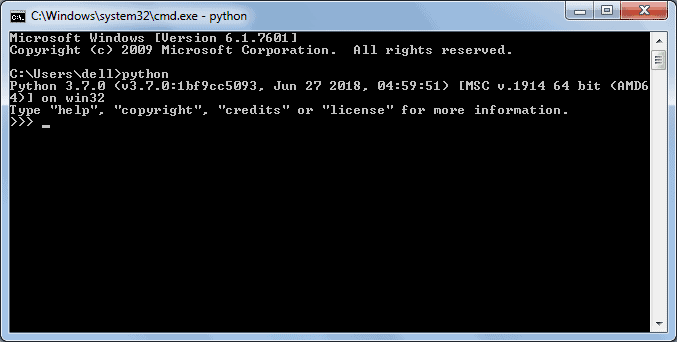
Once installed, verify that Python is working correctly by opening a terminal or command prompt and typing:
python3 --version
This should display the version number of Python installed on your system.
Step 4: Install Additional Packages (if needed)
If you need to install specific Python packages for Home Assistant, such as python-requests or python-yaml, you can use pip:
sudo pip3 install [package_name]
Replace [package_name] with the actual name of the package you want to install.
Step 5: Configure Home Assistant (optional)
If you've installed additional packages, you may need to configure Home Assistant to use them. This typically involves modifying your configuration.yaml file or adding new configuration files in the config directory.
Troubleshooting Tips:
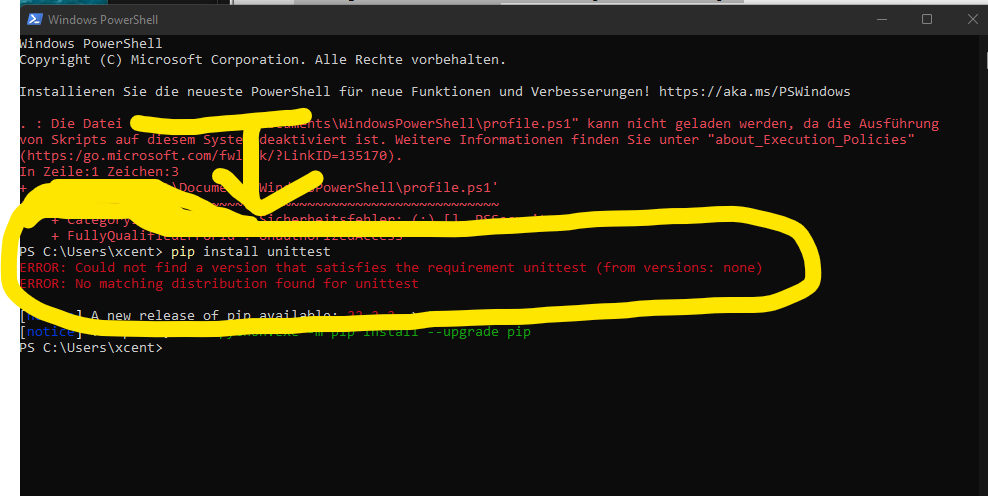
If you encounter issues during installation, try updating pip and Python using the commands:sudo python3 -m pip install --upgrade pip
sudo python3 -m ensurepip
By following these steps, you should be able to successfully install Python on Home Assistant and begin using it to automate tasks and integrate with various services and devices. Happy scripting!
Home assistant python sensor
Home Assistant is a fantastic open-source home automation platform that allows users to integrate various sensors and devices to create a smart home ecosystem. Python, being a popular programming language, plays a significant role in integrating these sensors with Home Assistant.
What are Python Sensors in Home Assistant?
Python sensors in Home Assistant are custom sensors written in Python code. These sensors can be used to collect data from various sources, such as:
Hardware devices: Temperature sensors, humidity sensors, motion detectors, etc. APIs: Weather APIs, stock market APIs, social media APIs, etc. Other systems: IoT devices, smart home devices, etc.Benefits of Using Python Sensors in Home Assistant
Customization: With Python sensors, you can create custom sensors that cater to your specific needs and requirements. Flexibility: You can integrate multiple data sources and sensors into a single sensor entity. Ease of use: Writing Python code can be easier than dealing with complex hardware or software integration.How to Create a Python Sensor in Home Assistant
To create a Python sensor, you'll need:
A text editor or IDE (Integrated Development Environment) like Visual Studio Code. Thepython package installed on your system. Familiarity with the Python programming language.
Here's a basic example of how to create a simple Python sensor that retrieves the current time:
import datetimedef get_current_time():
return str(datetime.datetime.now())
class TimeSensor(sensor.Entity):
def init(self):
self._state = None
@property
def state(self):
return self._state
def update(self):
self._state = get_current_time()
This code defines a TimeSensor class that retrieves the current time using the datetime module. The update() method updates the sensor's state with the current time.
Tips and Tricks
Keep it simple: Start with small, focused sensors and gradually add complexity. Test and debug: Make sure your sensor works as expected by testing and debugging your code. Documentation matters: Document your sensor's configuration options, parameters, and functionality to make it easy for others (and yourself) to understand how to use it.In conclusion, Python sensors in Home Assistant offer a flexible and customizable way to integrate various data sources and devices into your smart home ecosystem. With the power of Python programming, you can create unique sensors that cater to your specific needs and requirements.

