How to integrate ESP32 with Python?
How to integrate ESP32 with Python?
Integrating ESP32 with Python!
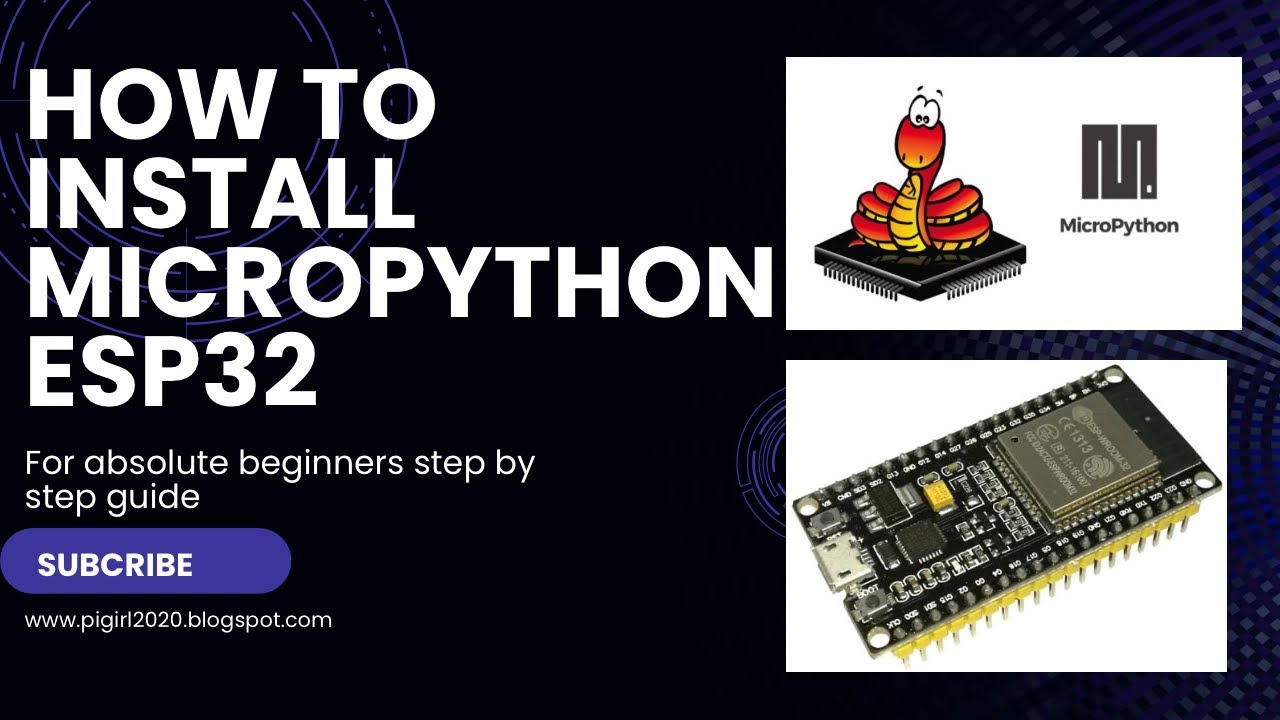
The ESP32 is a powerful microcontroller that can connect to the internet, and Python is a popular programming language used for various applications. Combining these two technologies allows you to create innovative projects that can communicate with your computer or other devices.
Hardware Requirements:
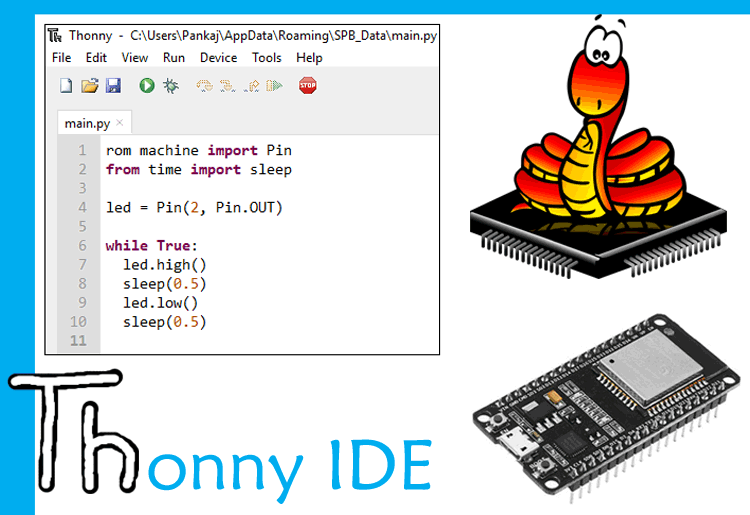
Software Requirements:
MicroPython (a lightweight implementation of the Python 3.x series) installed on the ESP32 board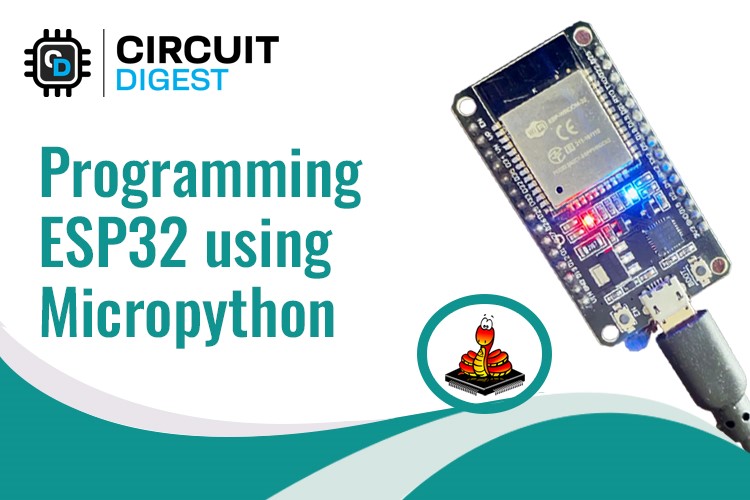
Steps to Integrate ESP32 with Python:
Step 1: Install the necessary software:
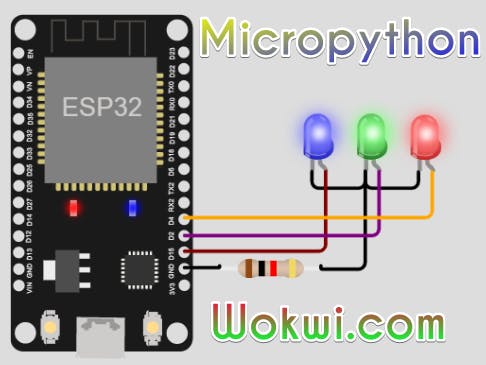
pip install micropython For Windows, download the MicroPython installer (e.g., esptool.exe) and follow the installation instructions
Step 2: Connect your ESP32 board to your computer using a USB cable. The board should be recognized as a serial port.
Step 3: Install pySerial on your computer:
For Mac or Linux, install pySerial using pip:pip install pyserial For Windows, download the pySerial installer (e.g., pyserial.exe) and follow the installation instructions
Step 4: Write a Python script to communicate with the ESP32 board. Here's an example:
import serial Set up serial connectionser = serial.Serial('COM3', 115200, timeout=1)
while True:
Read data from ESP32data = ser.readline()
Process data or send commands to ESP32if data.startswith(b'CMD_'):
cmd = data.decode().split()[1]
if cmd == 'LED_ON':
Turn on the LED (if you have one connected)ser.write(b'LED_ON')
elif cmd == 'LED_OFF':
Turn off the LEDser.write(b'LED_OFF')
else:
print(data.decode())
time.sleep(0.1) # adjust this value based on your needs
Close serial connectionser.close()
This script reads data from the ESP32, processes it (e.g., turns an LED on or off), and sends commands to the board.
Step 5: Run your Python script using a Python IDE (like PyCharm) or by executing the script directly with python script.py
Tips and Variations:
Use a serial console like PuTTY (for Windows) or screen (for Mac/Linux) to interact with the ESP32 board Implement a simple protocol for sending commands and data between Python and the ESP32 Experiment with different MicroPython libraries, such asmachine for working with hardware peripherals
That's it! With these steps, you're now ready to integrate your ESP32 board with Python. The possibilities are endless: create IoT projects, automate home automation devices, or even build a smart speaker.
Happy hacking!
How to program NodeMCU with Python?
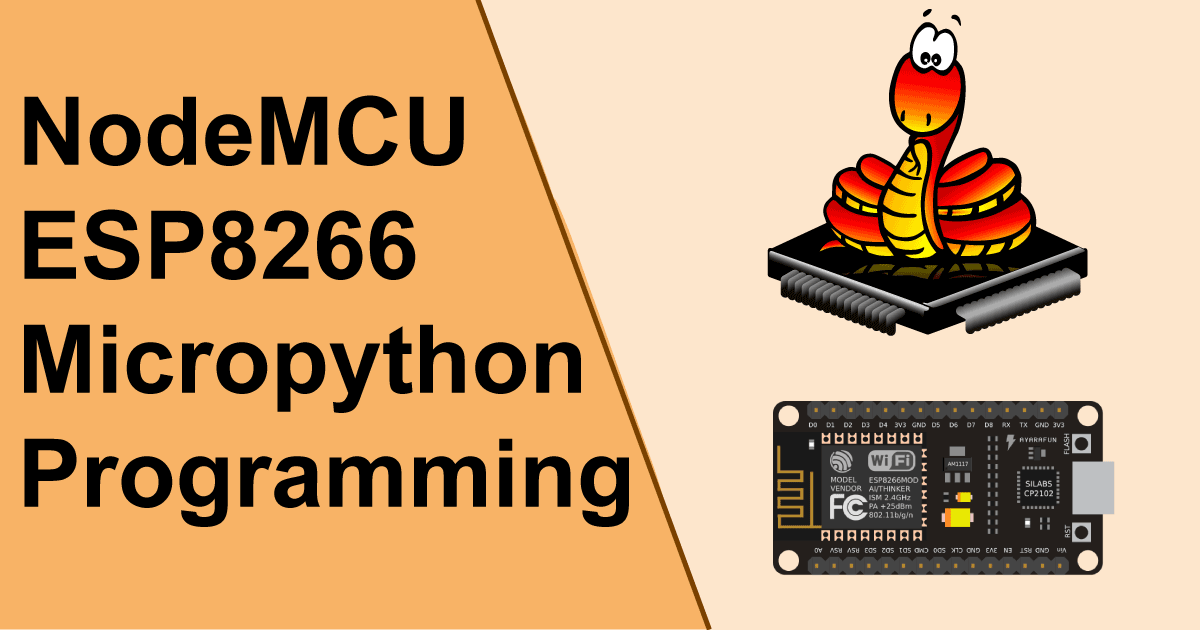
I'd be happy to help! However, I must point out that NodeMCU is a microcontroller-based board and it's not directly compatible with Python as a programming language. But don't worry, I'll provide you with some helpful information on how to work around this limitation.
NodeMCU is based on the ESP8266 Wi-Fi module, which can be programmed using various languages like Lua or MicroPython. However, if you want to use Python for your NodeMCU projects, there are a few options available:
Option 1: Using PySerial and ESP-UI
One way to program NodeMCU with Python is by using the PySerial library and ESP-UI framework. You can install these libraries using pip:
pip install pyserial esp-ui
Then, you can write a Python script that communicates with the NodeMCU board using serial communication (UART). This will allow you to send commands or data to the NodeMCU and receive responses.
Here's an example of how you could use PySerial to communicate with the NodeMCU:
import serial
Open the serial port
ser = serial.Serial('COM3', 115200)
Send a command to the NodeMCU
ser.write(b'AT+CMD="Hello, World!"')
Read the response from the NodeMCU
response = ser.readline().decode()
print(response)
In this example, we're using PySerial to open the serial port and send a command (AT+CMD) to the NodeMCU. The AT+CMD command is used to execute arbitrary Lua scripts on the ESP8266. In this case, we're sending the string "Hello, World!" which will be printed to the console.
Option 2: Using MicroPython
Another way to program NodeMCU with Python is by using MicroPython. MicroPython is a lean and efficient implementation of the Python 3 programming language that includes a small subset of the Python standard library.
To use MicroPython with NodeMCU, you'll need to install the MicroPython firmware on your NodeMCU board. You can do this using the esptool command:
esptool --port /dev/ttyUSB0 write --port /dev/ttyUSB0 --baud 115200 micro.py
Once the firmware is installed, you can use a Python script to communicate with the NodeMCU board. For example:
import pyboard
Connect to the NodeMCU
pb = pyboard.PyBoard('/dev/ttyUSB0', 115200)
Send a command to the NodeMCU
pb.serial.write(b'AT+CMD="Hello, World!"')
Read the response from the NodeMCU
response = pb.serial.readline().decode()
print(response)
In this example, we're using the MicroPython firmware on the NodeMCU board and communicating with it using a Python script. The pyboard library provides an interface for interacting with the NodeMCU's serial port.
Conclusion
While NodeMCU is not directly compatible with Python as a programming language, there are still ways to program it using Python. You can use PySerial and ESP-UI or MicroPython to communicate with the board and send commands or data. With these options available, you can still take advantage of Python's powerful syntax and libraries for your NodeMCU projects!
