How to install Python on Windows
How to install Python on Windows
I'm happy to provide a detailed guide on how to install Python on Windows!
Installing Python on Windows is relatively straightforward, and I'll walk you through the process step-by-step.
Step 1: Download the Latest Version of Python from the Official Website
The first step is to download the latest version of Python from the official Python website. To do this, follow these steps:
Open a web browser (e.g., Google Chrome, Mozilla Firefox) and navigate to the Python Download Page. Click on the "Download Python" button to access the download page. Choose the latest version of Python that suits your needs. As of this writing, the latest stable release is Python 3.9.x. Select the appropriate installer type (e.g., "Windows x86-64" for a 64-bit Windows system).Step 2: Run the Installer
Once you've downloaded the installer, run it on your Windows machine.
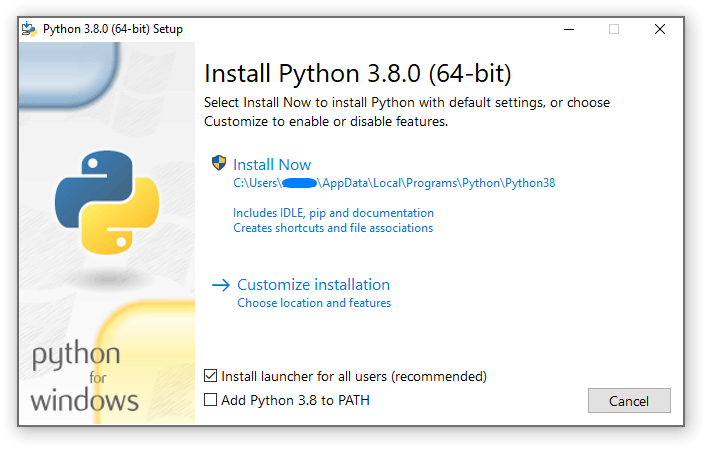
Double-click the downloaded installer file to launch the Python installation wizard. Follow the prompts to accept the terms and conditions of the licensing agreement (if prompted). Choose the installation location. You can leave the default path or specify a custom one. Make sure the directory does not contain any spaces or special characters.Step 3: Install Python
Now it's time to install Python!
Click "Next" to proceed with the installation. Confirm that you want to install Python for all users (unless you have a specific reason to choose the "Just me" option). Select the components you want to install. The default settings should suffice, but feel free to customize if needed.Step 4: Add Python to your Path
To use Python from any directory, you need to add it to your system's PATH environment variable.
During the installation process, you'll be prompted to add Python to the system PATH. Click "Yes" to proceed. If you miss this step or want to modify the PATH manually, follow these additional steps: Right-click on the Start menu (or Press the Windows key + X) and select System. Click on Advanced system settings from the right-hand side. In the System Properties window, click on the "Environment Variables" button. Under the "System Variables" section, scroll down and find the "Path" variable. Select it and click "Edit." Click "New" to add a new path (e.g., the directory where you installed Python).Step 5: Verify Your Installation
To ensure Python is correctly installed, open a command prompt or PowerShell:
Press Windows key + R to open the Run dialog box. Typecmd and press Enter to launch the Command Prompt. Alternatively, use PowerShell by typing powershell in the Run dialog box.
Type python --version (or python3 --version) to verify that Python is indeed installed. You should see the version number printed out.
Step 6: Test Your Python Installation
It's time to test your installation!
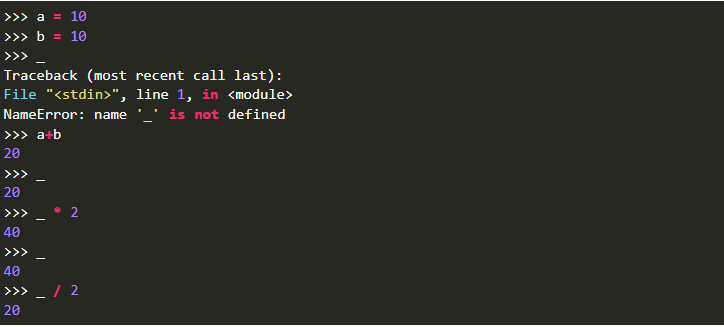
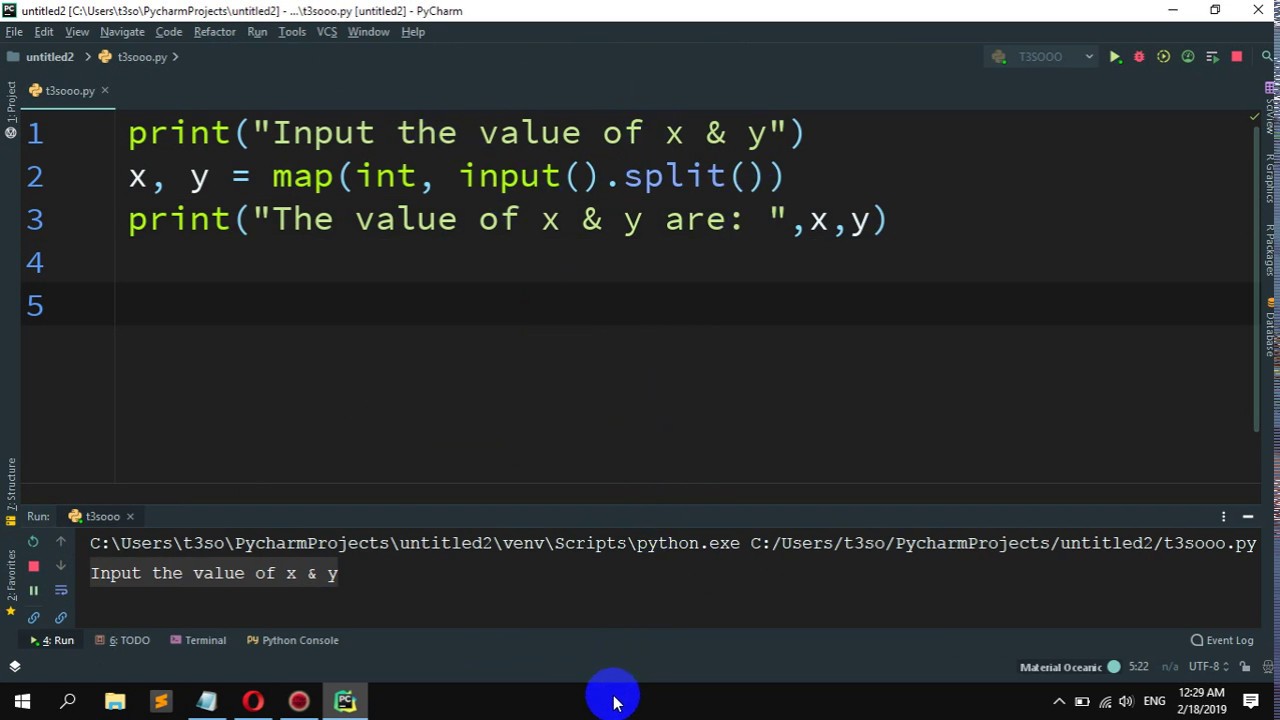
Open a new command prompt or PowerShell window. Typepython (or py on some systems) and press Enter. This will start an interactive Python shell. Play around with some basic Python commands, such as: Print("Hello World!") print(2 + 3) x = 5; y = 7; print(x + y)
If everything works smoothly, you should see the output of your code.
That's it! You now have Python installed on your Windows machine. From here, you can start exploring the vast world of programming with Python!
Please note that these instructions apply to the standard installation process for Python. If you encounter any issues or have specific requirements (e.g., installing a custom version or using an installer like Anaconda), I'd be happy to help.
How to install Python on Linux
I'm happy to help! Here's a step-by-step guide on how to install Python on Linux:
Step 1: Check if Python is already installed
Before installing Python, it's essential to check if you have an existing version of the programming language. Open your terminal or command prompt and type:
python --version
If Python is already installed, you'll see a version number displayed on the screen.
Step 2: Install Python using the package manager (apt)
If you're running Ubuntu, Debian, or other Linux distributions that use the Advanced Package Tool (APT), you can install Python using the following command:
sudo apt-get update
sudo apt-get install python3
The first command updates your package list to ensure you have the latest packages. The second command installs Python 3.x (the most recent version).
Step 3: Install Python using pip
Another way to install Python is by using pip, which is a package installer for Python. First, make sure pip is installed:
sudo apt-get install python3-pip
Then, you can use pip to install the latest version of Python:
pip3 install python
Step 4: Verify Python installation
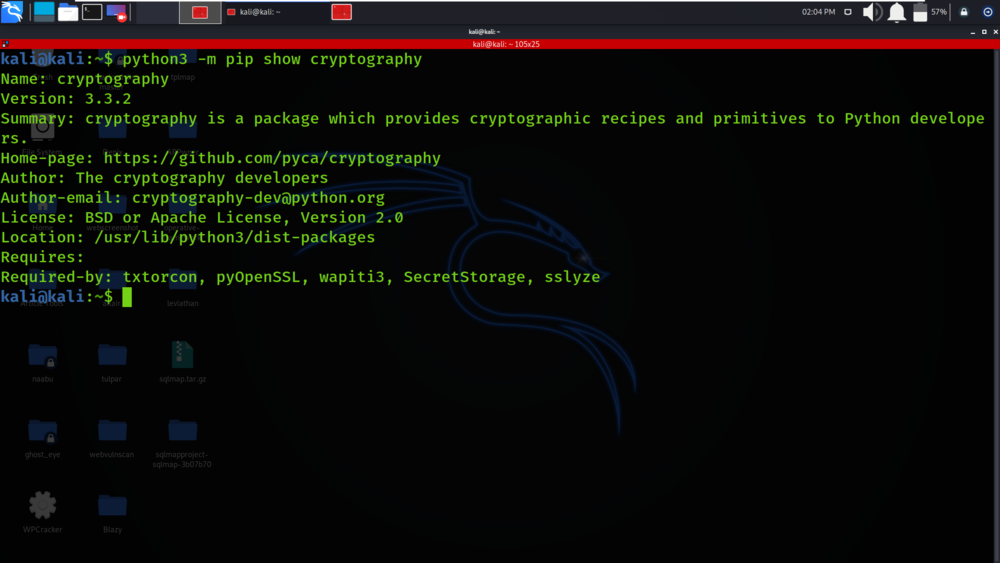
To confirm that Python has been successfully installed, open your terminal and type:
python --version
This should display a version number. If you have multiple versions of Python installed, you might see an error message instead. In this case, you'll need to specify which version you want to use.
Tips and Variations
For older Linux distributions or those without APT (like RHEL/CentOS), you can install Python using the package manager'sinstall command. On some systems, you might see pip instead of pip3. Both commands are used for installing packages with pip. Make sure to use the correct version number for your system. If you encounter issues during installation or have trouble verifying the installation, you can try reinstalling Python or seeking help from the Linux community.
That's it! With these steps, you should be able to successfully install Python on your Linux machine. Happy coding!
