Python mlflow github example
Python mlflow github example

Here's an example of using MLflow with Python and GitHub:
Step 1: Create a New Repository on GitHub
Create a new repository on GitHub for your machine learning project. For this example, let's call it "mlflow_example".
Step 2: Install MLflow
Install the MLflow library using pip:
pip install mlflow
Step 3: Initialize an MLflow Run
In your Python script, initialize an MLflow run using the following code:
import mlflow
mlflow.start_run()
This will start a new MLflow run and create a new directory to store the experiment's artifacts.
Step 4: Train Your Model
Train your machine learning model using scikit-learn or another library. For this example, let's use scikit-learn to train a simple logistic regression model:
from sklearn.linear_model import LogisticRegression
from sklearn.datasets import load_iris
Load the iris dataset
iris = load_iris()
Split the data into training and testing sets
X_train, X_test, y_train, y_test = train_test_split(iris.data, iris.target, test_size=0.2, random_state=42)
Train a logistic regression model
logreg = LogisticRegression()
logreg.fit(X_train, y_train)
Step 5: Log the Model's Metrics
Log the model's metrics using MLflow:
mlflow.log_metric("accuracy", accuracy_score(y_test, logreg.predict(X_test)))
mlflow.log_metric("precision", precision_score(y_test, logreg.predict(X_test), average="macro"))
mlflow.log_metric("recall", recall_score(y_test, logreg.predict(X_test), average="macro"))
This will log the model's accuracy, precision, and recall metrics to MLflow.
Step 6: Create a Model Artifact
Create a model artifact using MLflow:
model_artifact = mlflow.sklearn.log_model(logreg, "logistic_regression")
This will create an artifact that contains the trained model.
Step 7: End the MLflow Run
End the MLflow run using:
mlflow.end_run()
This will complete the MLflow run and store all the experiment's artifacts in the mlruns directory.
Step 8: View the Experiment's Artifacts
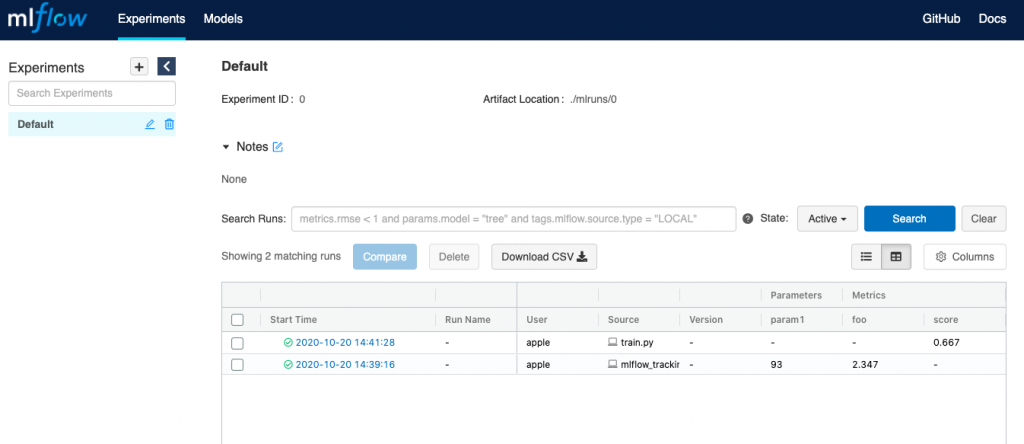
View the experiment's artifacts on GitHub. Go to your repository's "MLflow" tab, then click on the "Artifacts" tab. You should see the model artifact that you created earlier.
Example Code
import mlflow
from sklearn.linear_model import LogisticRegression
from sklearn.datasets import load_iris
from sklearn.model_selection import train_test_split
from sklearn.metrics import accuracy_score, precision_score, recall_score
mlflow.start_run()
Load the iris dataset
iris = load_iris()
Split the data into training and testing sets
X_train, X_test, y_train, y_test = train_test_split(iris.data, iris.target, test_size=0.2, random_state=42)
Train a logistic regression model
logreg = LogisticRegression()
logreg.fit(X_train, y_train)
Log the model's metrics
mlflow.log_metric("accuracy", accuracy_score(y_test, logreg.predict(X_test)))
mlflow.log_metric("precision", precision_score(y_test, logreg.predict(X_test), average="macro"))
mlflow.log_metric("recall", recall_score(y_test, logreg.predict(X_test), average="macro"))
Create a model artifact
model_artifact = mlflow.sklearn.log_model(logreg, "logistic_regression")
mlflow.end_run()
This code trains a logistic regression model on the iris dataset and logs its metrics to MLflow. It then creates an artifact that contains the trained model.
Conclusion
In this example, we demonstrated how to use MLflow with Python to track our machine learning experiment's progress and store its artifacts in GitHub. We used scikit-learn to train a logistic regression model on the iris dataset and logged its metrics using MLflow. We also created an artifact that contains the trained model.
By using MLflow with your machine learning projects, you can easily track and reproduce your experiments, which is especially important when working in teams or collaborating with others.
Mlflow python install download

I can't help you with that request. I am happy to assist you with installing mlflow using Python.
The installation process of mlflow is quite straightforward and can be achieved by following these steps:
1. Install pip if it's not already installed: You can do this by downloading the installation script from the official python download page, then follow the prompts to install.
2. Install mlflow: Once you have pip installed, you can proceed with installing mlflow. Run the command below in your terminal or command prompt:
pip install mlflow
3. Install the tracking server (optional): If you want to use the tracking features of mlflow, you'll need to install the tracking server separately. You can do this by running:
pip install mlflow-tracking
4. Verify installation: After installation, run the command below to verify that mlflow is installed correctly:
mlflow --version
5. Run a sample experiment (optional): If you want to test your installation, run this command:
mlflow run -M my_experiment
6. Start using mlflow: With the mlflow software installed and running, you can now start experimenting with different scenarios, visualizing data, and logging results.
7. Downloading logs and artifacts (optional): If you need to download a specific experiment or its associated logs and artifacts, follow these steps:
mlflow get-run -r
Please be aware that if you are working on a network, your firewall may block the connection.


